miley_take
Very Well-Known Member
I found myself needing to set up another click-clack, and remembered how hard it was to find how to do it, so I thought I'd do a guide of how I did this one for all the newbies 
Hope it's helpful
Hope it's helpful
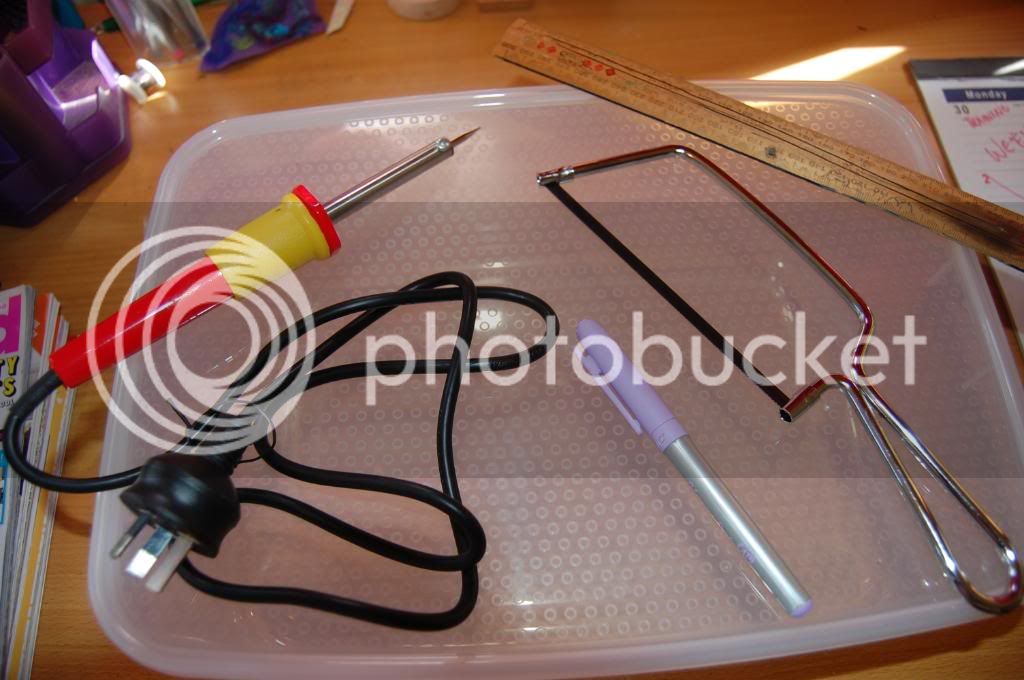
-YOU’LL NEED-
Plastic Container (This one’s 10L)
Soldering iron (Bunnings $6)
Ruler
Permanent Pen
-OPTIONAL-
Hand saw
Dowel
Photo Frame
Flywire
Plastic Container (This one’s 10L)
Soldering iron (Bunnings $6)
Ruler
Permanent Pen
-OPTIONAL-
Hand saw
Dowel
Photo Frame
Flywire
-STEP 1-
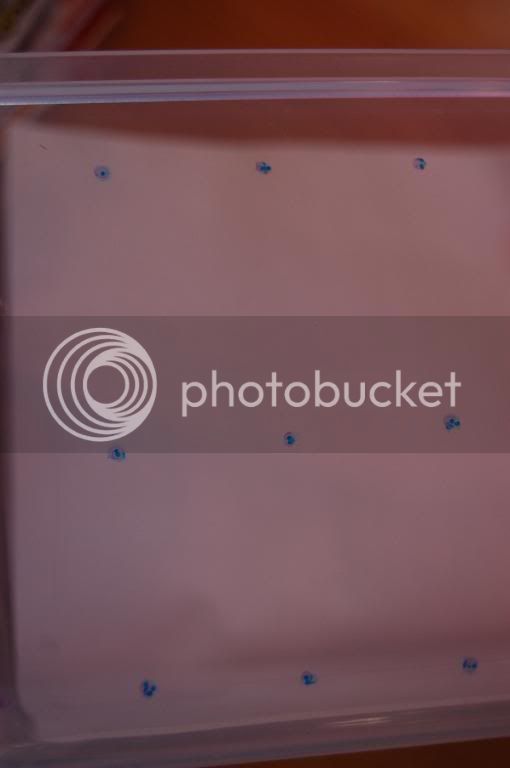
Use the ruler to mark out where you want your air holes (you don't have to rule them, just makes it look even and neat)
-STEP 2-
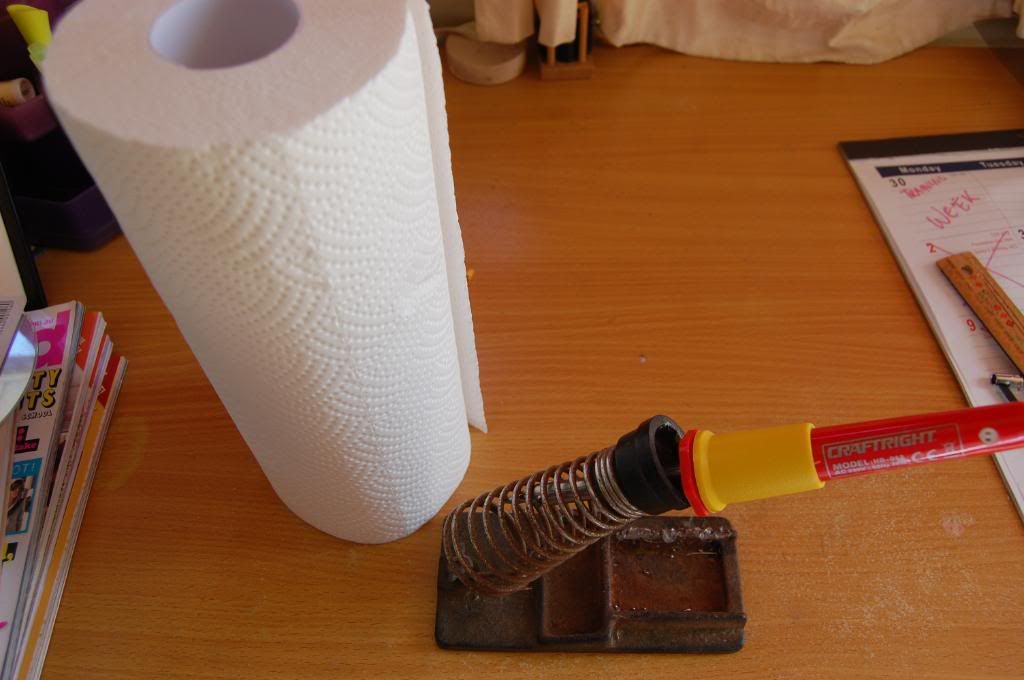
You'll need to plug in your soldering iron. Make sure you have a non-flammable surface to rest the iron on, and I also have some strong paper towel to wipe some of the melted plastic off the iron.
You'll need to plug in your soldering iron. Make sure you have a non-flammable surface to rest the iron on, and I also have some strong paper towel to wipe some of the melted plastic off the iron.
* DO THIS IN A WELL VENTILATED/OUTSIDE AREA*
(I don't want to be blamed for your health if you don't)
(I don't want to be blamed for your health if you don't)
Place the iron on the dot you marked with the pen and gently push it through the plastic. Do this until you are satisfied with the amount of holes
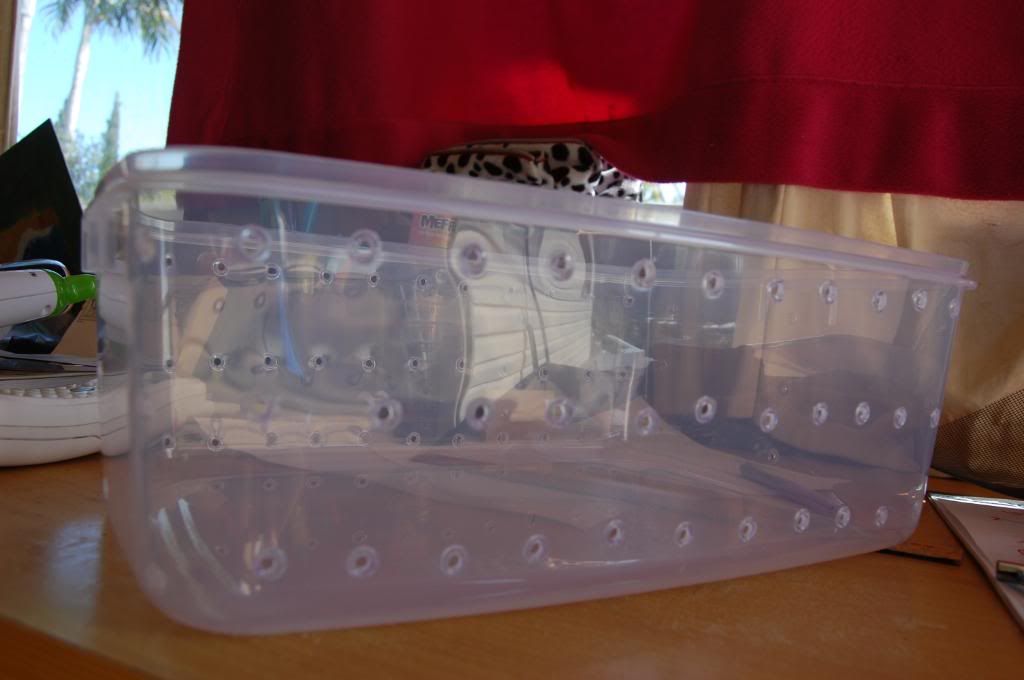
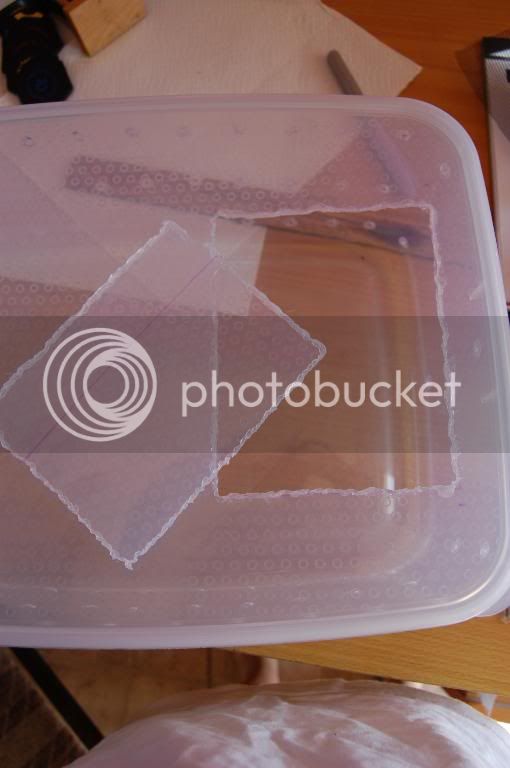
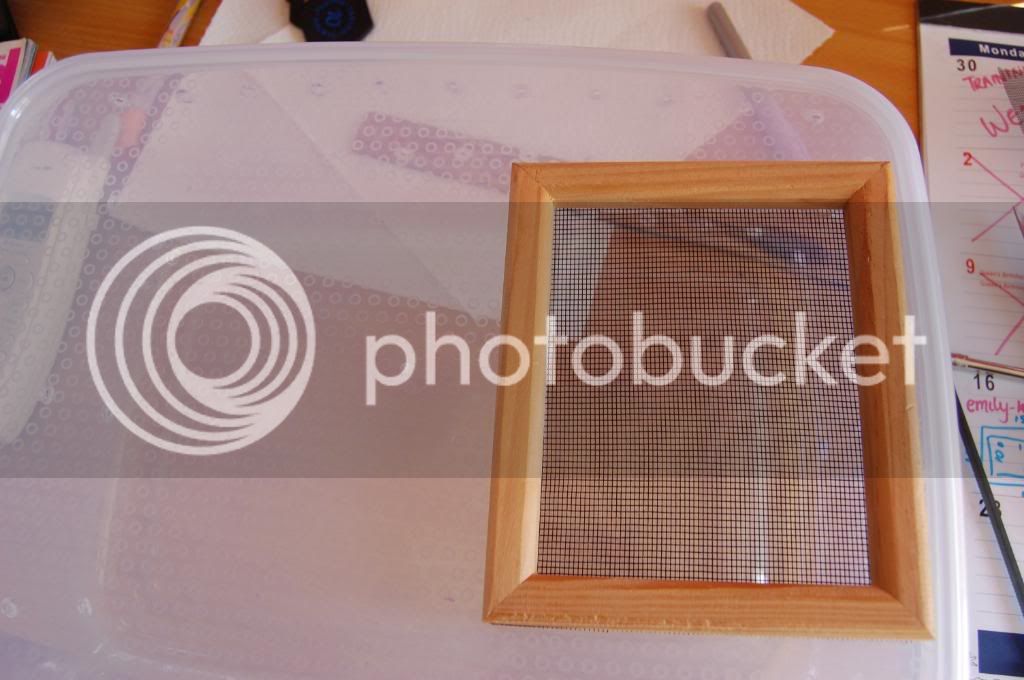
I did some extra fancy stuff with the lid because I live in a humid climate, I put some holes in the shape I wanted (a rectangle in this case), and pushed out the piece of plastic. Then I covered a photo frame with some fly wire and glued it over the hole. But if you don't just put some holes in the lid the same way you did through
-STEP 3-
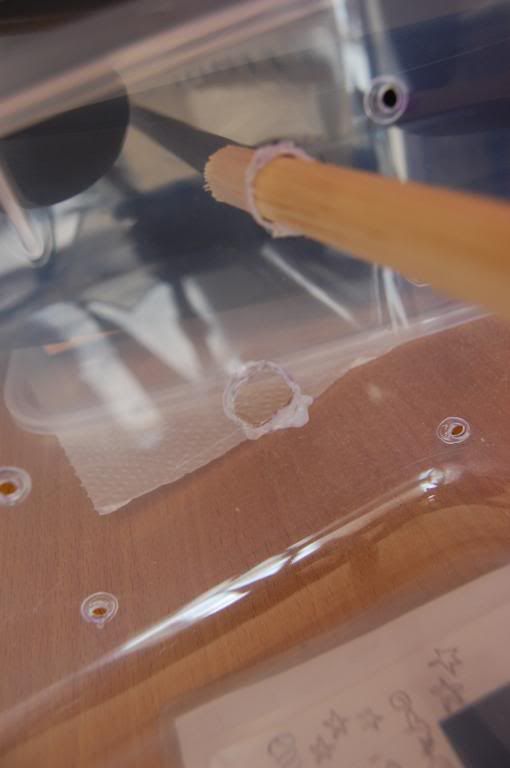
I measured up and across on the side of the container for where I wanted it and so both holes would line up when I put the dowel in. I drew around the dowel I had onto the container, melted it until there was a big enough hole for the dowel to go through, but so it doesn't roll around and the snake can't push the dowel out and escape
I measured up and across on the side of the container for where I wanted it and so both holes would line up when I put the dowel in. I drew around the dowel I had onto the container, melted it until there was a big enough hole for the dowel to go through, but so it doesn't roll around and the snake can't push the dowel out and escape
-STEP 4-
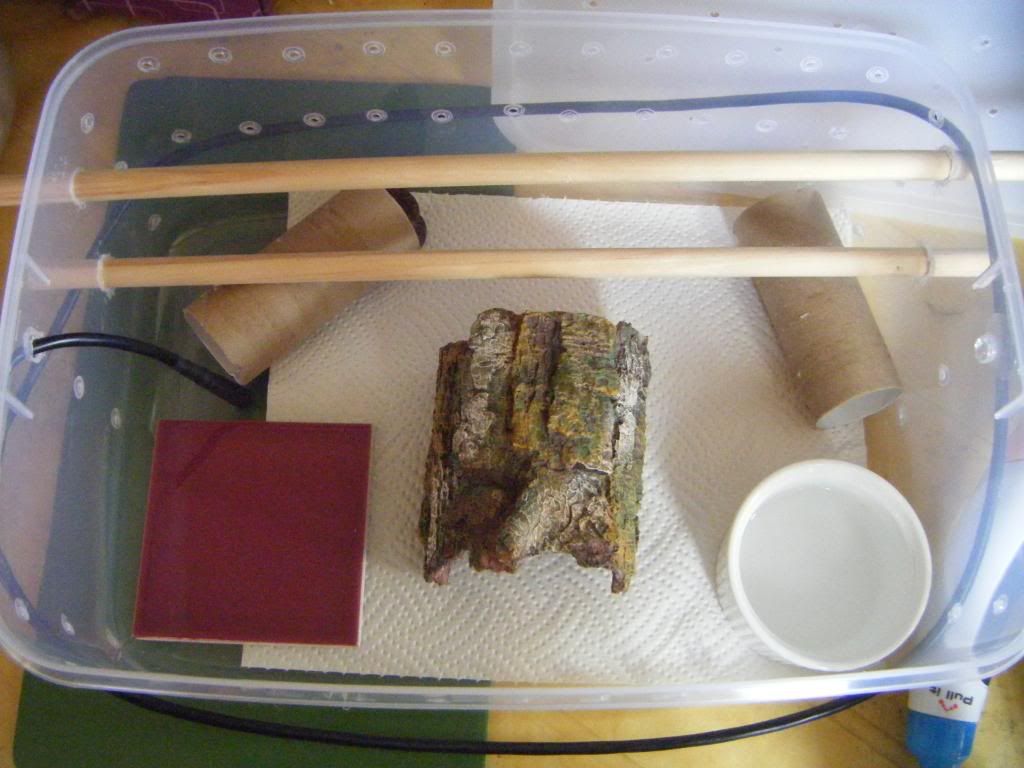
Melt a hole in the side with the soldering iron for thermostat probe. I placed the click-clack on the heat mat, added the substrate (paper towel), pushed the dowel through, and added in some hides (I had a spare aquarium log, and I also used toilet rolls). I've added in a small tile, so it creates a nice toasty basking spot. Also make sure there are no sharp edges around any of the holes on the inside of the click-clack. Add a water bowl and there we go!
Melt a hole in the side with the soldering iron for thermostat probe. I placed the click-clack on the heat mat, added the substrate (paper towel), pushed the dowel through, and added in some hides (I had a spare aquarium log, and I also used toilet rolls). I've added in a small tile, so it creates a nice toasty basking spot. Also make sure there are no sharp edges around any of the holes on the inside of the click-clack. Add a water bowl and there we go!
Just remember to disinfect everything and rinse it down before adding the snake!


