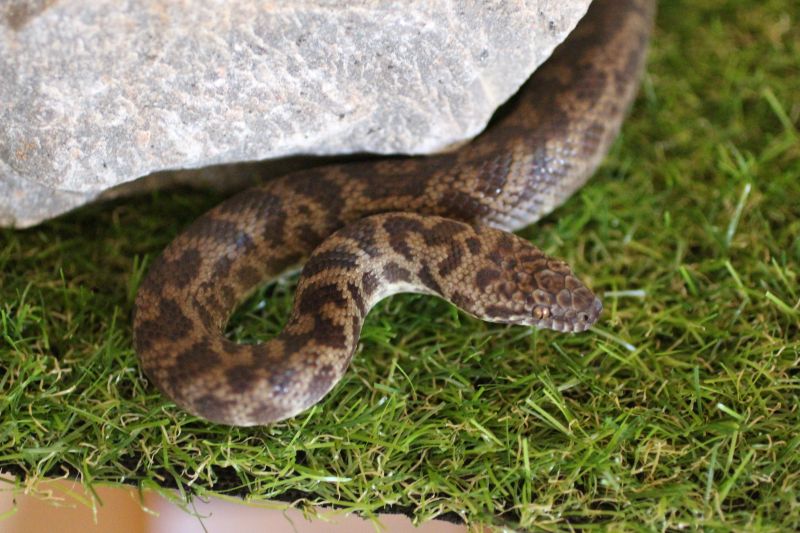
Harpo's Spotted Python Enclosure Build

Aussie Pythons & Snakes Forum

Help Support Aussie Pythons & Snakes Forum:

This site may earn a commission from merchant affiliate links, including eBay, Amazon, and others.

Harpo

Active Member
Joined
Jan 4, 2020
Messages
141
Reaction score
166
Location
VIC
Hi All,

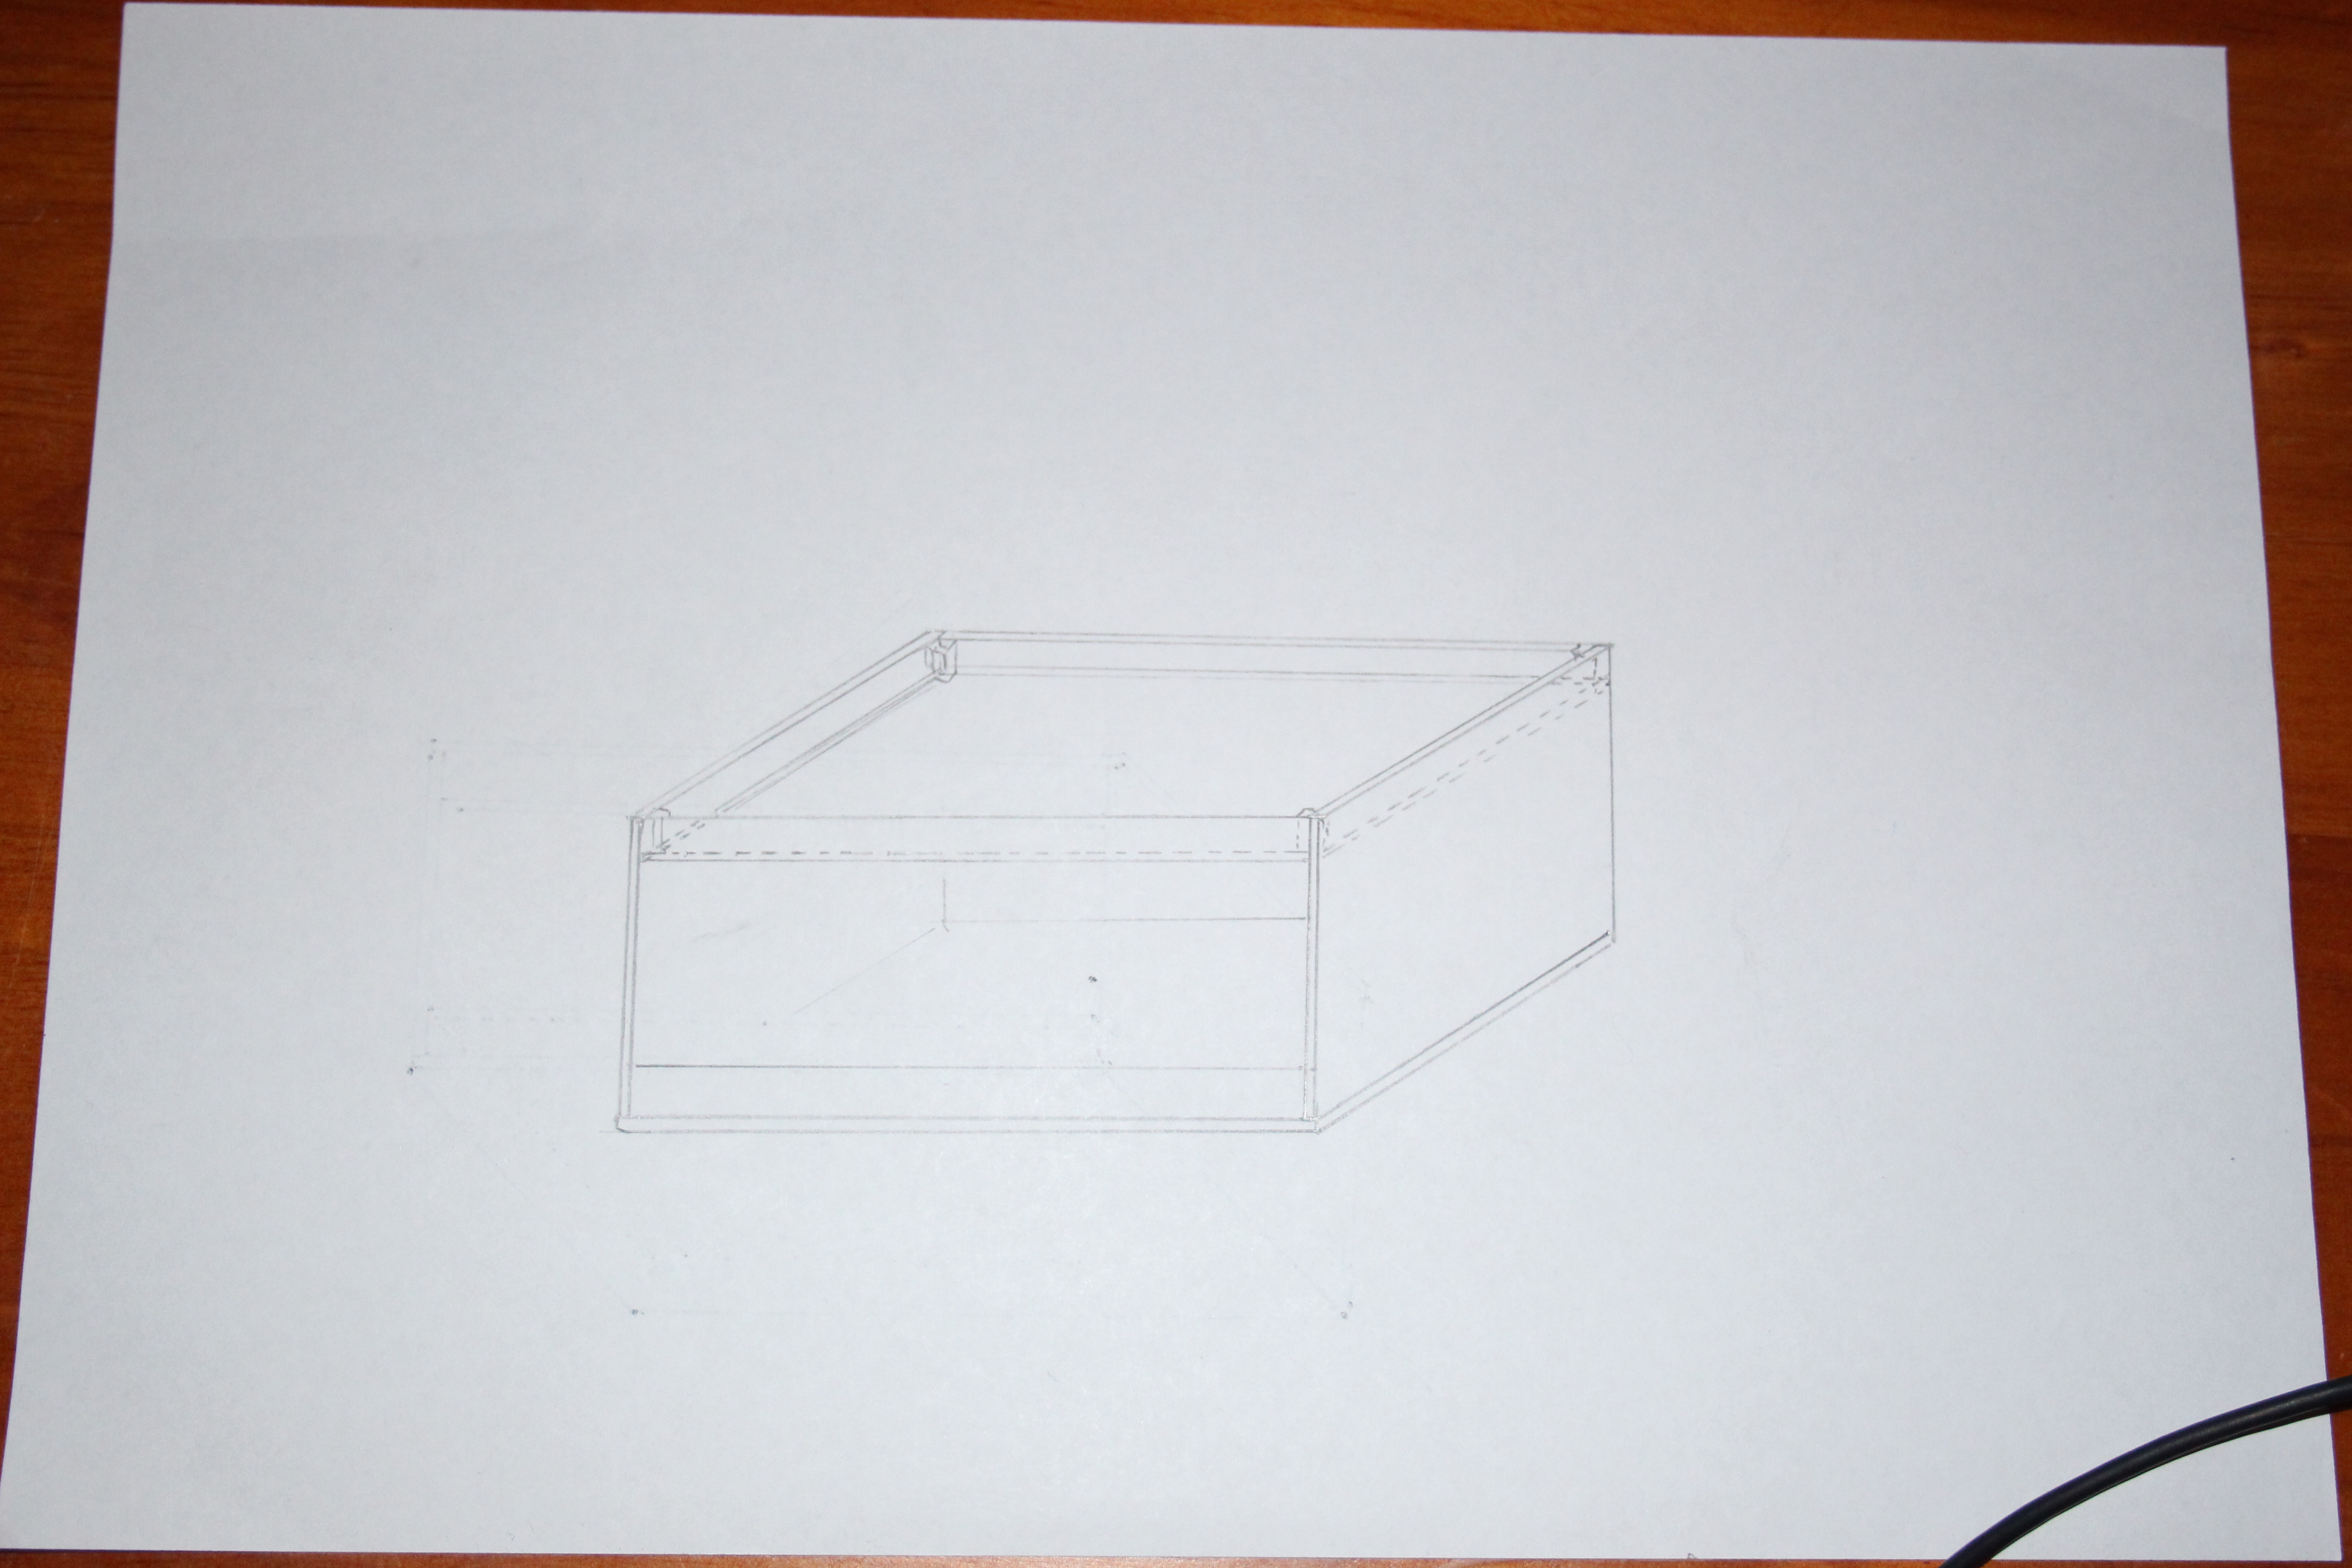
I am drawing drafts of an enclosure I am going to build for the Spotted.
I have "decided" on very little -

- Black Melamine, for looks. It will suit my decor, that's it. I could be talked into using an alternative.
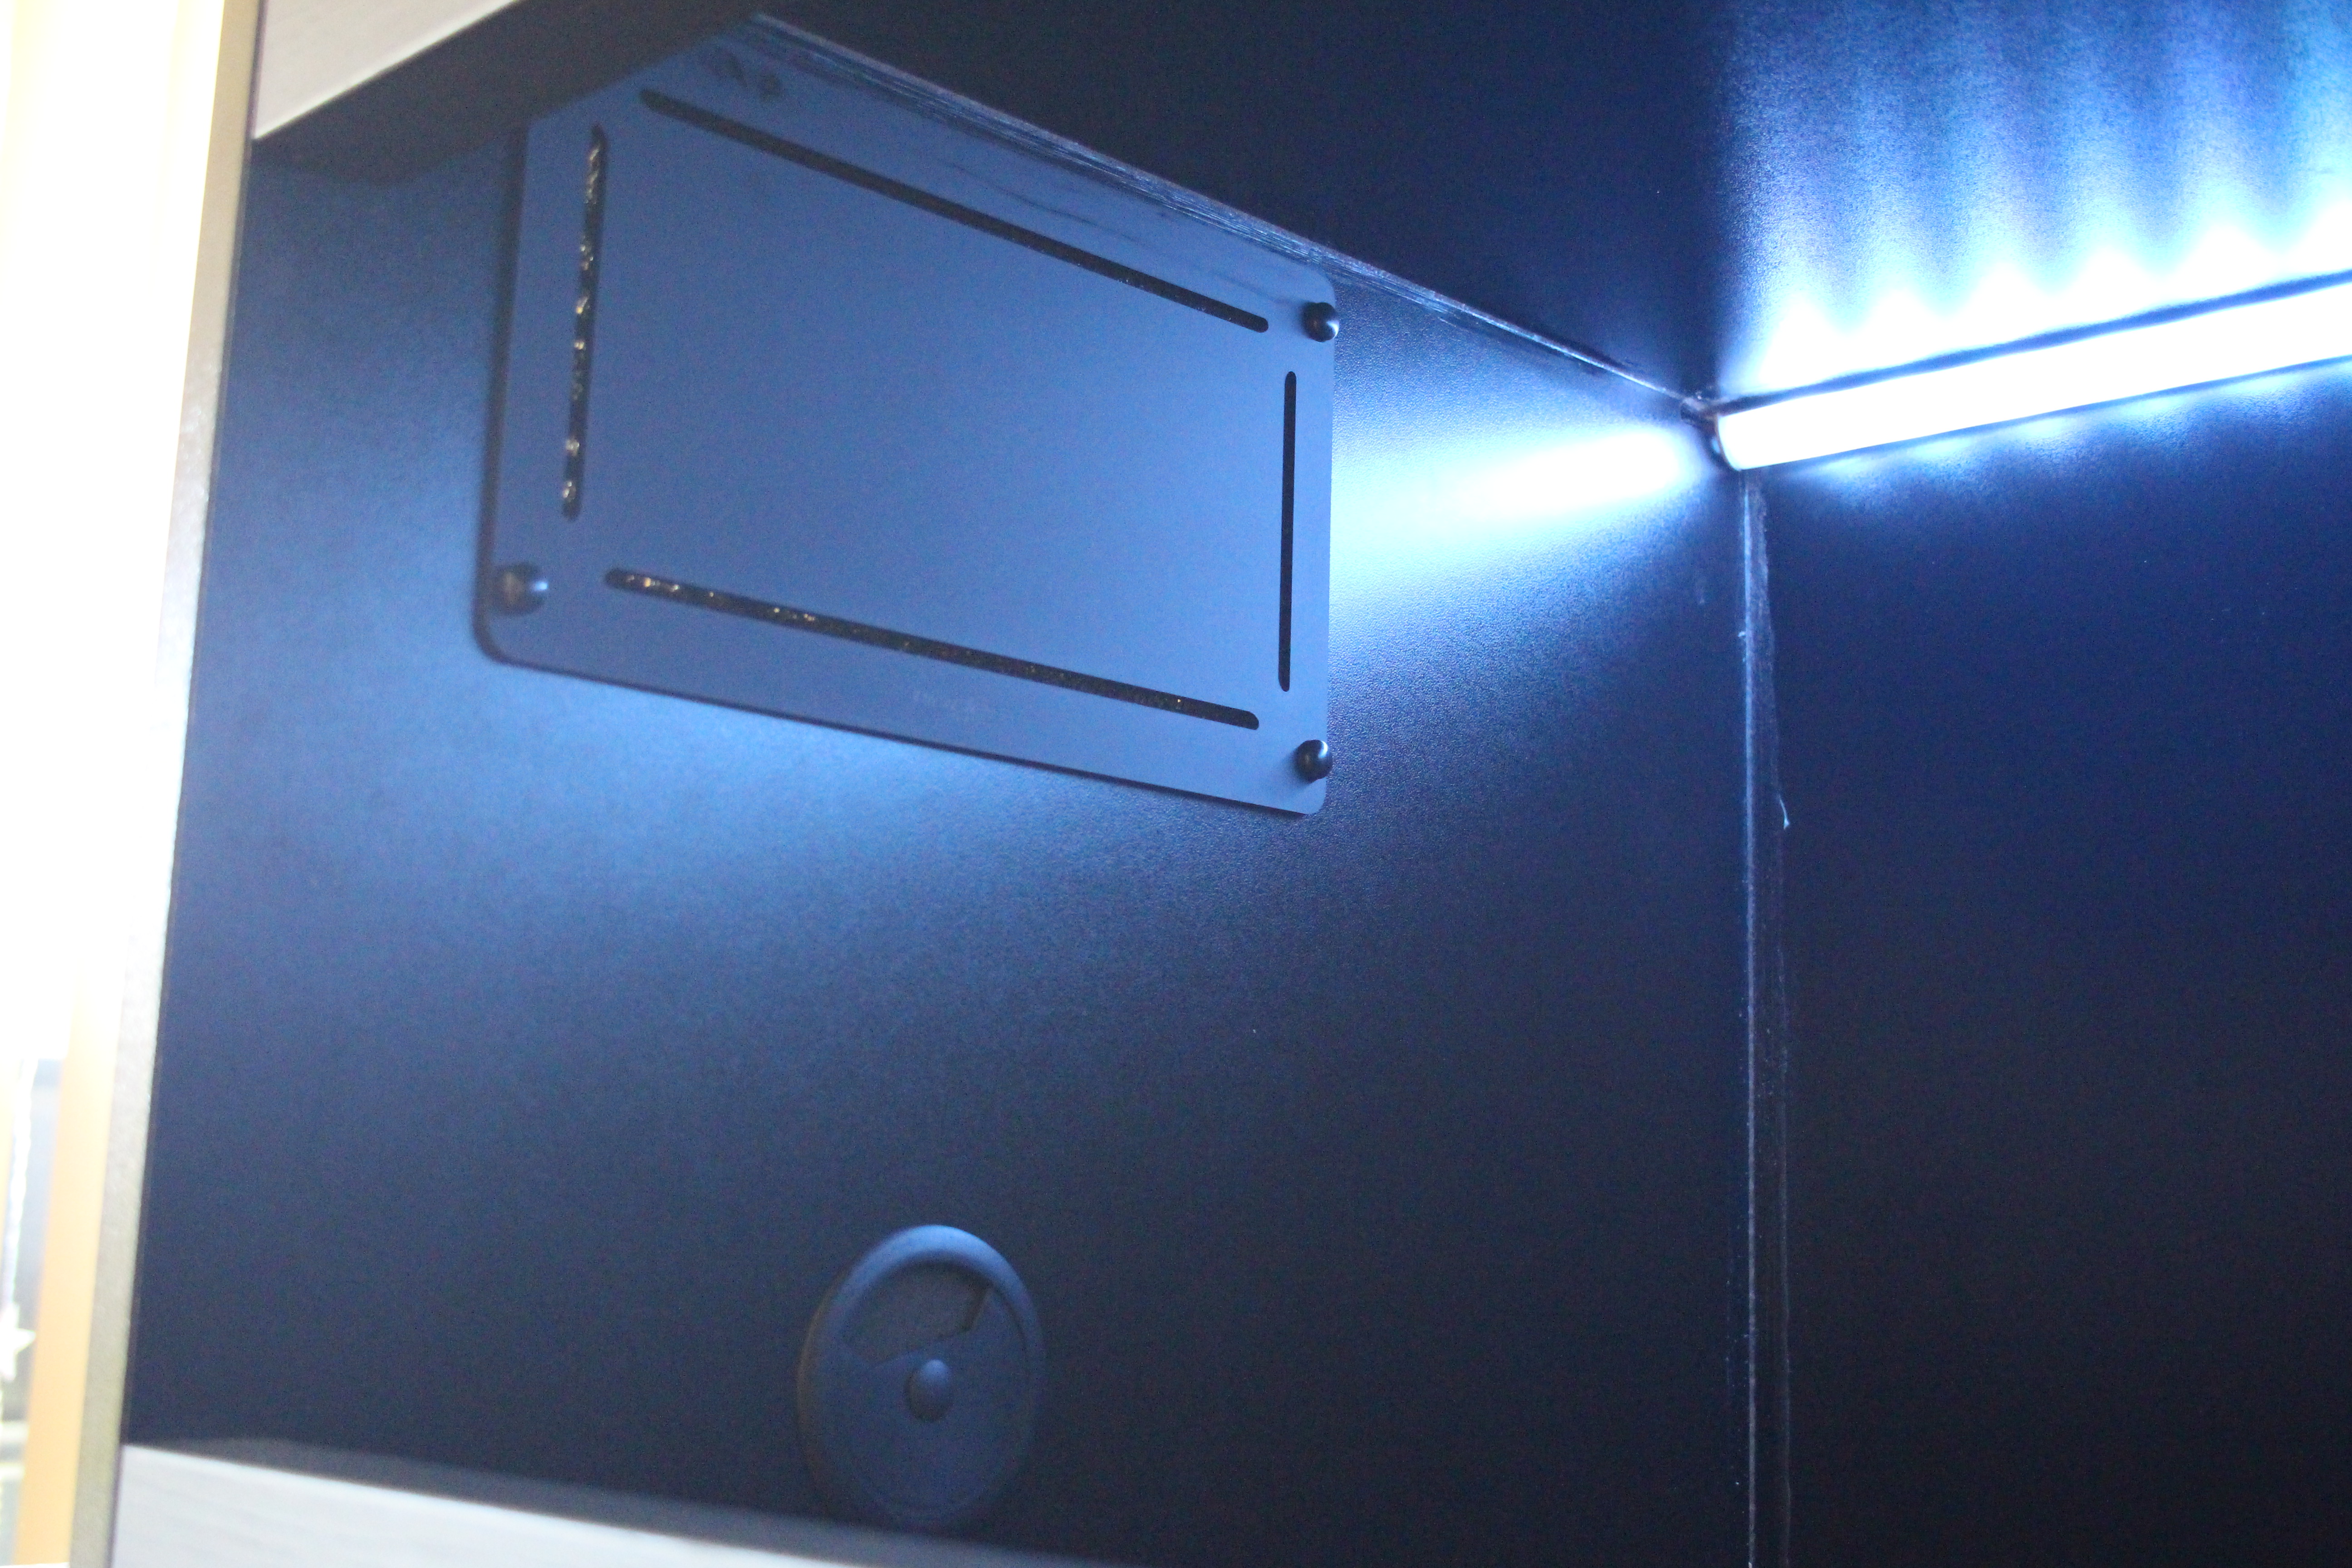
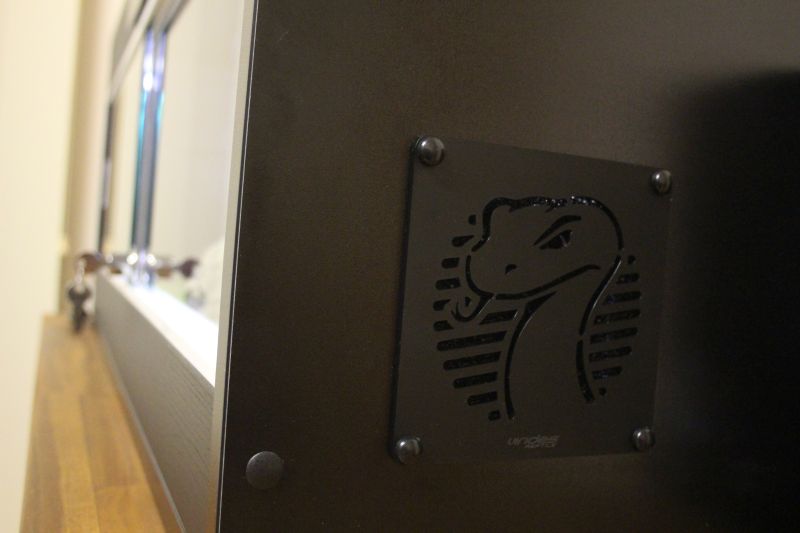
- I'd like to use Virides Reptile vents, just to look pretty. Plus I think they may provide airflow without actual cold drafts in winter.
- O.D. of floorplan to be 910mm x 460mm. Not sure if this is ideal but it would be most convenient for me.

I am planning on 16mm thick melamine, as you can see in this first draft. I could go 25mm to overcome a glass track width issue I'm having - read below.
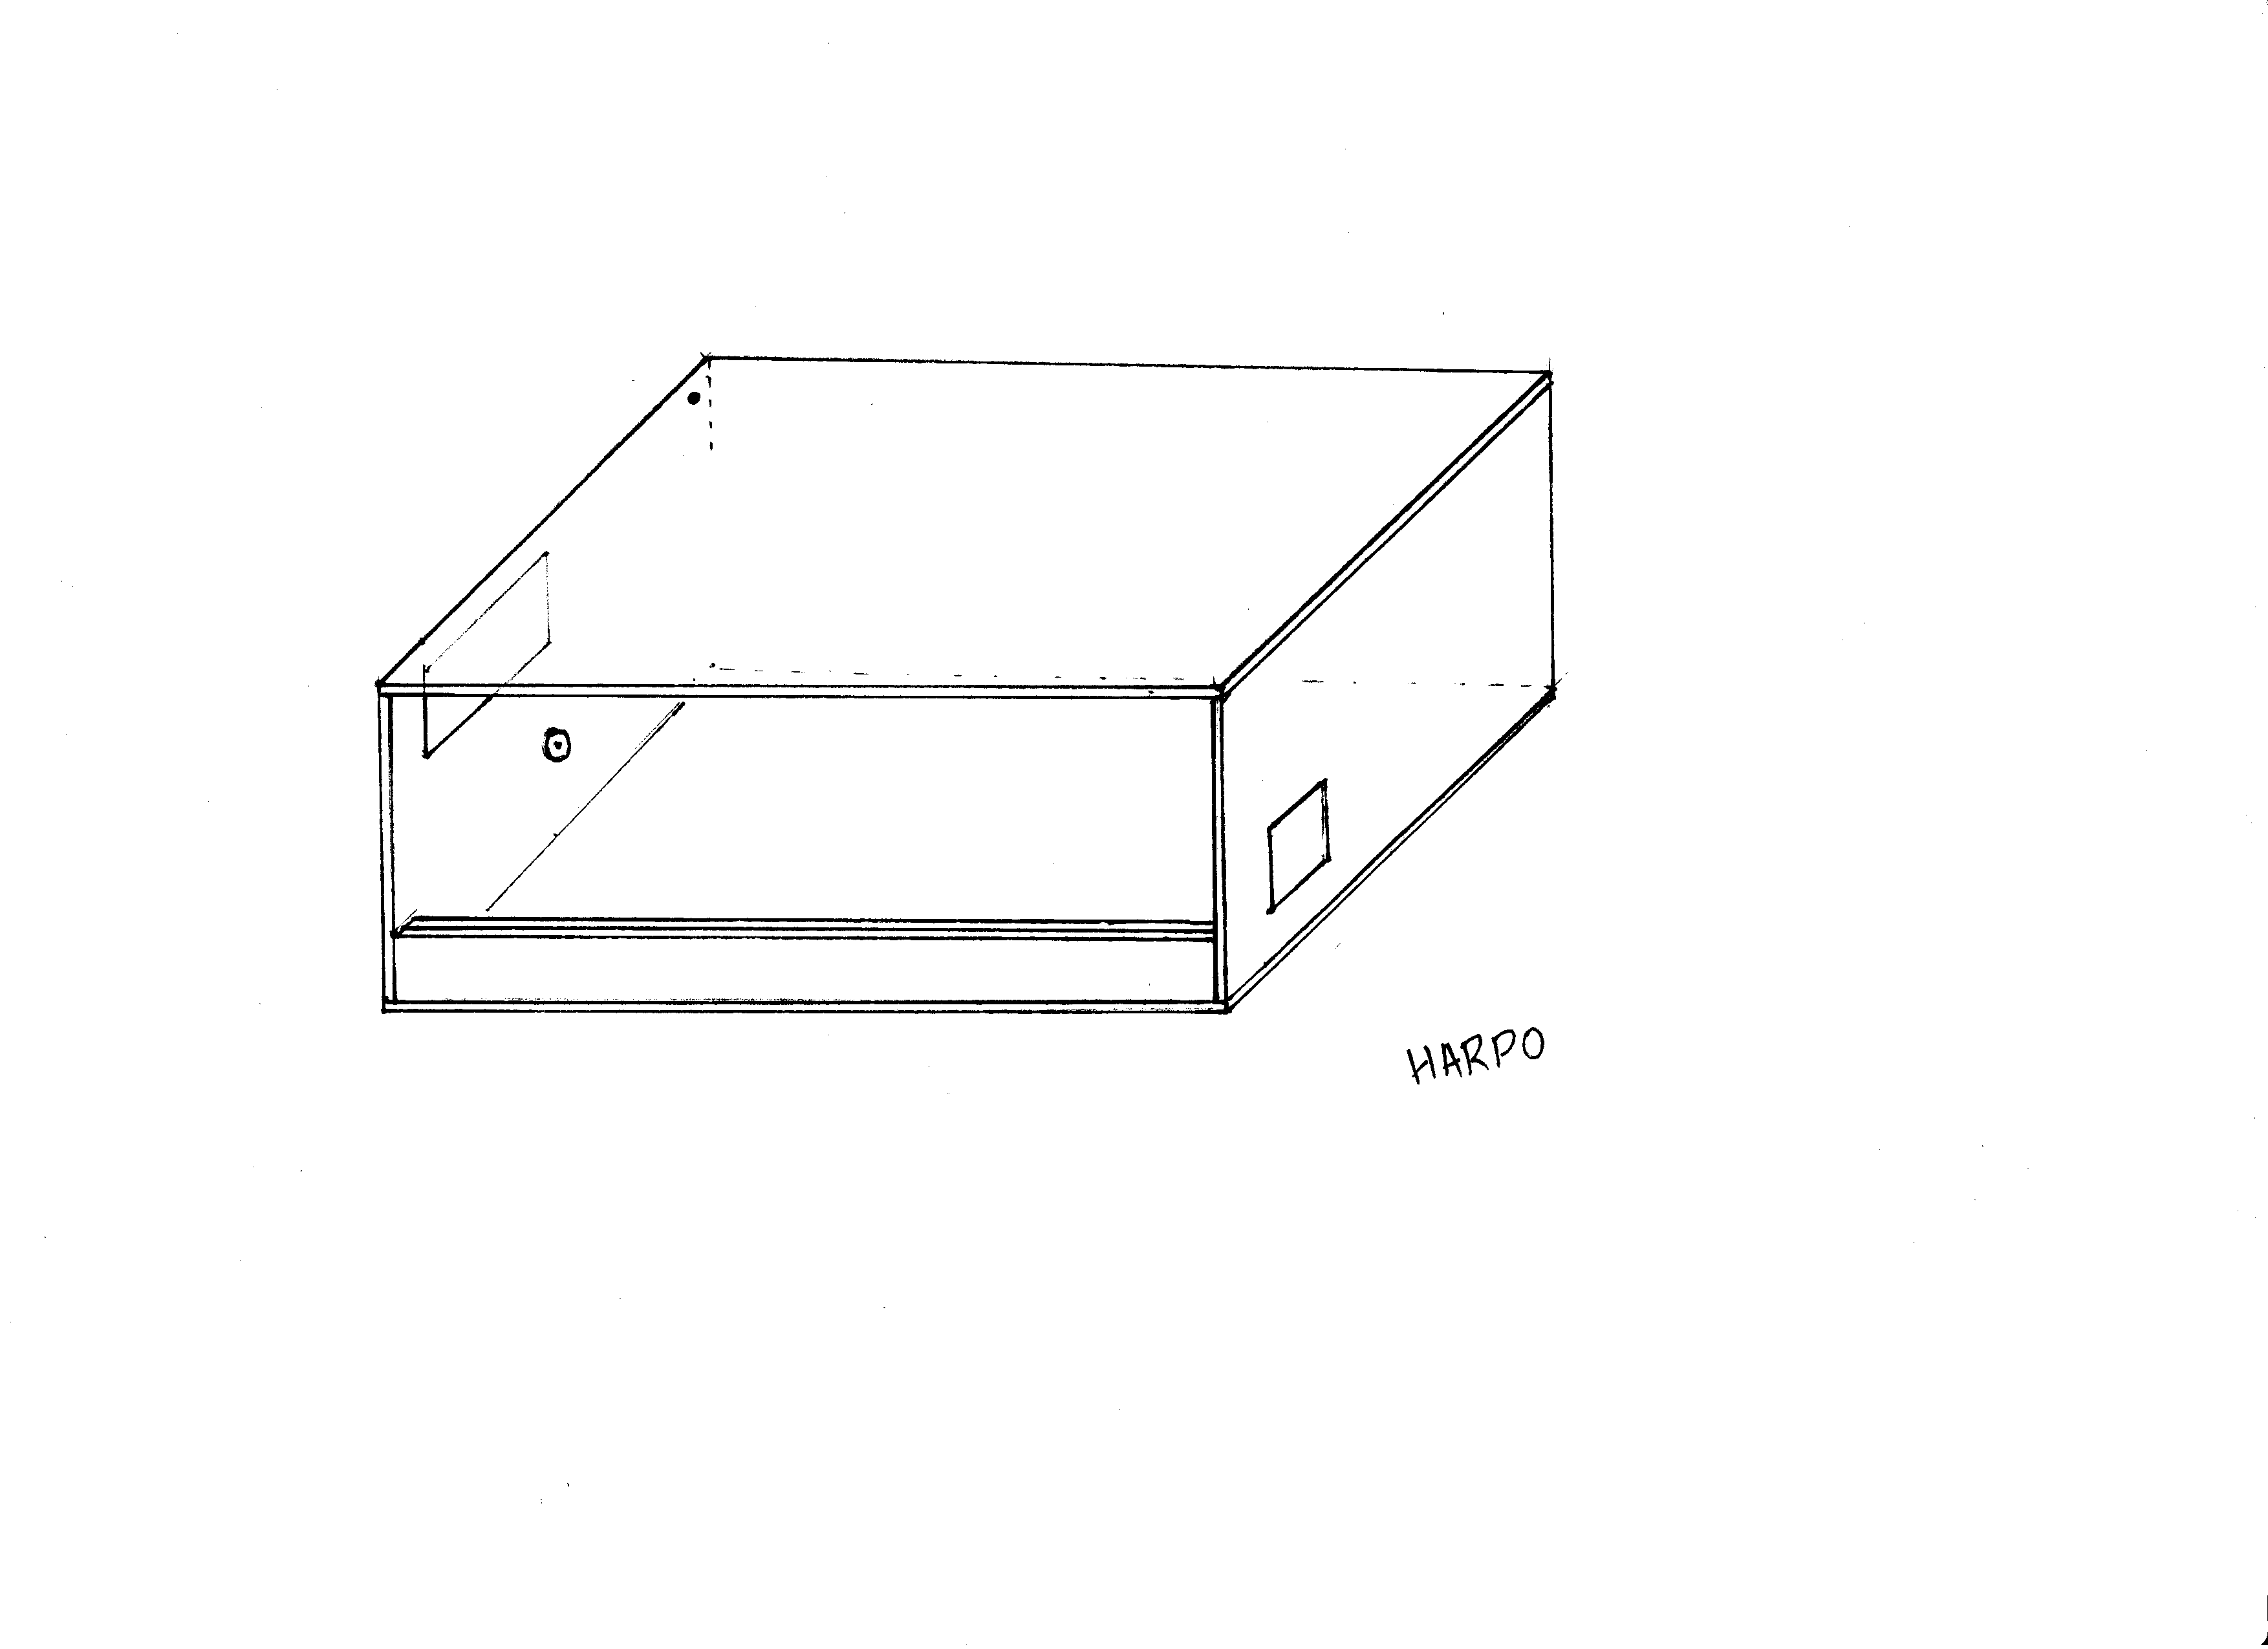
I have drawn 2 "large vent side" pics as I'm unsure of what size would be best. I like the 100mm sq. one.
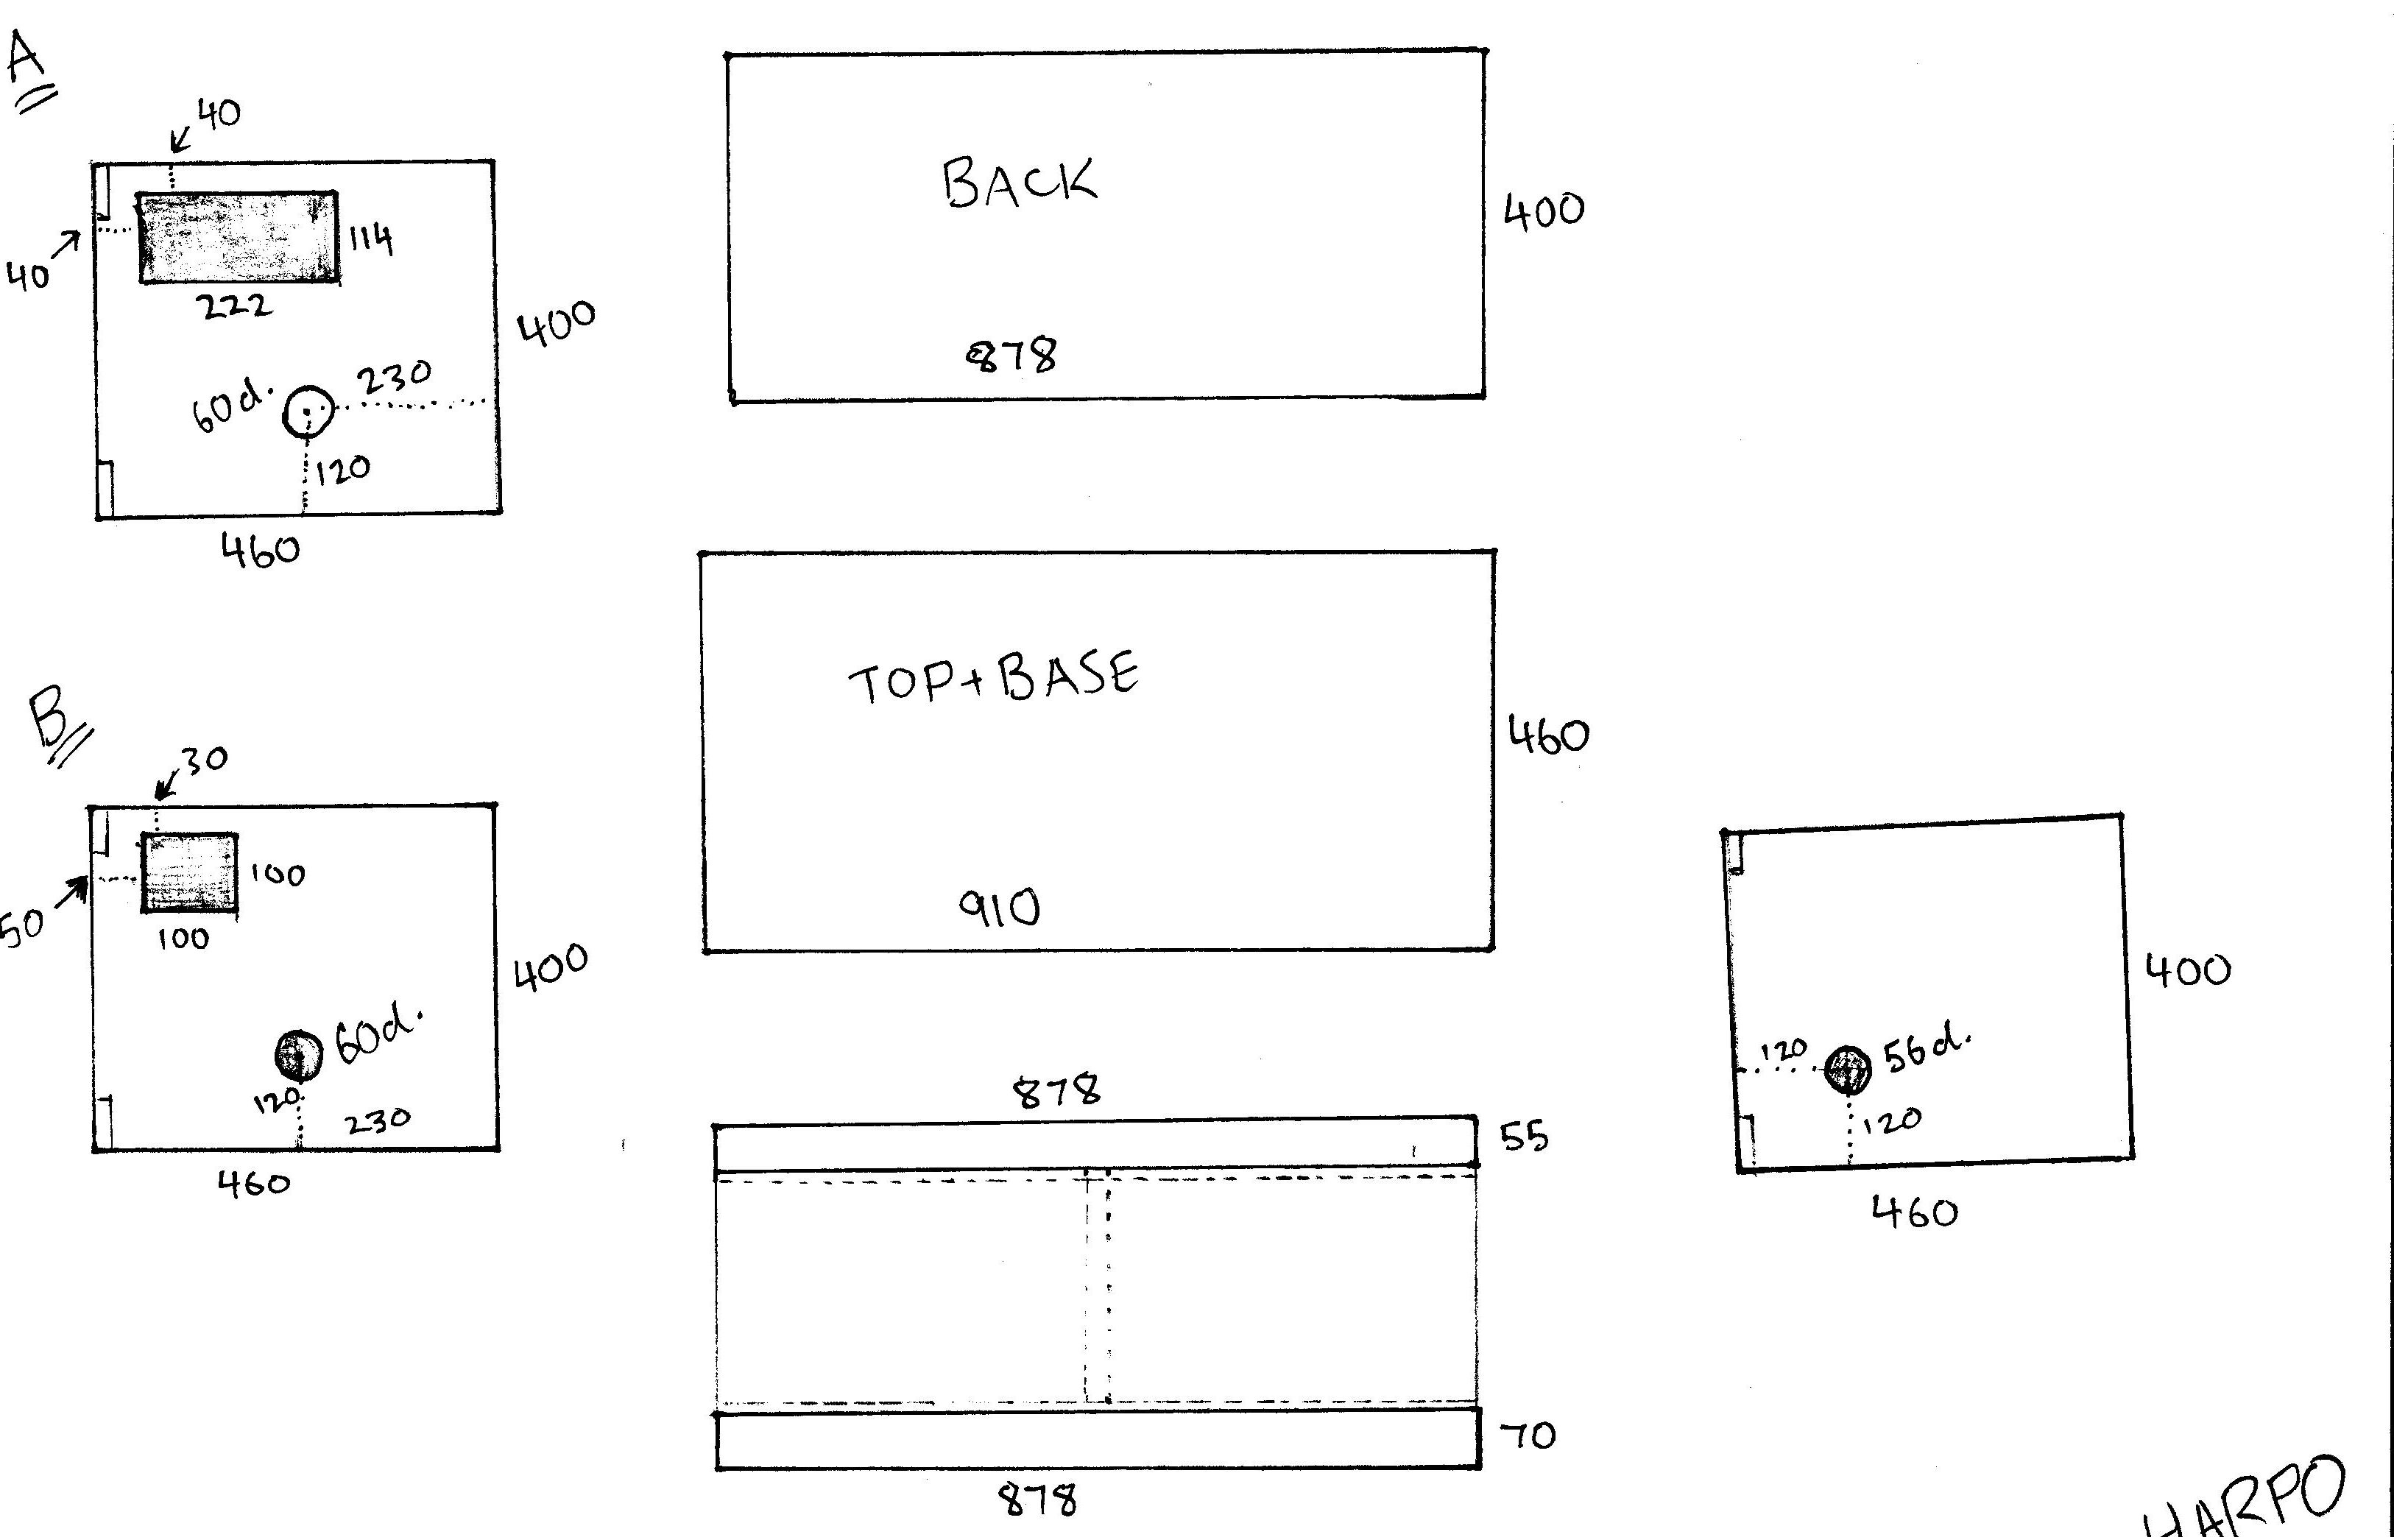


60mm hole - chord grommet. I'm looking for any alt. ideas.
56mm hole air vent.
glass hole - 275mm H.

My only drama with this so far is finding a glass track that wide. The Cowdory plastic one may be 20mm wide which won't be flush, plus they only come in white or brown - not the look I want. I might be able to Rit dye the white one black, but something a bit more spiffy would be nice. I saw this

https://www.shopfittingsstore.com.au/cabinet-hardware/1719-sliding-door-track-rails-profile.html

Only 17mm at the bottom, but 21mm at the top..a bit better, and I don't mind the alloy look. Gonna check out local cabinet makers.

For light I'd like a LED behind a diffuser, maybe dimming (not through an app.). A simple 90mm downlight fom Bunnings for 10 or 15 bucks (nondimming) is the easiest thing I've thunk so far, although I'd like something very low profile/ slim. Ideas very welcome.

Heating will be a 400 x 300 ceramic tile on chord DIY jobbie.

I"m looking for any tips or advice or "heads ups", or products that might help me make the best enclosure I can before I draw up a real plan and get busy. Feel free to get technical - I love to learn. I'll make this a progress build thread.
 
Hi Harpo
Sounds like your pretty much on the right track. Personaly i don't like melamine and prefer marine ply, its stronger. If you live down south you may want to consider insulating it so you don't have to spend to much on electricity heating it, and i would get a good thermostat for the heat cord (tile). Personaly i use dimmer switch,s to control temps , but i only have 3 carpets, and i check their temps at least twice a day, making adjustments when needed. If you decide to use incandecent bulbs for lighting , you can use a dimmer switch and a timer to help control temps and provide a day - night cycle. Just my thaughts,
Good luck with the project .
 
Hi Harpo,
I'm planning the same build in near future!
Will also use melamin....
I'm not quite sure about the heating but i also thought about a heat tile.... I don't know if that's enough heat to heating up the whole enclosure and how much watts i should use...
So i'll follow your thread, it's quite interessting for me!
 
I'm planning the same build in near future!
So i'll follow your thread, it's quite interessting for me!

Hi Kaiwei,
Cool, that's why I'm doing this thread. I plan on sharing alot of detail if I can. Time and cash are not high on the priority list, it's more about trying to make something half decent and species appropriate.

get a good thermostat

Hi CF Constrictor,
Done. I recently upgraded to an EVO Lite thermostat :cool:
I will think about insulating it, I am in NE Vic. and it gets a tad nippy at times. Do you mean something like this:


but with a roof lid (not drawn). I really like the idea of hiding a light fitting in that gap. I could alter the cavity gap to suit the profile of the light fitting I end up with. Losing height in the snake's living quarters might be advantageous for humidity too. I guess it'd end up closer to 300 - 320 ish high inside the enclosure. A bit low maybe?

I think I'd have to be able to open the top off to clean. I don't like the idea of the cavity "sealed up". Insulating in this way I think I could go over-the-top with my drawing design ideas. I have not seen any insulated set ups, I'll jump on google over the weekend.

I was trying to avoid incandessant light for humidity. It can get dry where I live. LEDs are so cheap to run, and I should be able to find/make something so low profile it'd fit in a routered out section inside the 16mm melamine completely hidden, ideally.

Good luck with the project .

Thanks, I'm gonna need it. :(
 
Hi builder i just made this one out of melamine. Vents and glass door slider all from bunnings.

Gonna use heat cable with tile. When i get it ill let you how well it holds temp. :)
20200819_170814_compress79.jpg
Also starting making this one last night.
received_590184651674953_compress8.jpg
 
I would recommend going the standard 120Lx60Dx45-60H

This way if you decide to build more, you can stack them easier instead of playing tetris

And then u can have a tile setup that’s 40cm

You can also have a hot end divider, with just a 1cm thick piece of wood with a fairly large hole cut out, this stimulates “exercise” and gets them to move instead of just slugging from one end to the other!
[doublepost=1597971748,1597971710][/doublepost]My enclosures have a 5mm thick wooden tile on top of 50w heat cord with silicone around the edges

BF9D7203-CEE9-45F3-ABE8-EECDD70BBE55.jpeg
 
Last edited:
Thanks for the pics guys, I see the obvious solution to my glass track width issue. I have removed the top front section, and will I will now attach the top track to the underside of the roof of the enclosure, like in the above pics.

note: I have edited to remove useless info, so here is some more:

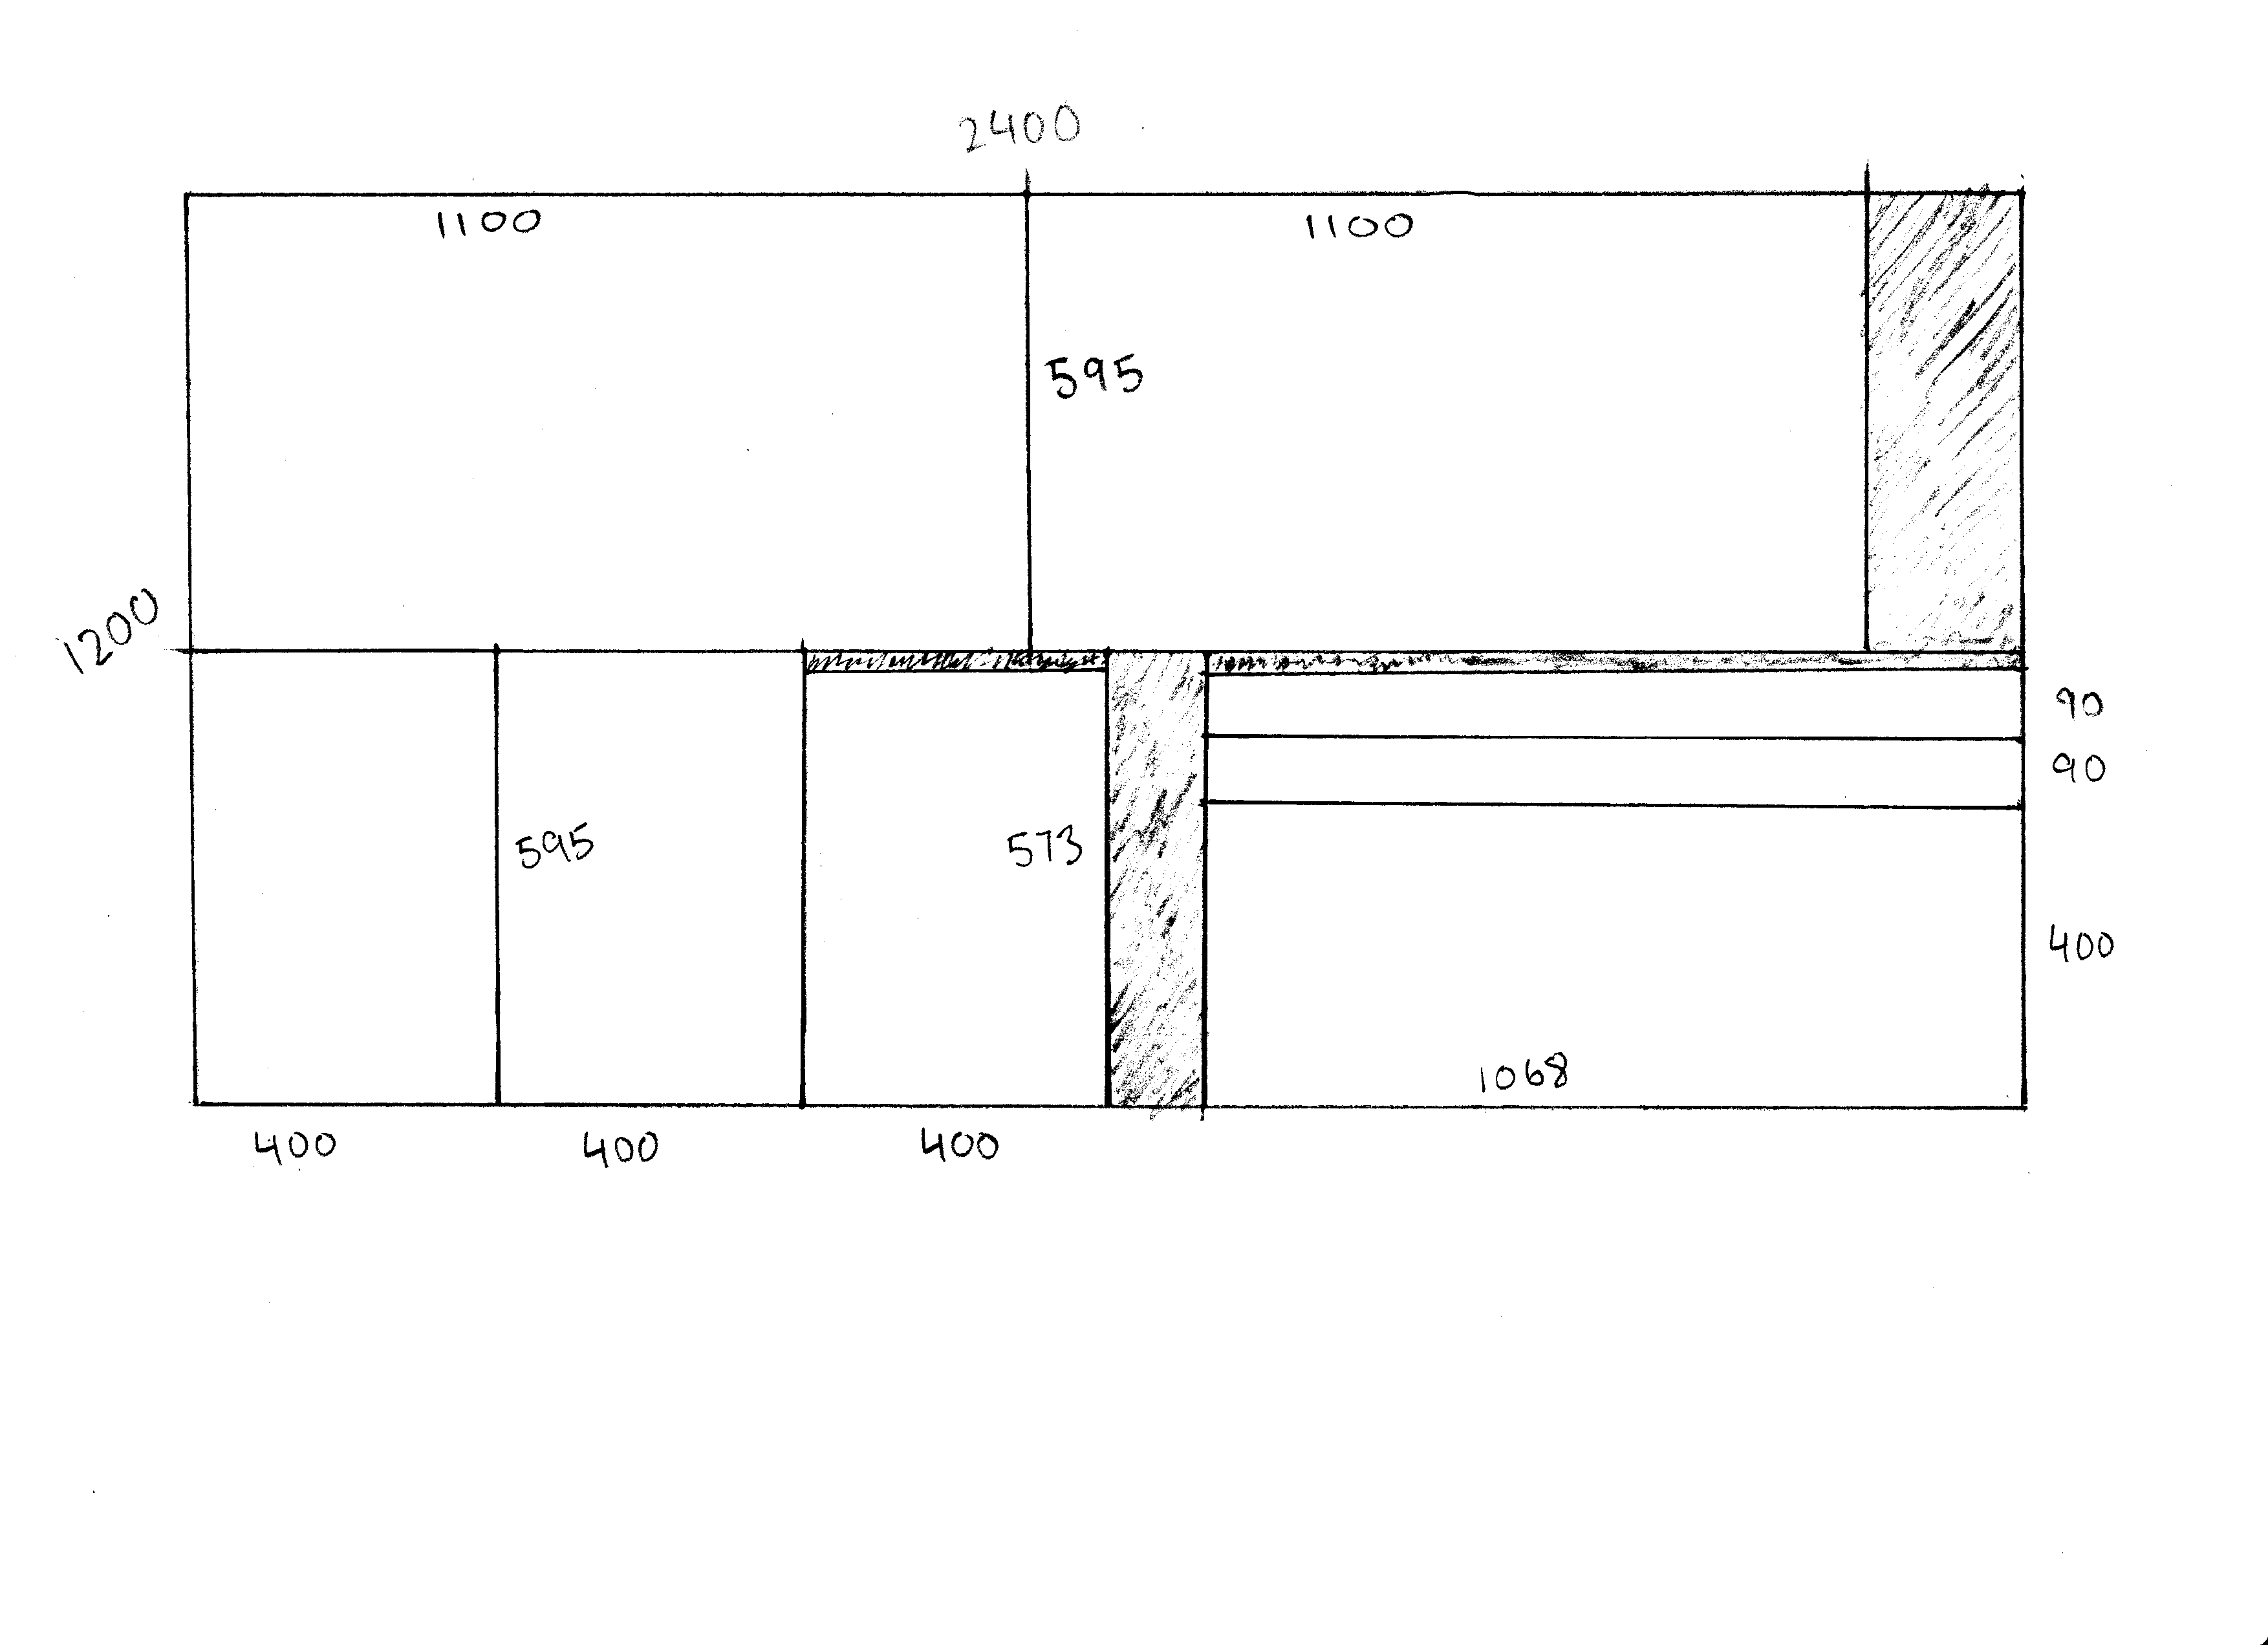
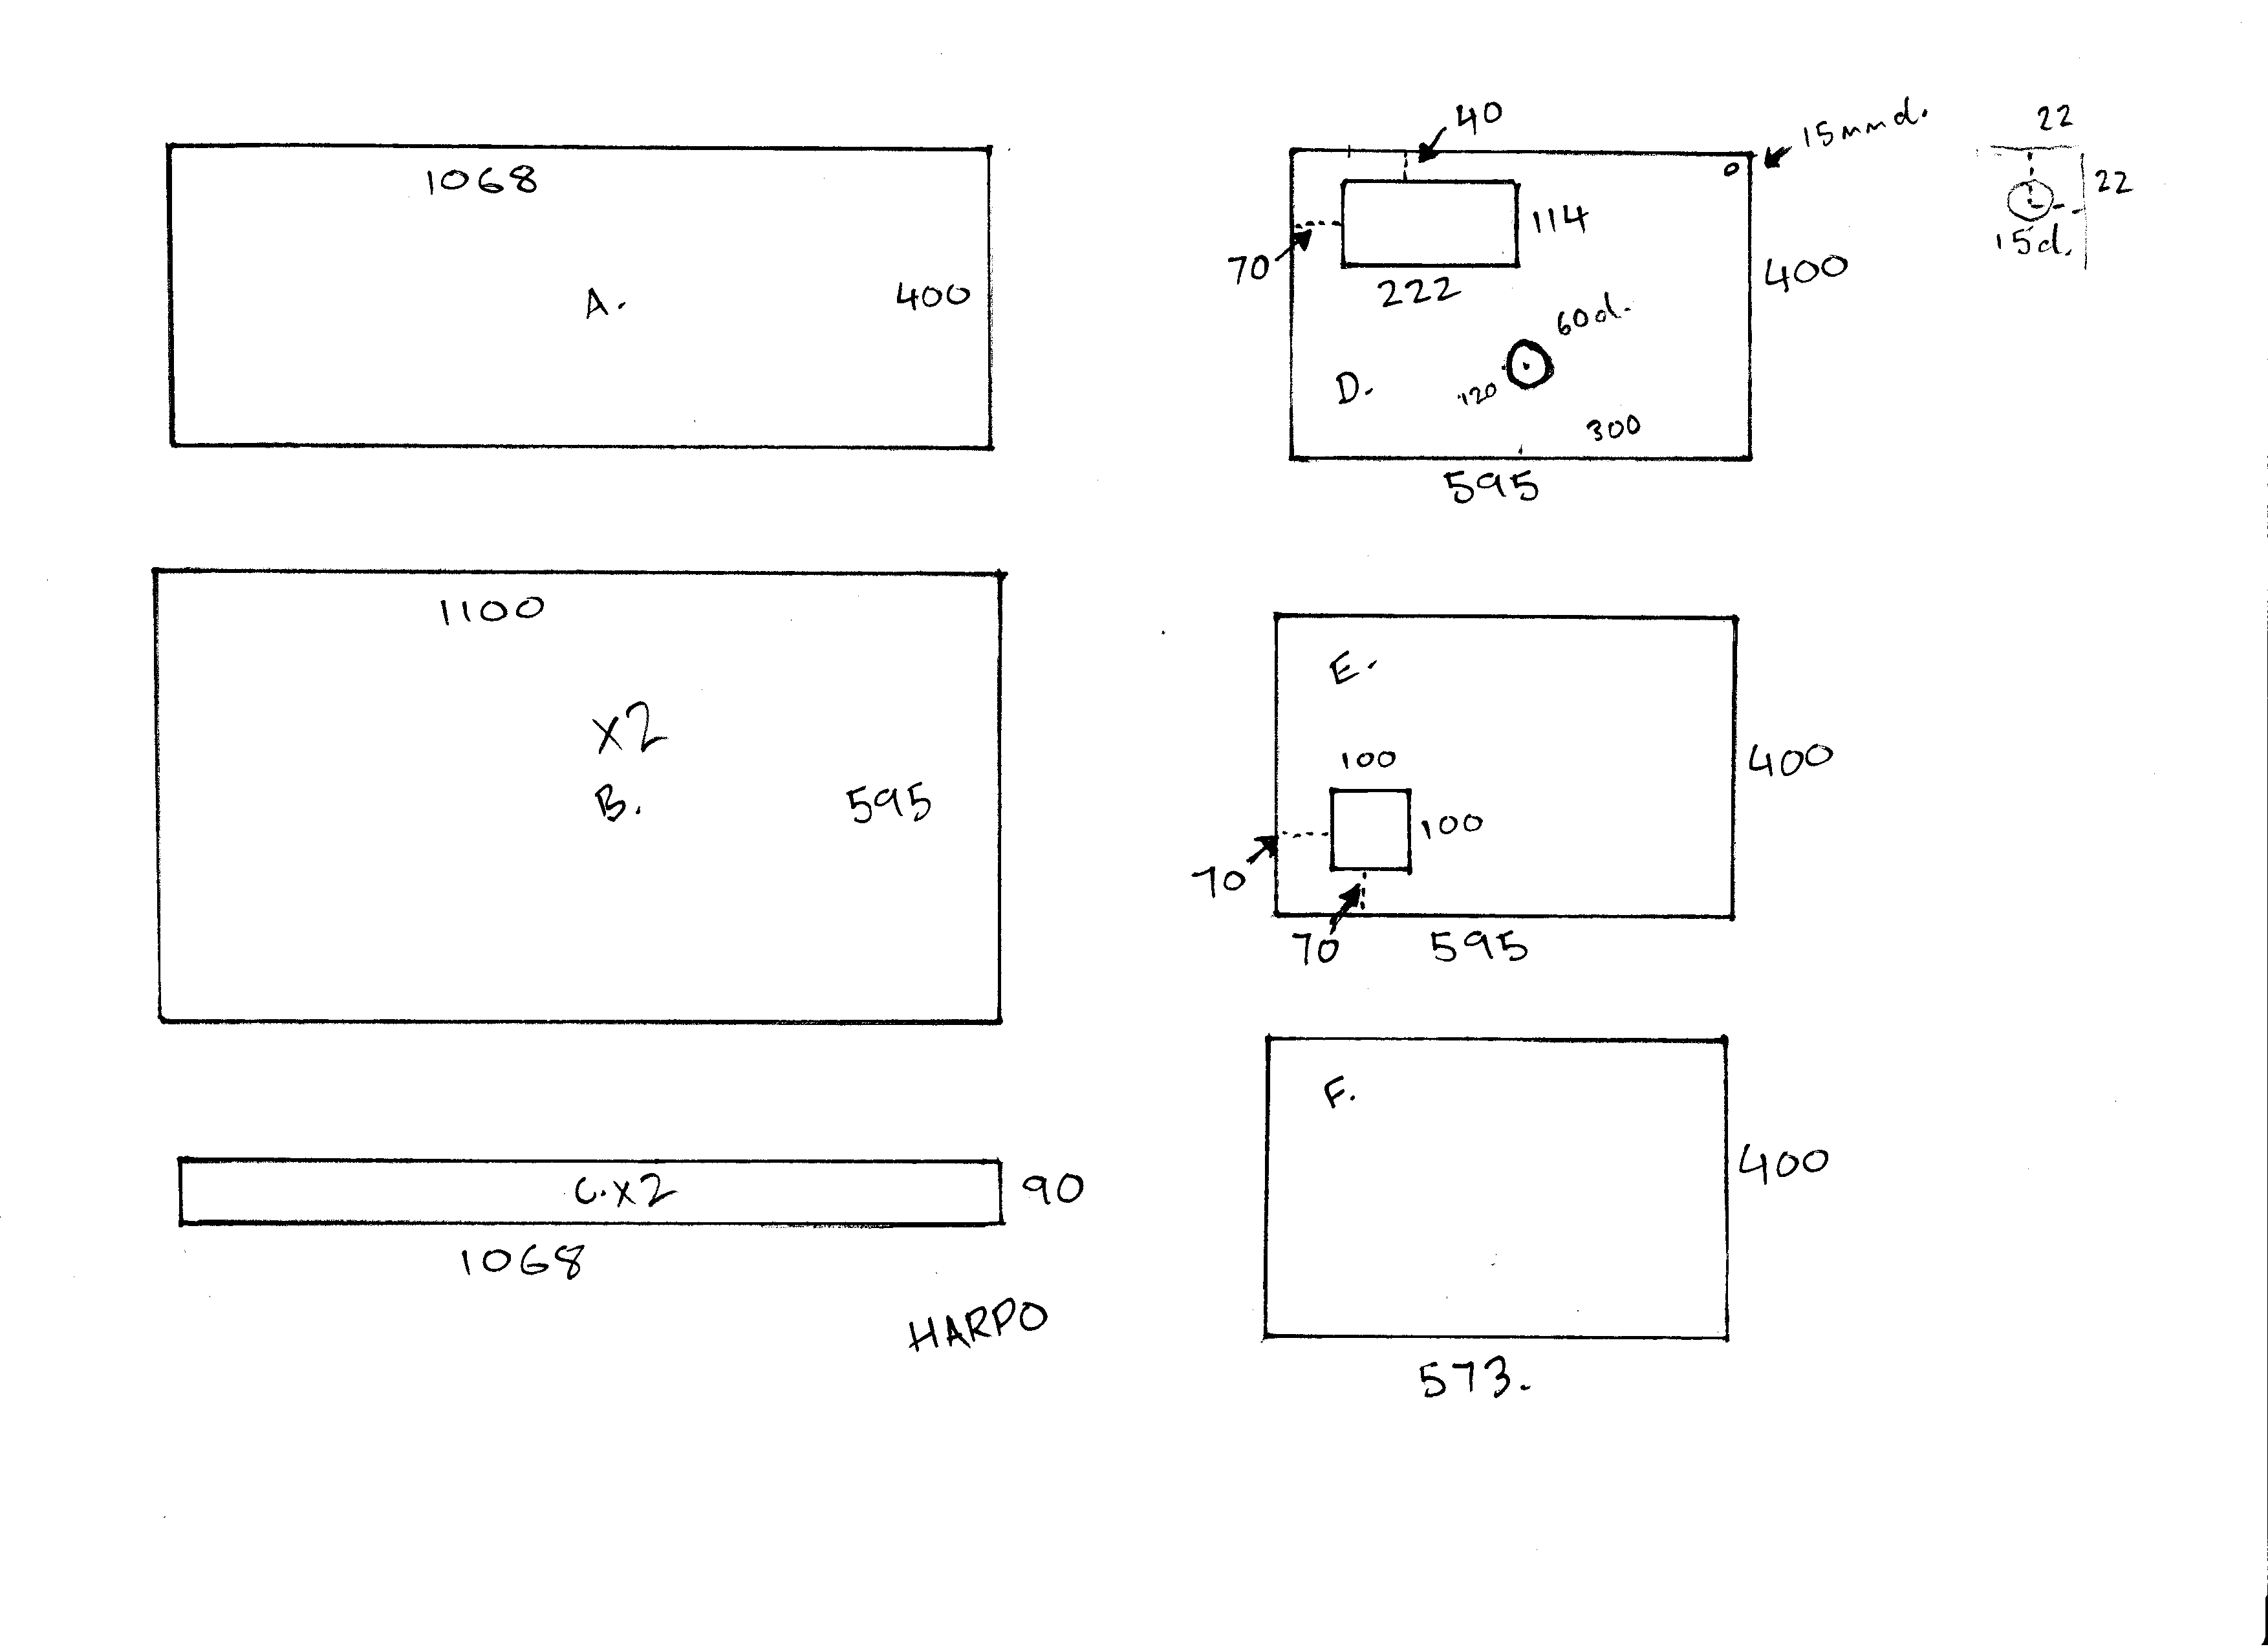
New, and hopefully, final draft:


A few changes:

2 front bottom pannels screwed and glued, for extra width for any type of runner to fit up to 32mm.
A 15mm hole to wire the light, a "V" type strip LED alu. housing is the idea I'm running with ATM
I raised the front bottom to 90mm only to fit the nameplate on the front neatly.

I have an idea to run past you folks for the warm/cool divider - more diagrams to come soon. :rolleyes:
Plus its gotta help with structural integrity.

Because of the larger floor area, would a 500 x 400 tile be ok?
[doublepost=1598257579,1598128844][/doublepost]Bump due to large edit.
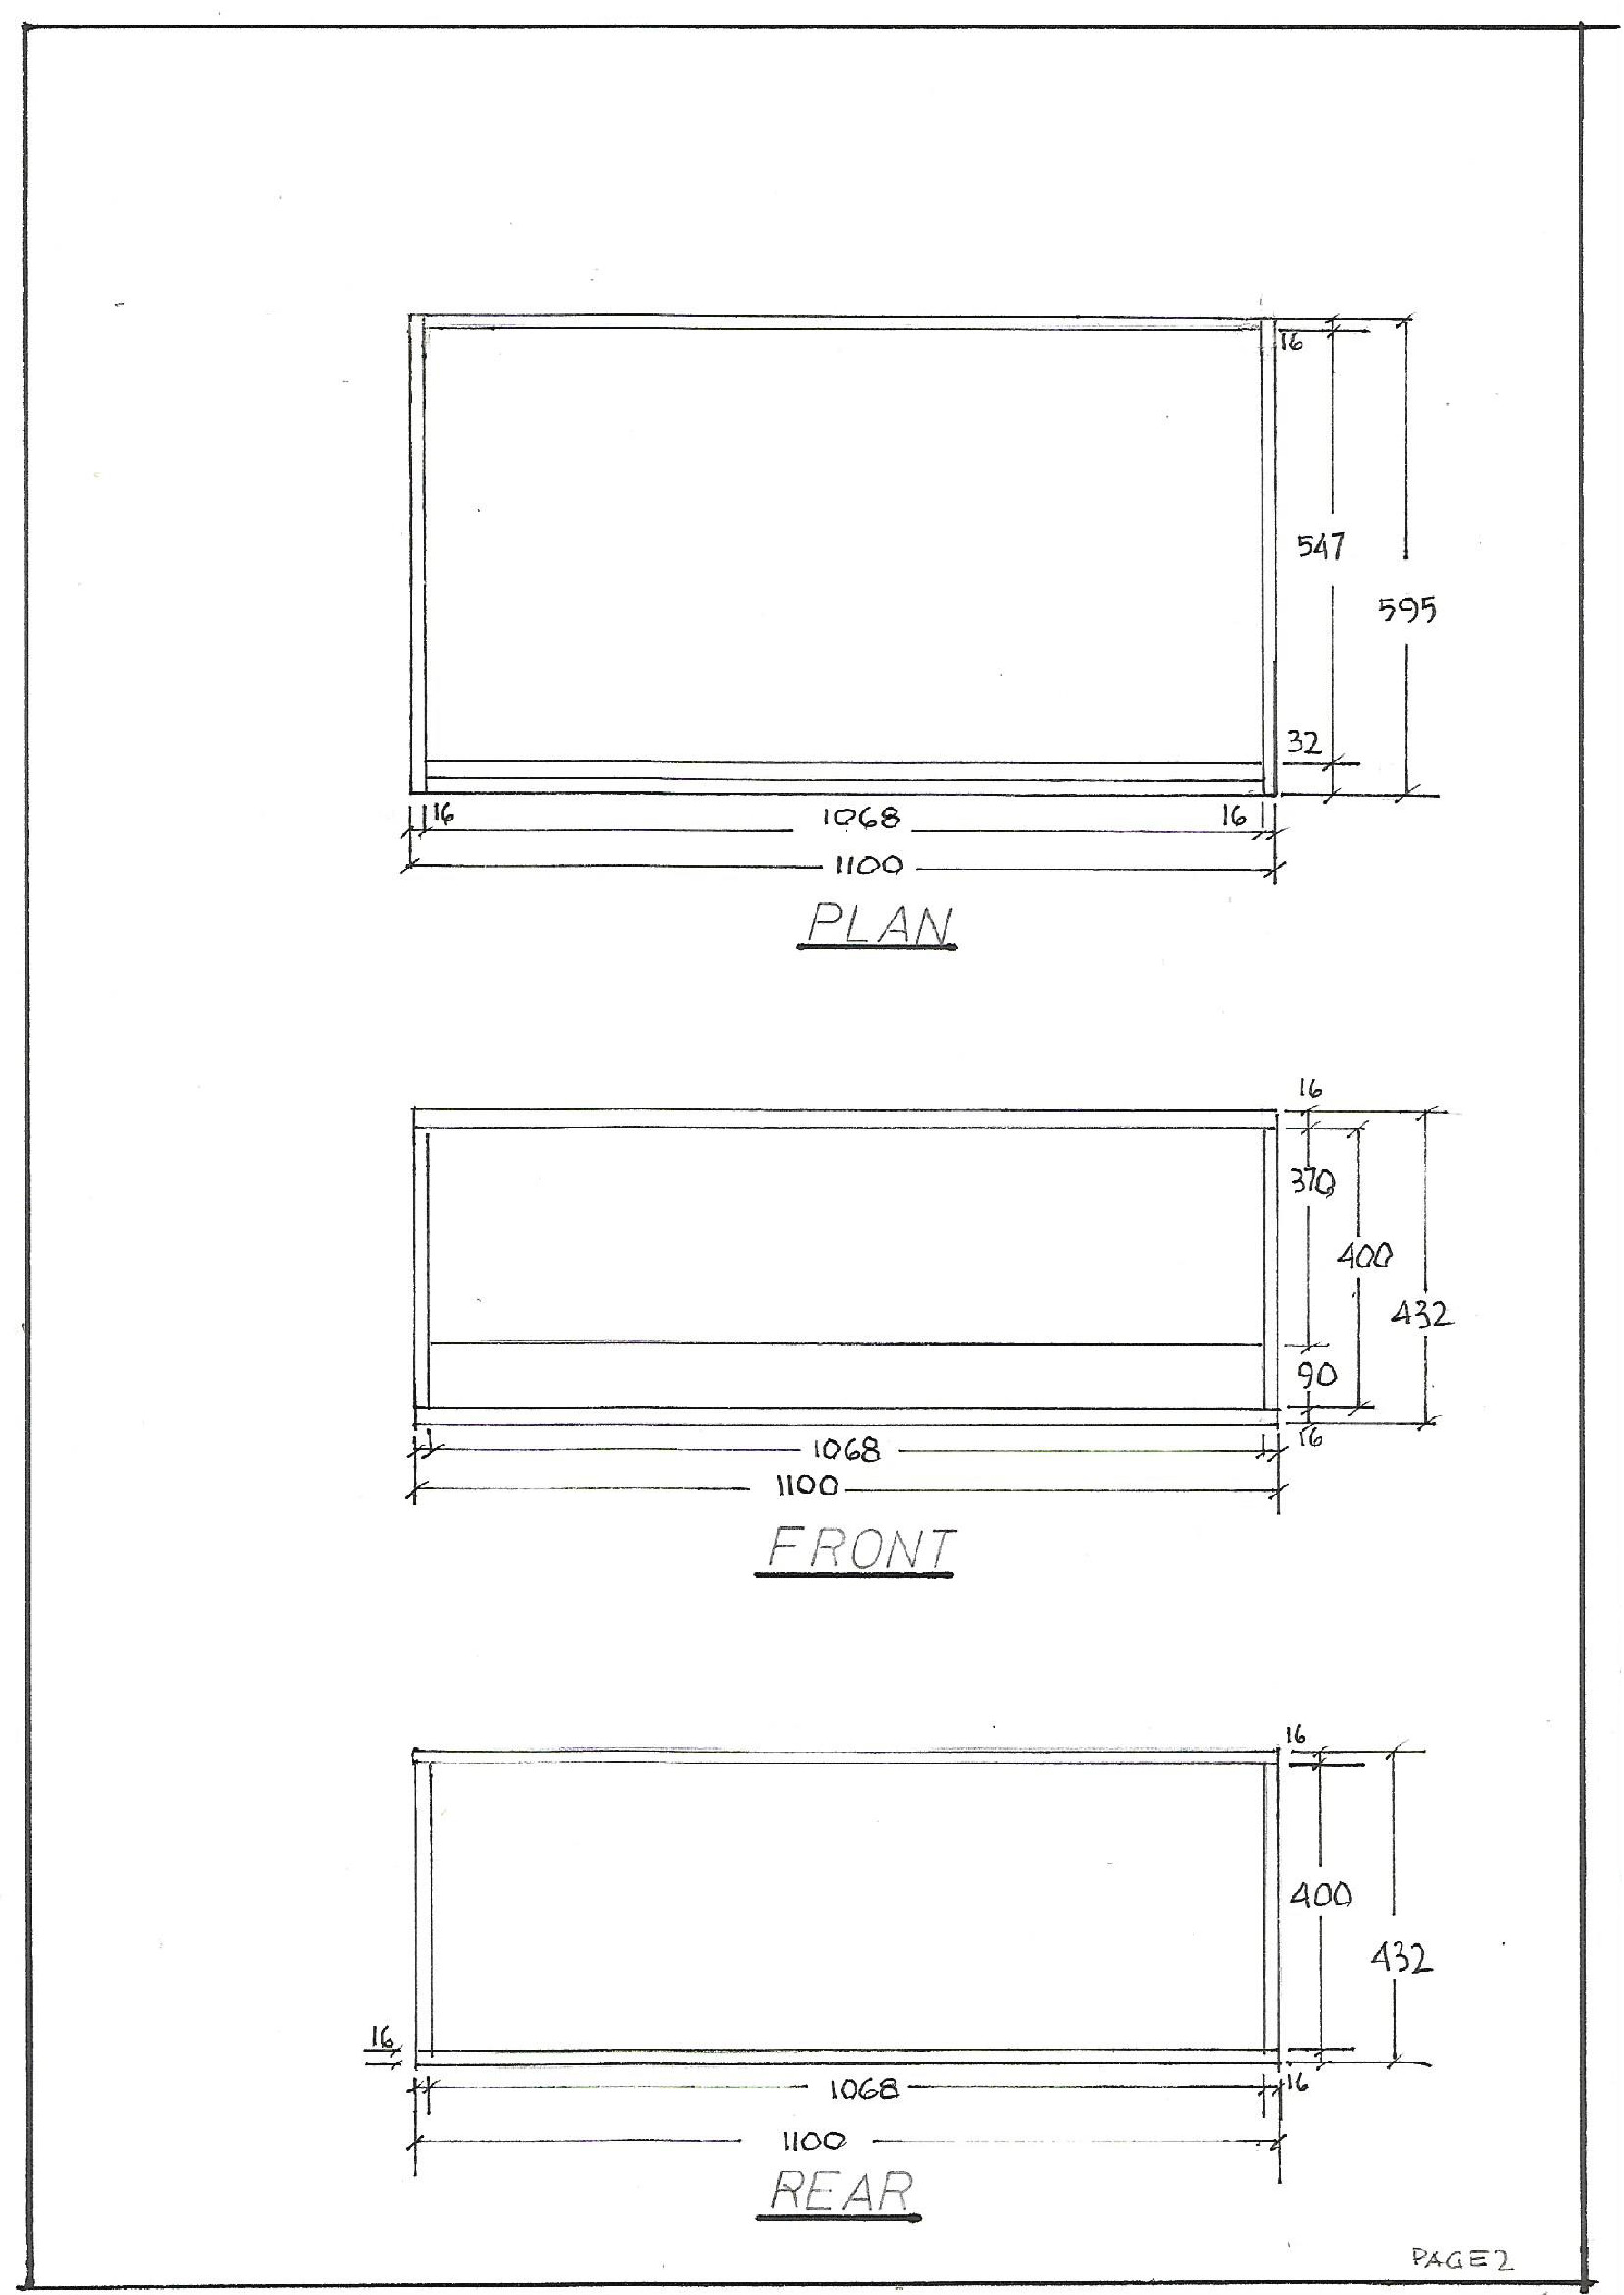
[doublepost=1598424436][/doublepost]Ooh, miscalculation on the divider there - part F. 573mm should be no more than 547mm oops. I luckily gave the draft to my Dad who's a retired Draftsman to draw a proper plan to give to the cabinetmaker (who's cutting everything and also supplying track/glass) and he picked up my stuff up. I'll post his draft on here when I get it. Hopefully cutting is all done next week :).
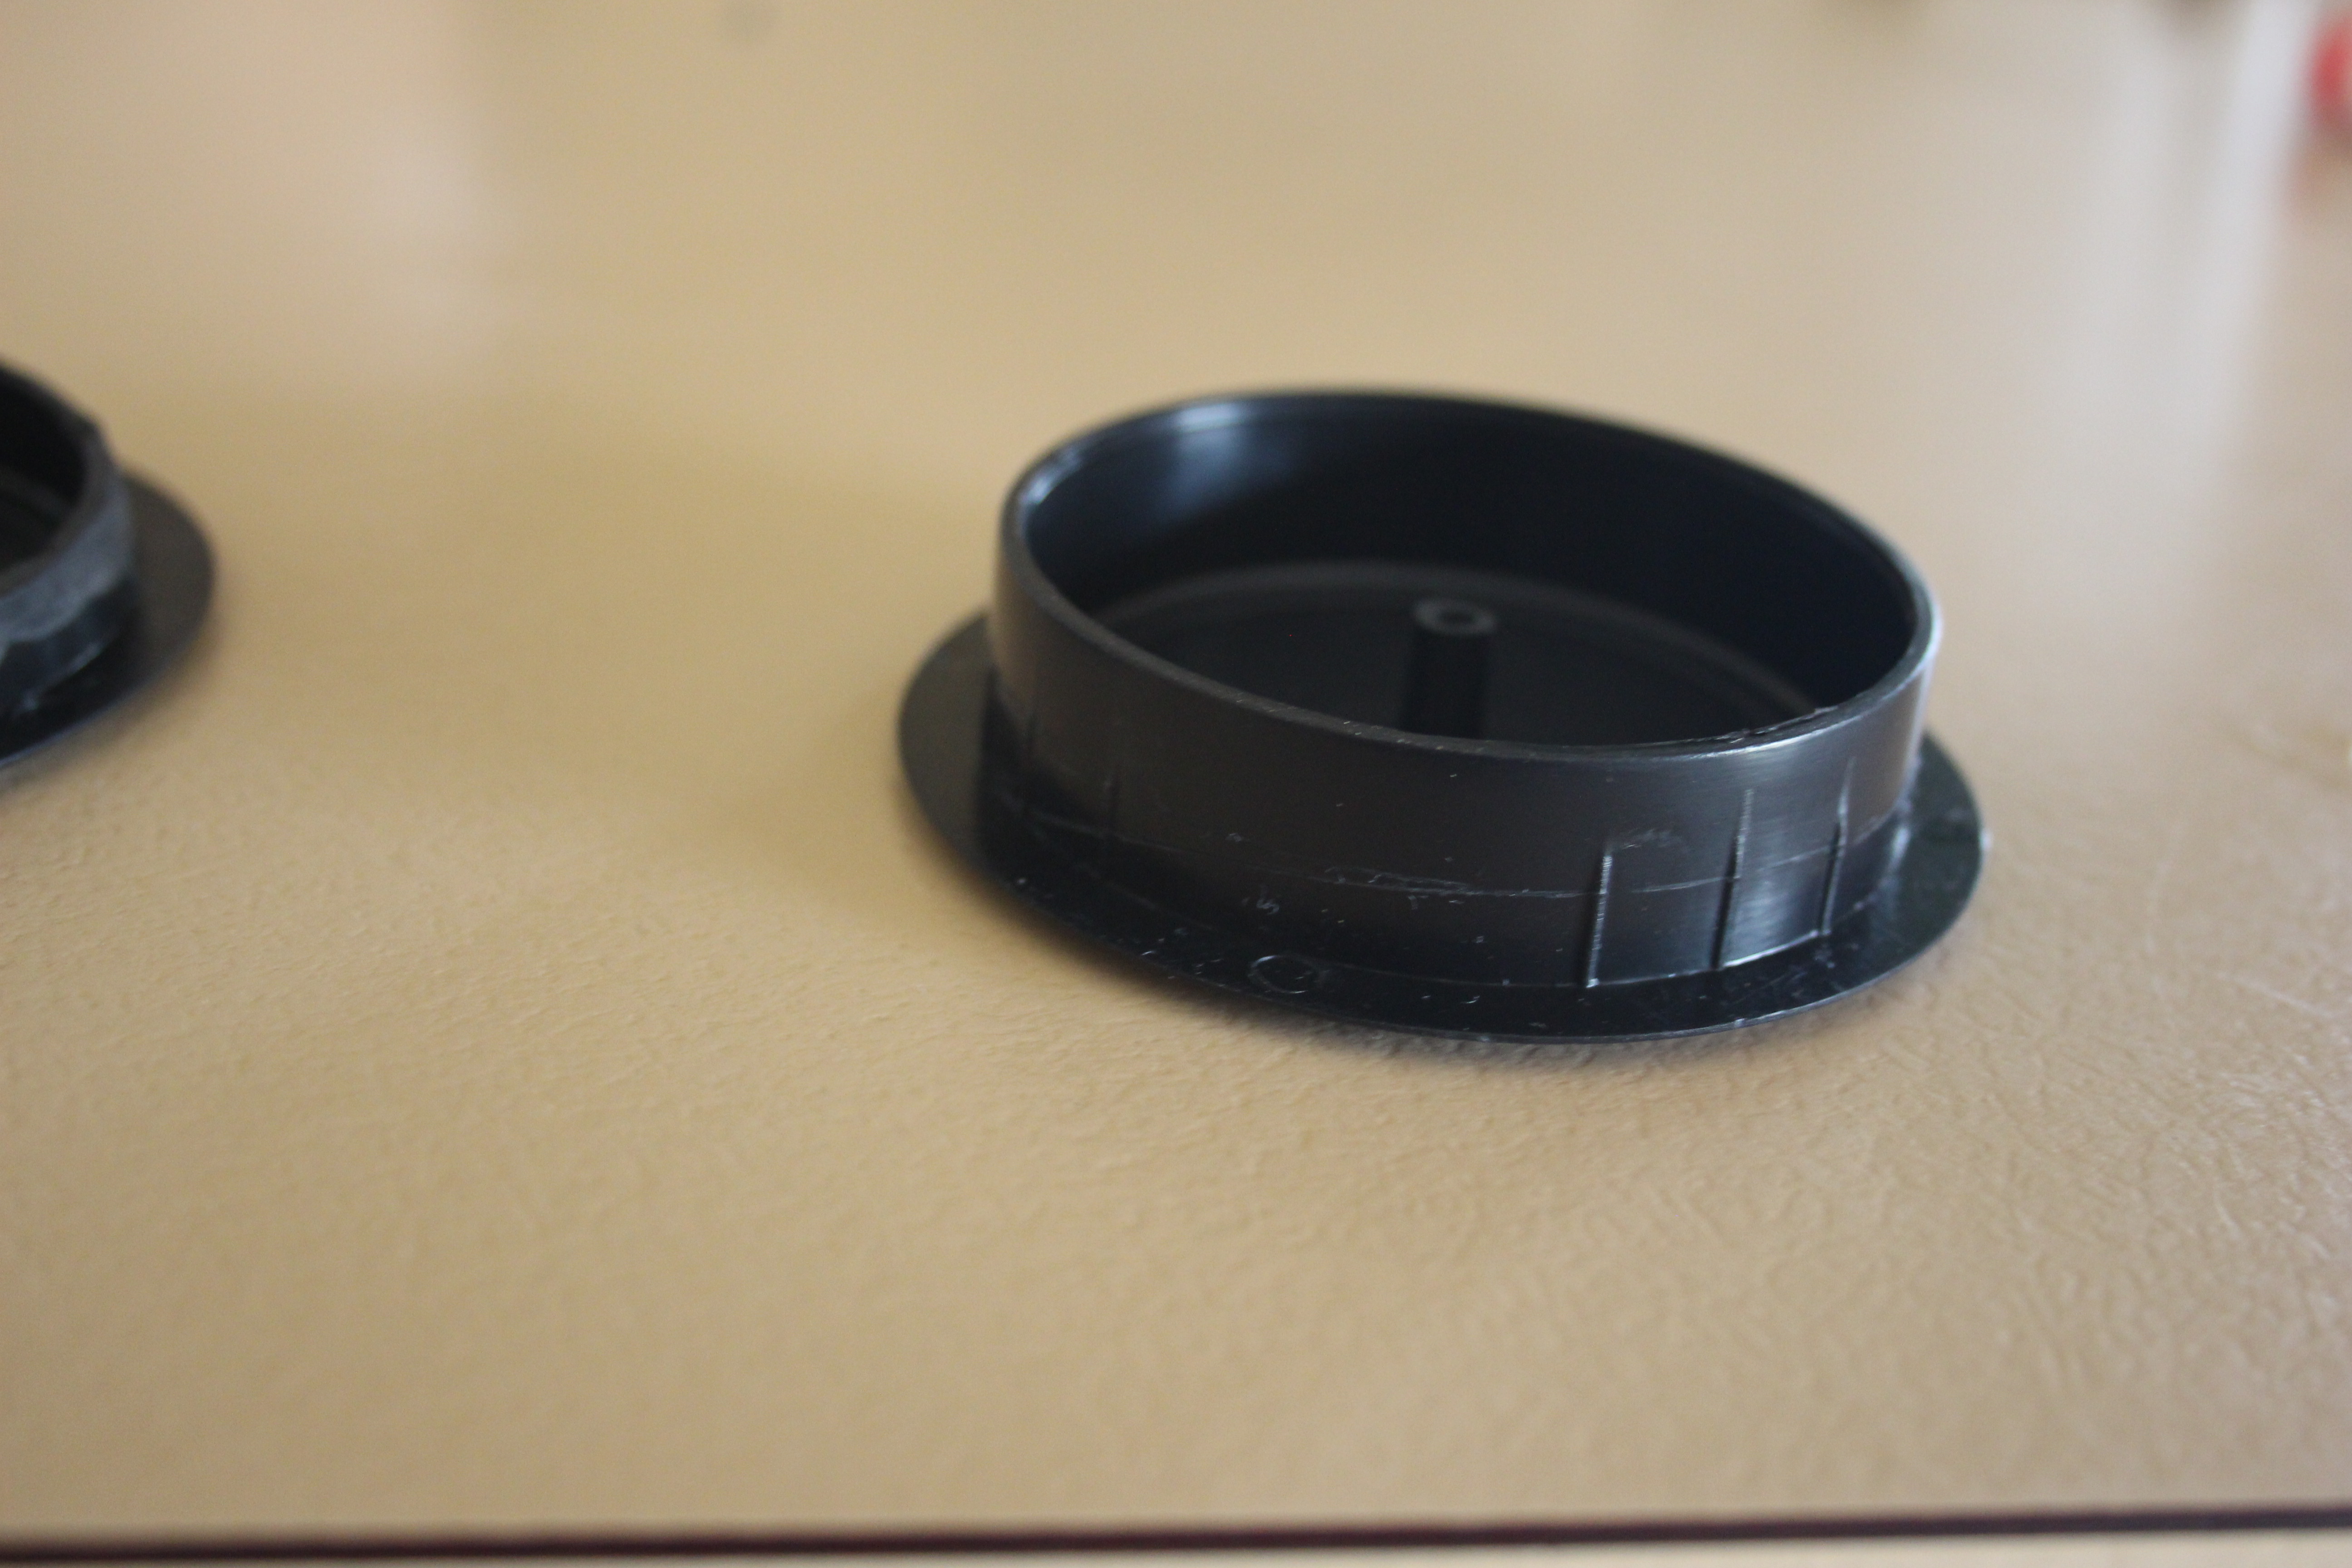
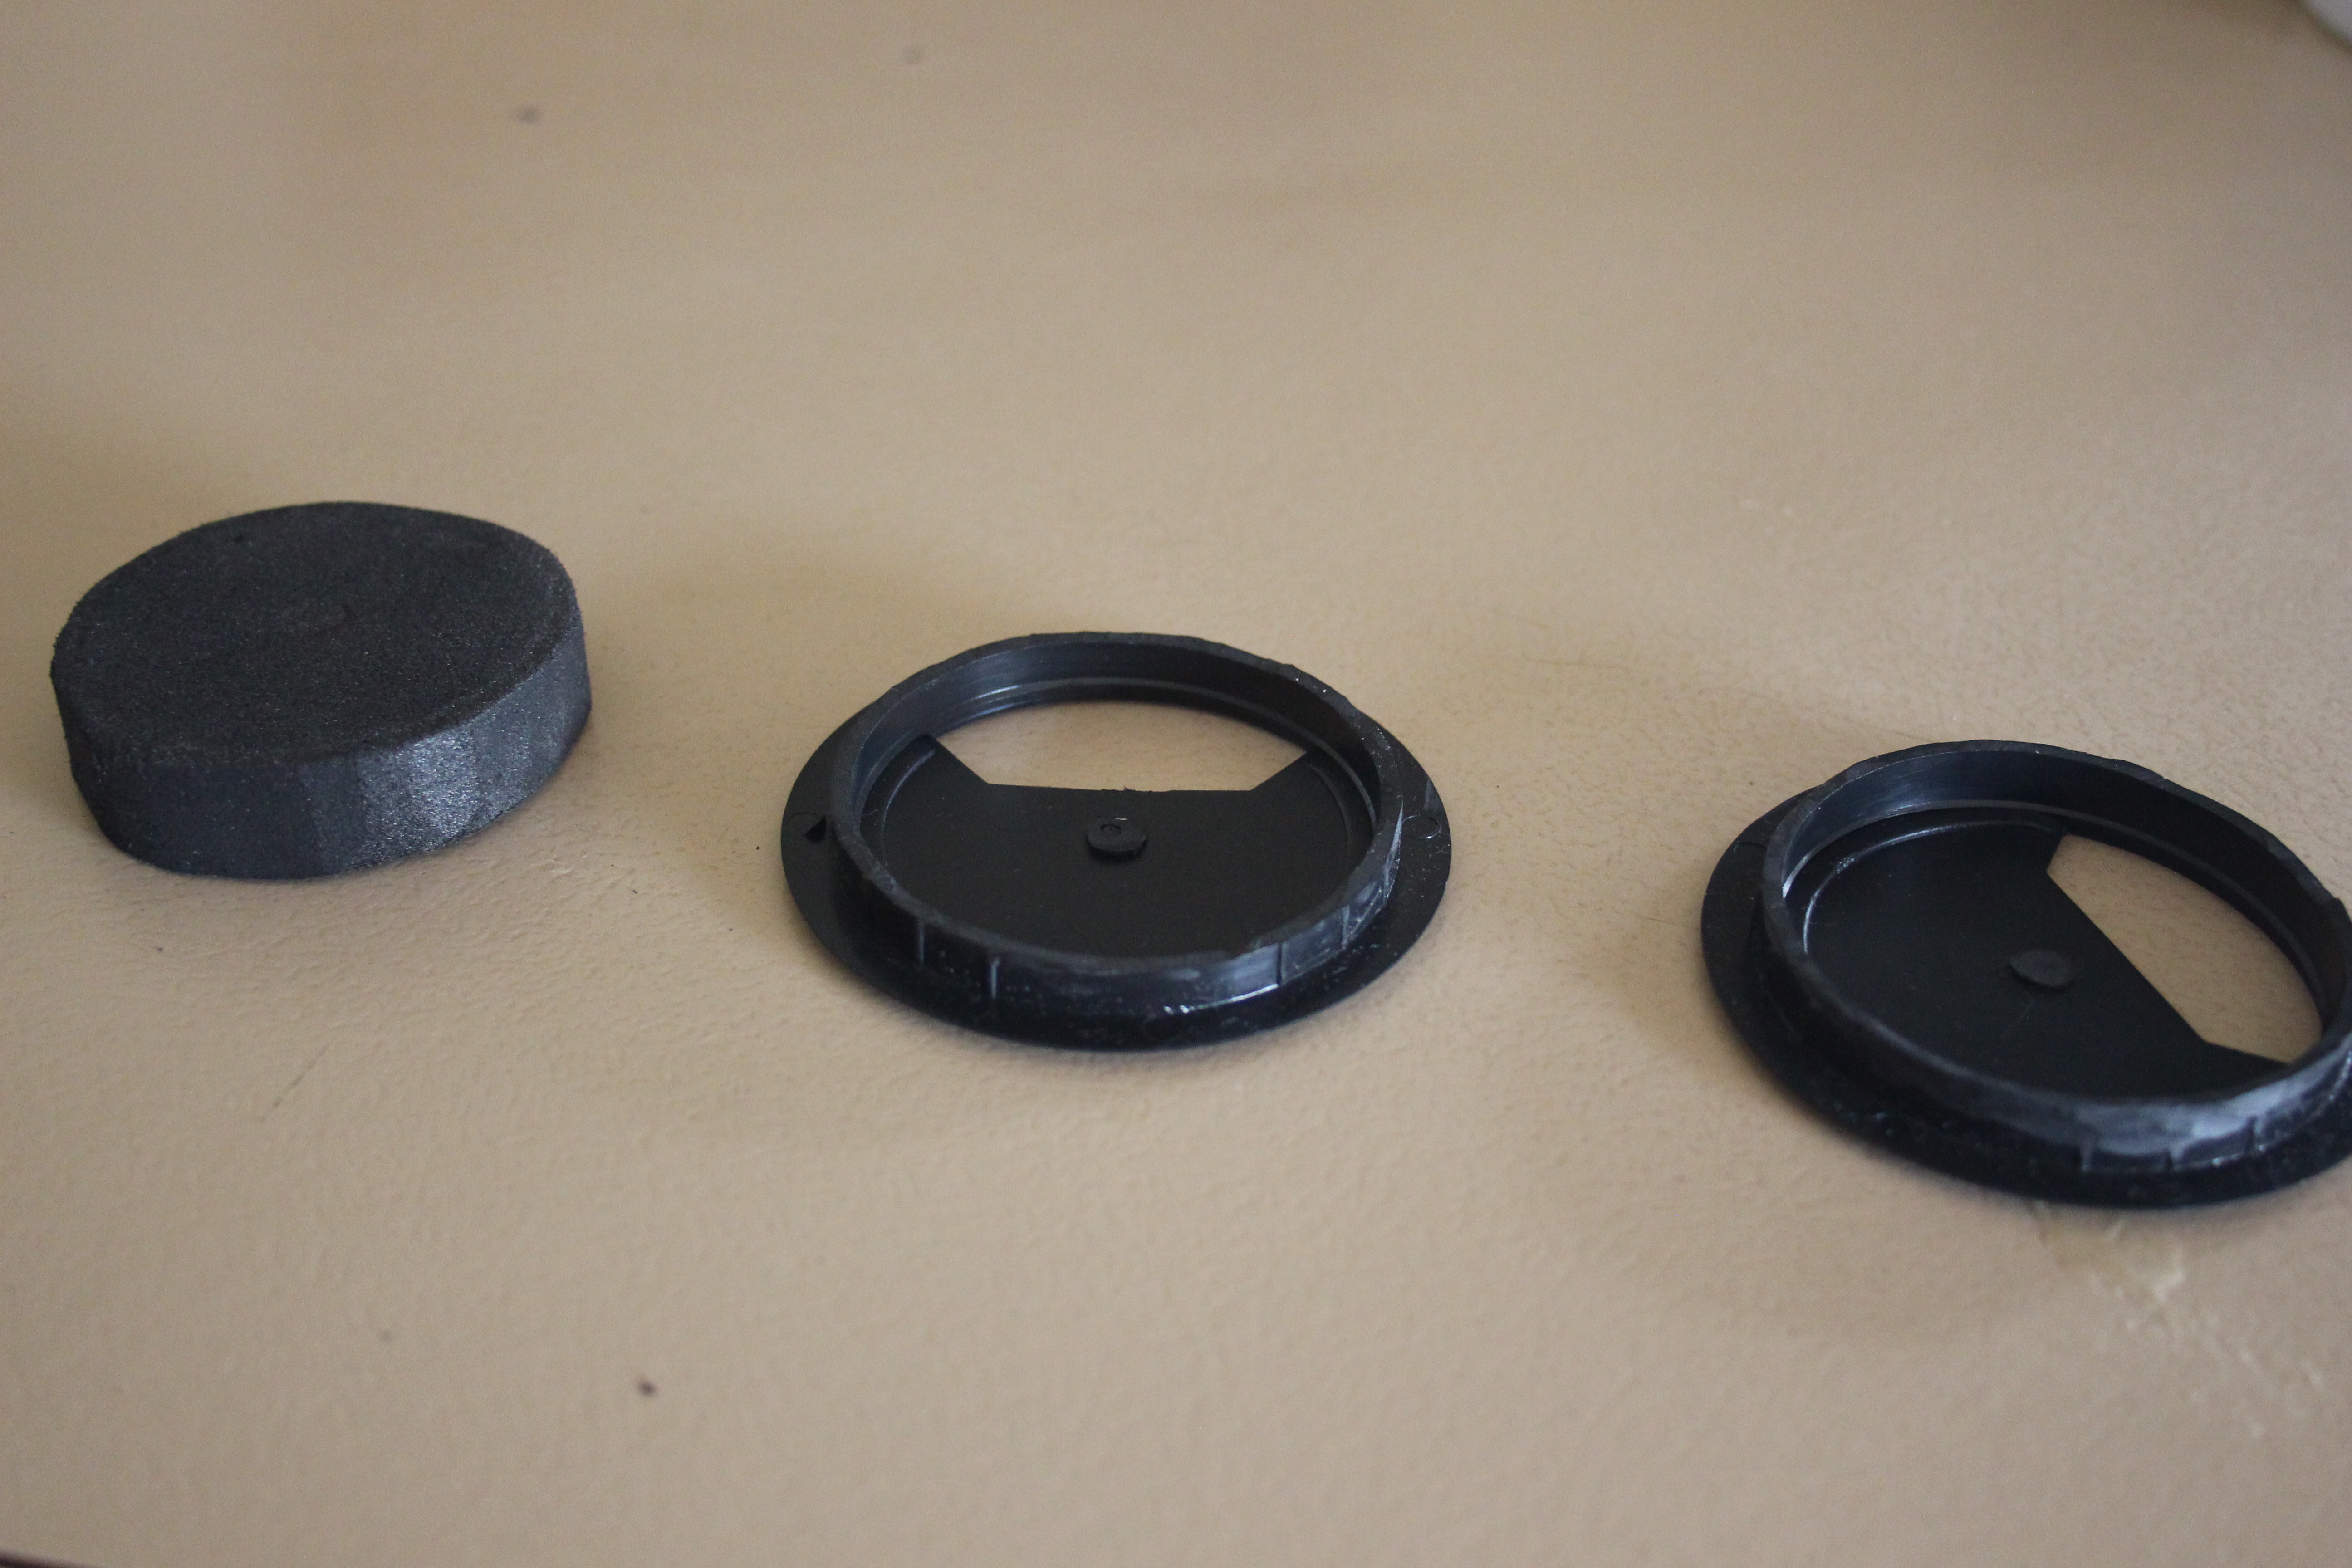
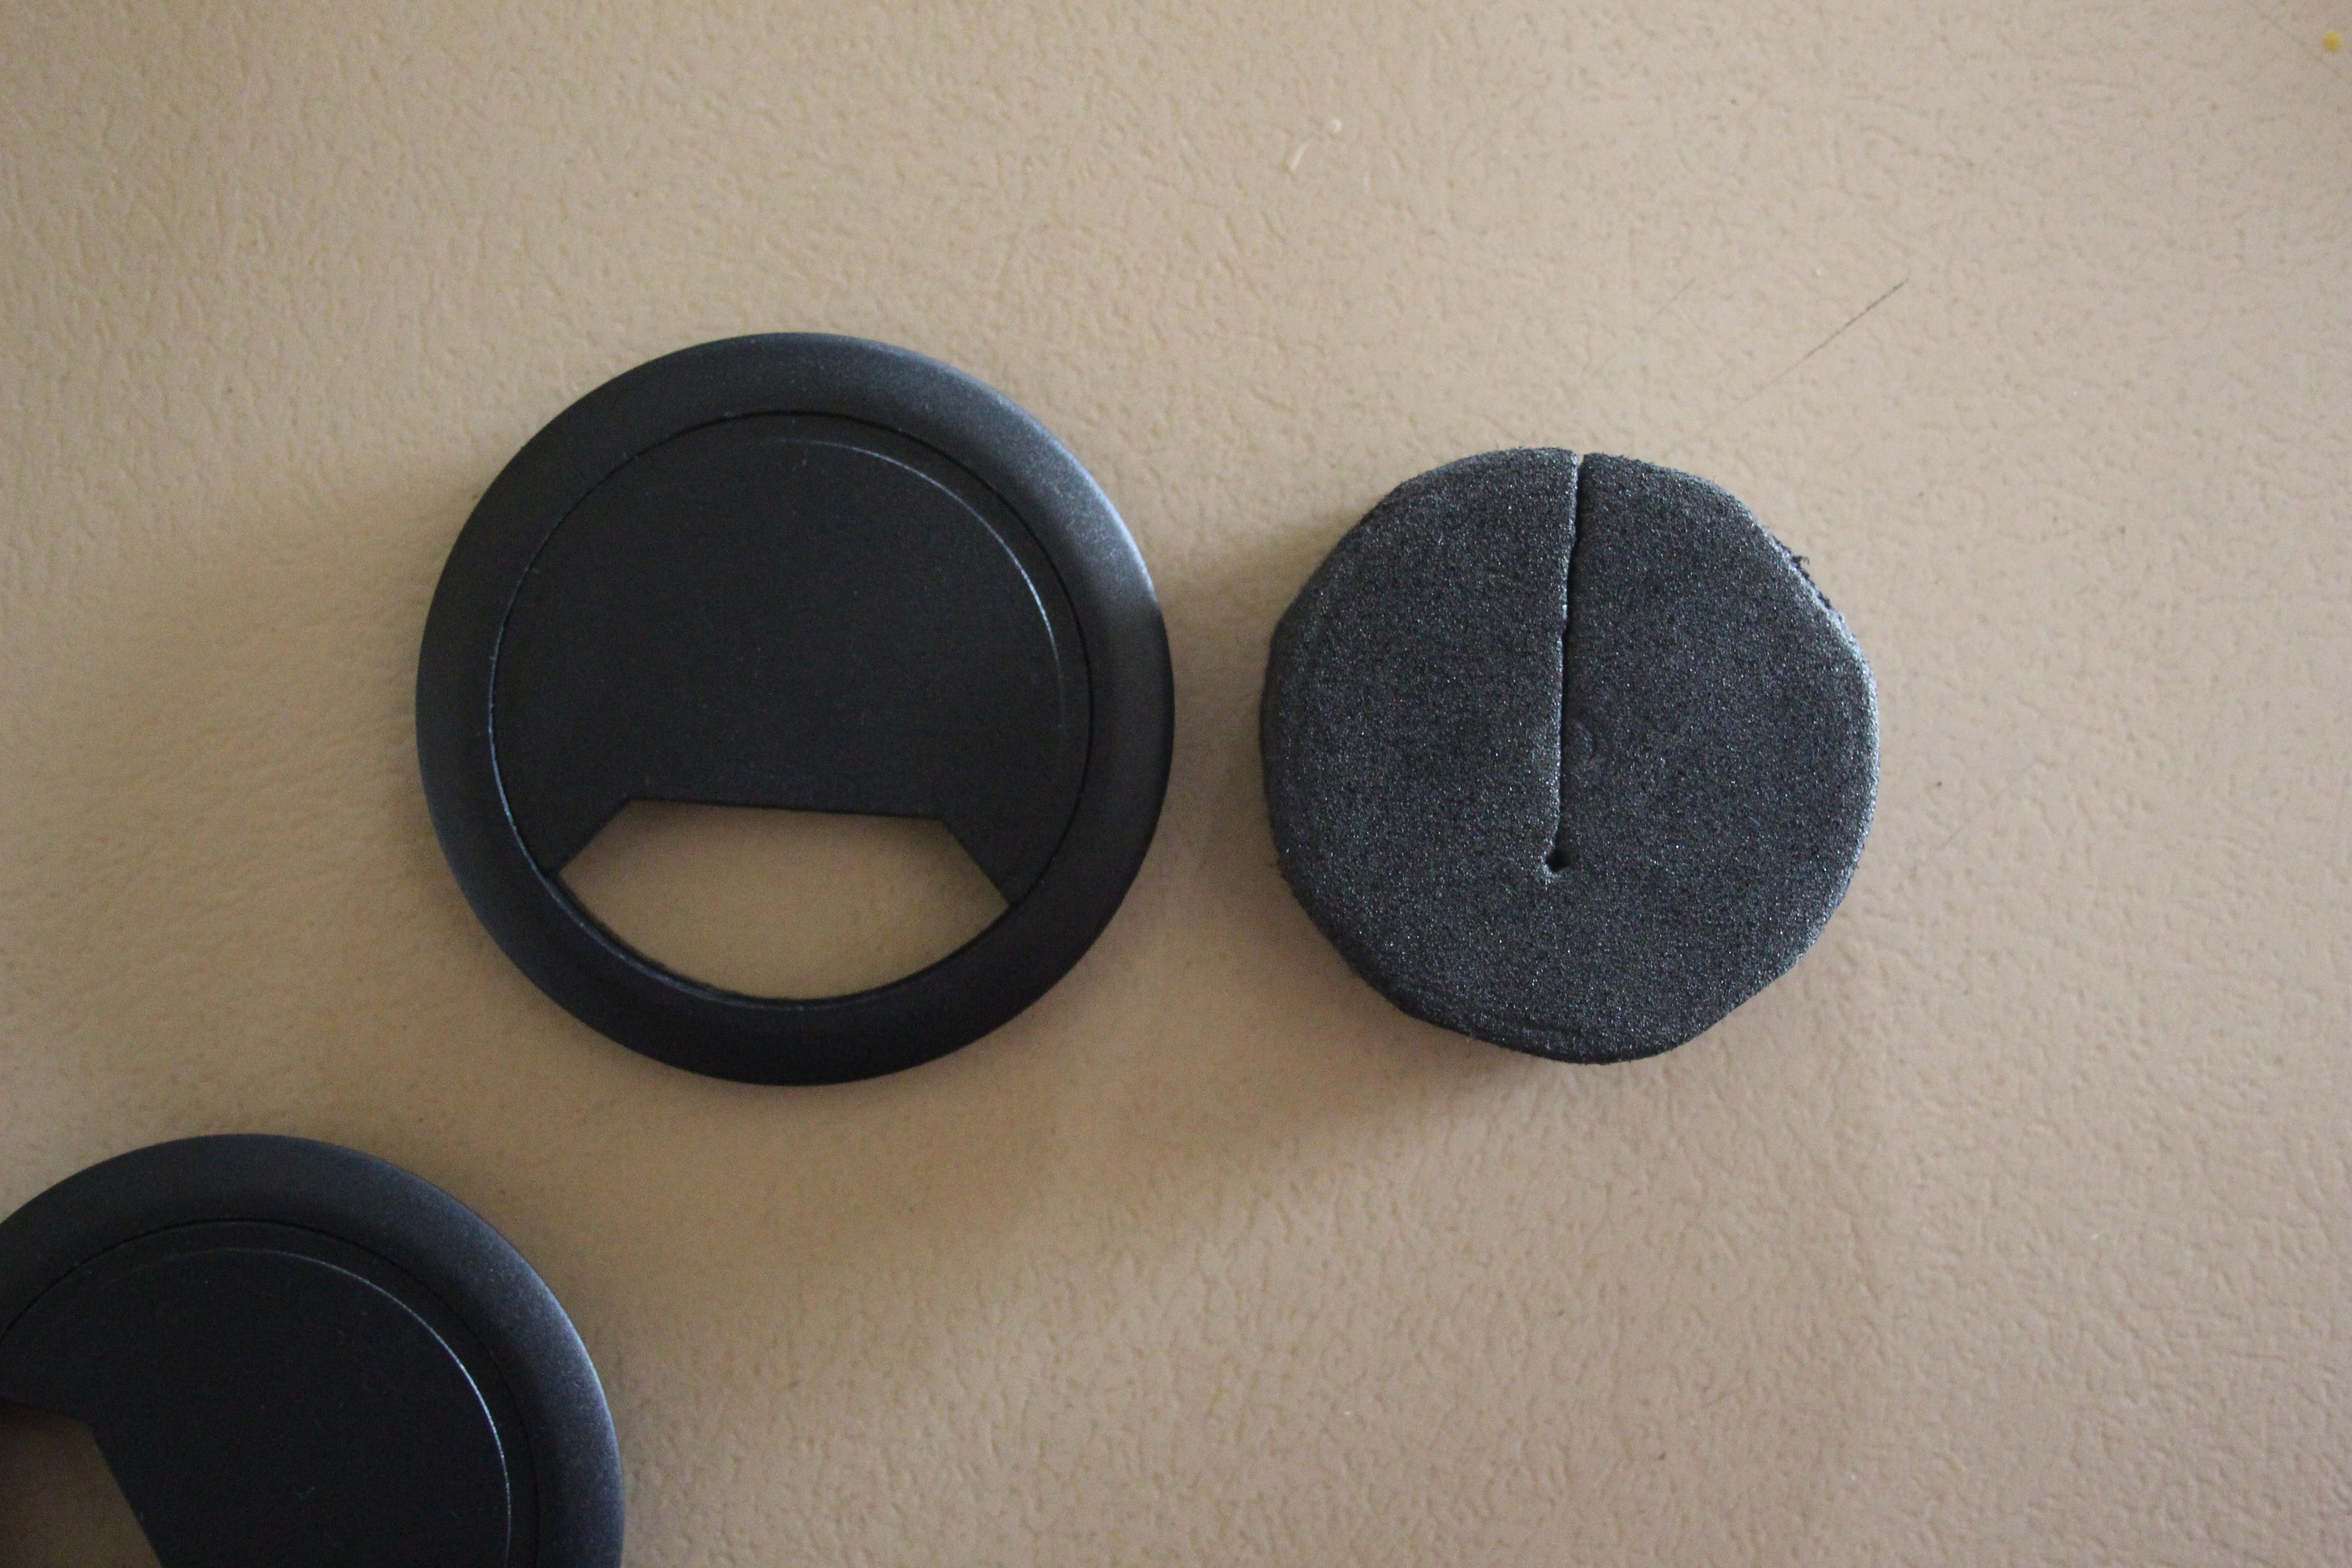
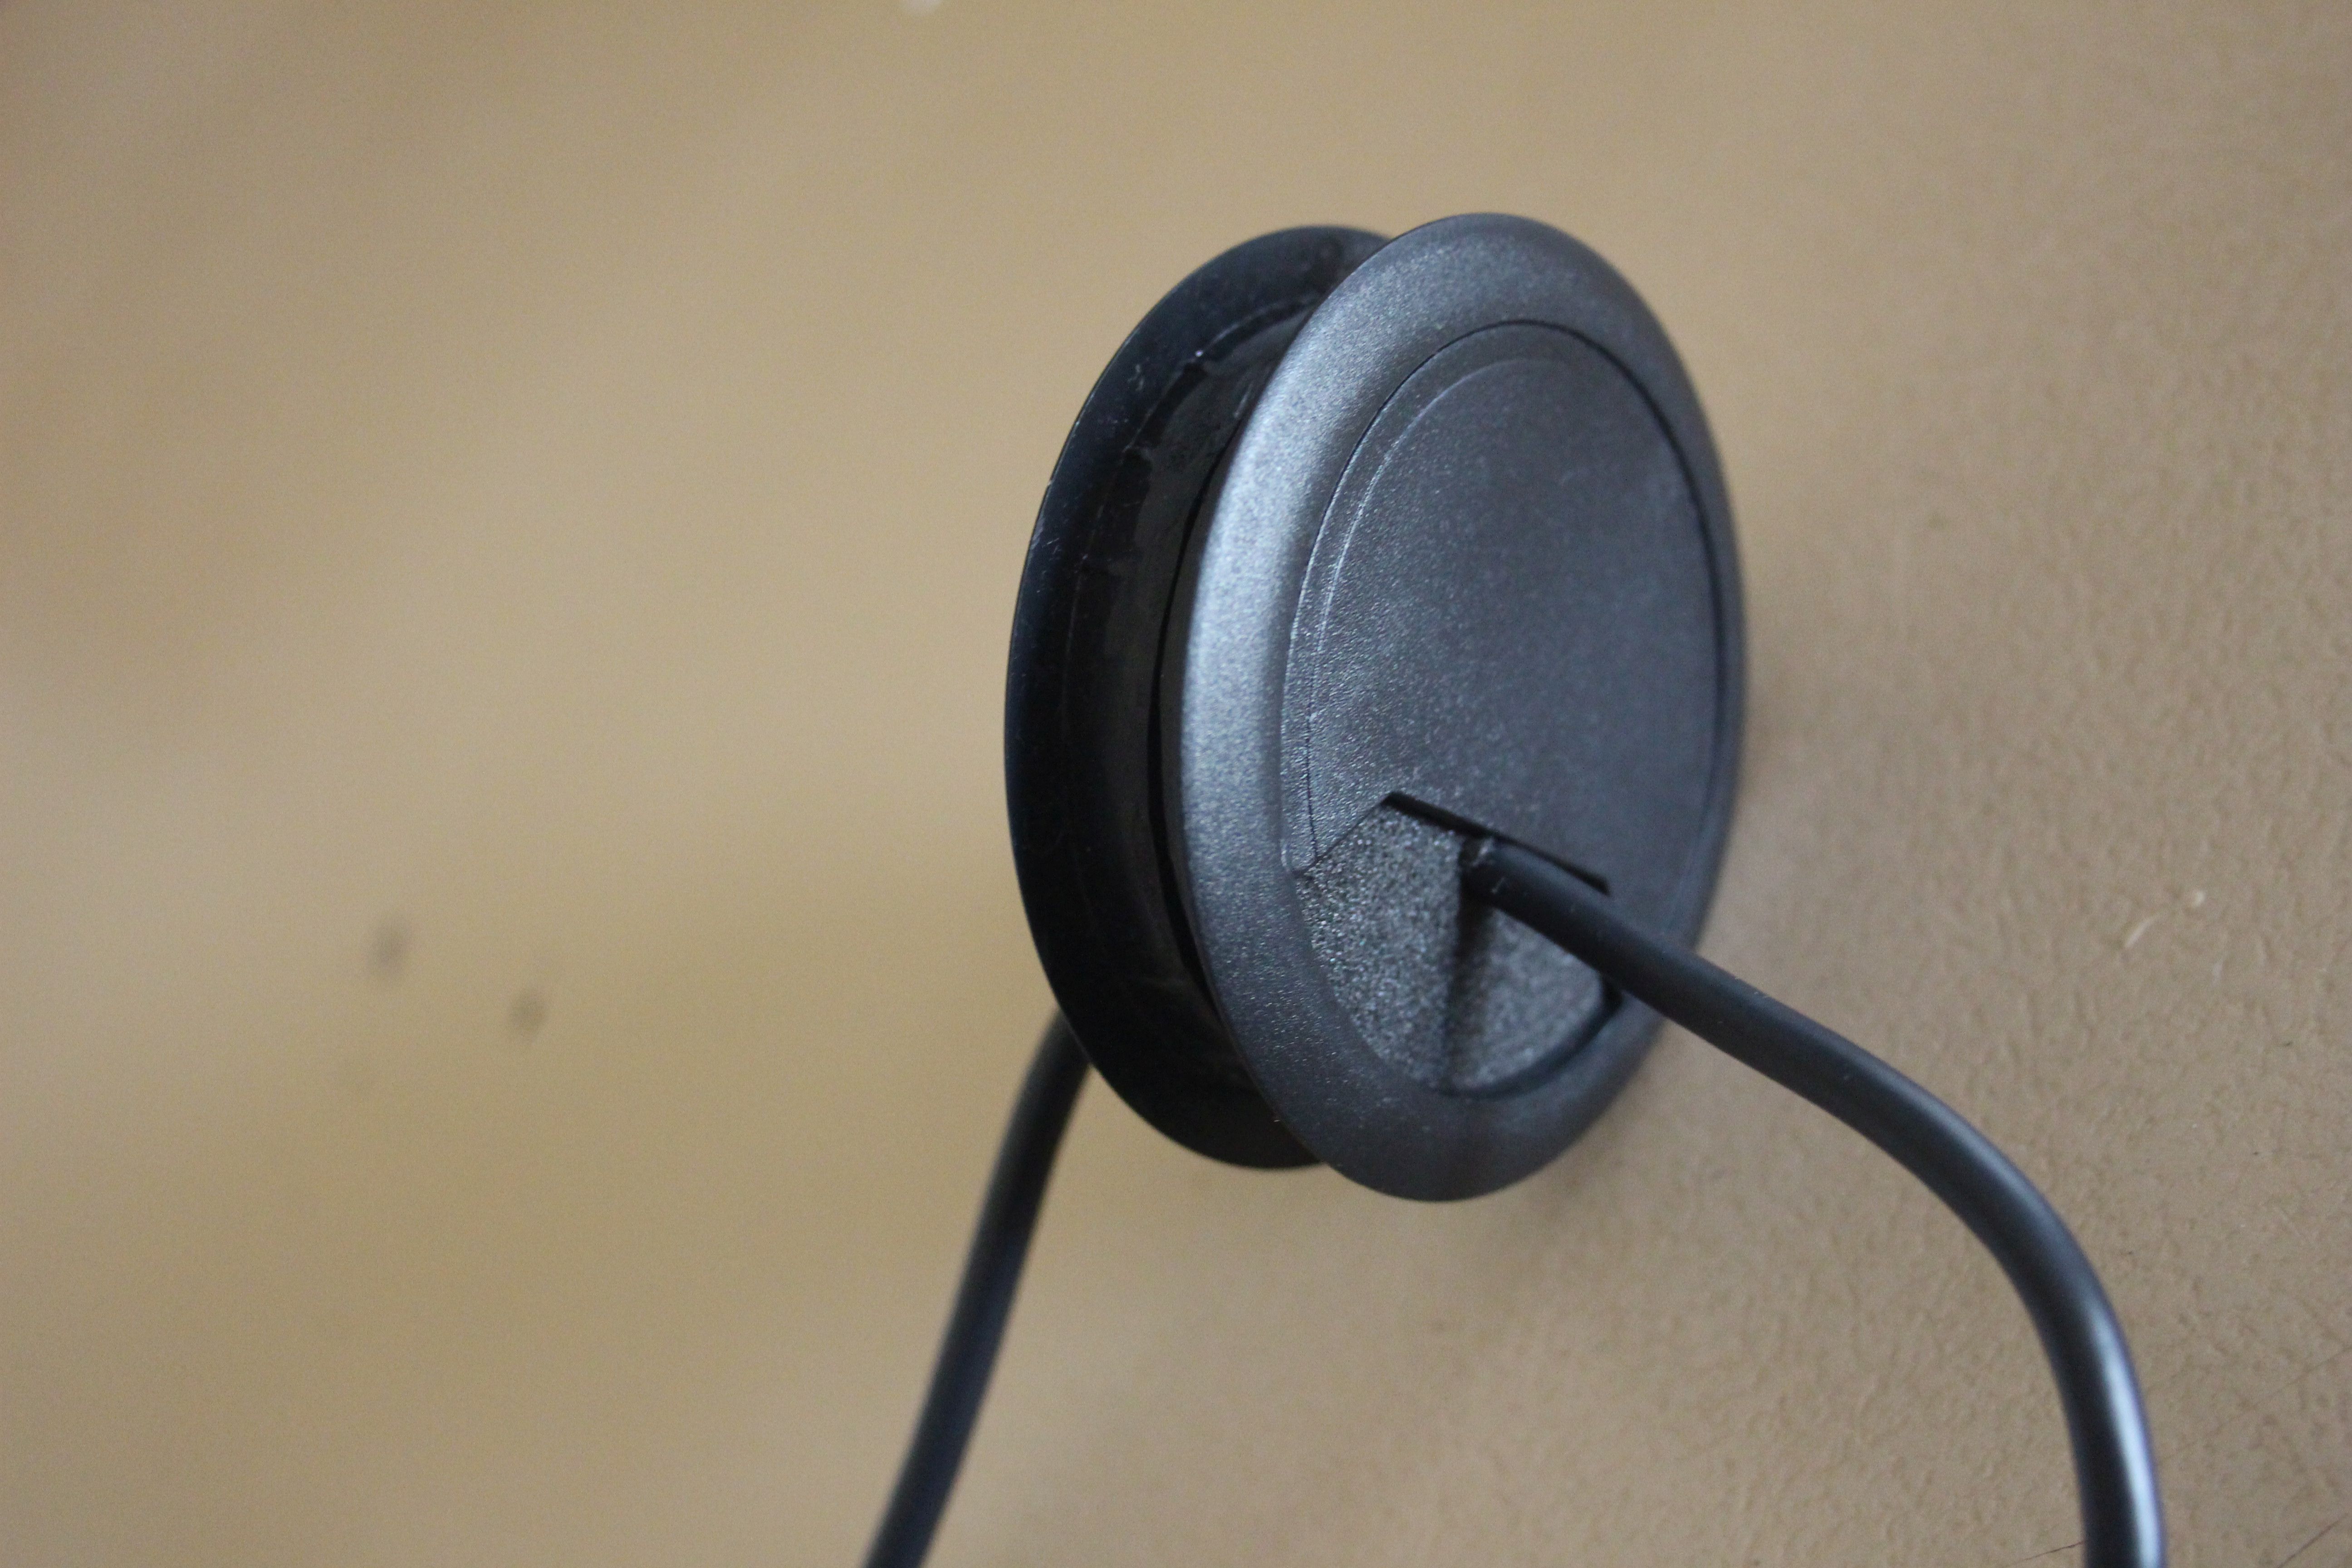
[doublepost=1598516859][/doublepost]I modded 2 desk grommets into 1 reptile safe one.


Sorry about the multitude of pics. I hope they explain better than me and words.
I'll be adding another slot or 2 for probe wires, and maybe a "lock"- a hole drilled thru for a 25mm ish bolt with a wingnut. another picture I'm sure.
[doublepost=1598770424][/doublepost]Here's a better copy of the plan for the Cabinetmaker.


[doublepost=1598770809][/doublepost]Geez, it's turned out big. It could go a custom size heat tile 50 x 35cm!
 
Last edited:
With my plywood enclosures use use 100x35mm pine for bottom track and 75x35mm for top. It adds strength to the build.
As to the hole for heat cord, I just drill a hole big enough to fit heat cord and thermostat probe through. For heat tile I route a groove in a piece of MDF cut to suit, and place tile on top of that. Saves drilling the 60mm you’ve mentioned.
 
I have been chatting to the Mrs. about ply v's melamine. I would go ply but considering the time I'd take to seal, prime and paint ply (she wants me to finish it this decade) I'm gonna stick with melamine, and the actual black melamine should look nice enough as furniture. I hope. Next build, ply for sure.

I added a top track like @tweeds mentioned above, to add strength, still 90mm bottom, 45mm top.

Divider - work in progress, I want to be a bit creative but keep it simple still, considering hygene and the sp. and temps and lastly - looks..:rolleyes:
 
Hi Harpo!
Is there any progress in your build?
Just curious how it turns out...
 
@Kaiwei Yes, I have all the bits and pieces ready to go.

Sadly there has been a bit of a delay with the cabinetmaker quote, I gave the info 13 days ago, was told aprox 7 days wait, have called them to remind them after 9 days, yet still I wait. I don't want to be pushy so I'll be as patient as Ii can but maybe I'll have to look elsewhere for materials.

Such is life.
 
Well patience is a keyword in our hobby, i guess.... Sometimes it's difficult!
I also have to be patient, waiting for some Cape York Macs to add to my collection.
They already hatched but refuses to eat at the moment, so i have to wait....
Damn, i'm so excited!
 
It's still happening, I got annoyed by the indefinite delay with first quote, have gotten distracted with another thing, and now am re-focusing on this. I found a guy for quote attempt two. Will get to it, finger's crossed.
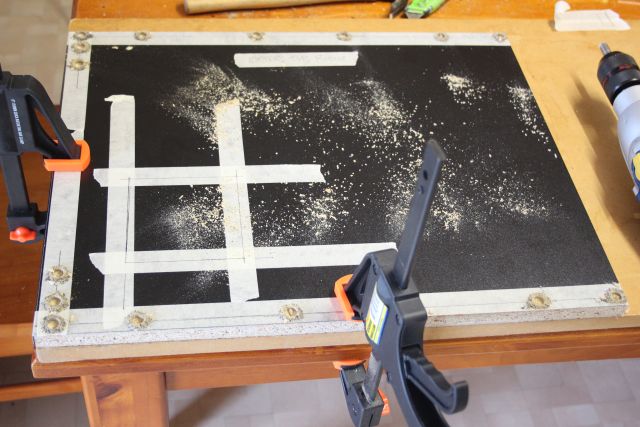
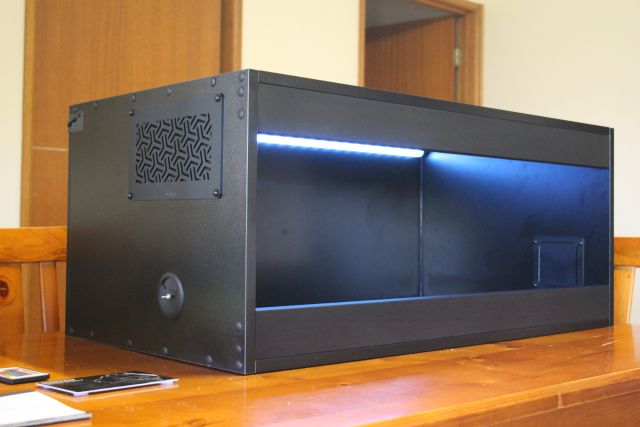
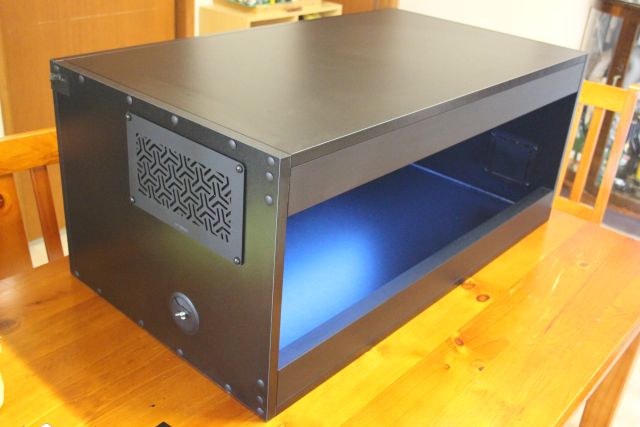
[doublepost=1601040517,1600854202][/doublepost]So, I cracked it and decided bugger it, I'll make a few changes (mostly downsize back to 900) so I can do it all myself with Bunnings stuff, they don't do black longer than 1800. Then I rampaged through the joint and got on with the job. Cut, pre-drilled, countersunk.

t3.jpg


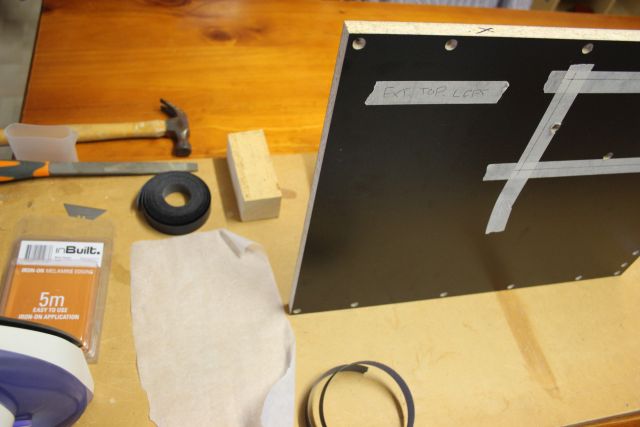
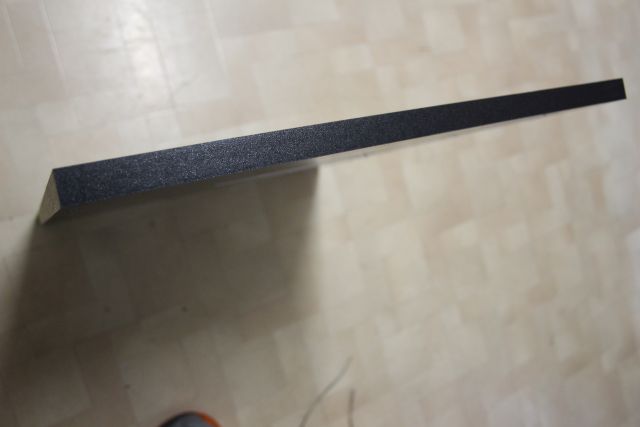
I have never done iron on edging before, it turned out OK for my first attempt. I recommend having a file handy, the finish was good. I used stanley with new blades, clothes iron, greaseproof paper and a block of hard wood to press hard down on the edge while it's still hot. A hammer and razor blade did the end trim nice in a pinch.

t4.jpg


t5.jpg


If I get time this weekend, vents, glue/screw/seal. Lights!

Some info: using Zenith chipboard/MDF 8G x 28mm screws, Prestige press in screw caps - will also use a drop of araldite to prevent falling off ;). Also a 3/8'' countersink bit. Aquarium silicone to seal. Probably PVA when joining...haven't decided on that one yet though. All can be found at Bunnings.

In my frenzy I got one of these https://www.bunnings.com.au/inbuilt-65-x-31mm-2-7m-black-woodgrain-melamine-colourboard-batten_p0093020 because they're wide enough for the glass track, and they're black melamine, at 2700 I get a third for an extra brace at the back if I need, happy days.
No.
The quality is poorer compared to the sheets, a crappier veneer. It won't last as long. I might not glue these ones in, so if need be I can change them out if they go south fast, but I cut some and it looks OK. I recommend not using it though.
 
Hi Harpo
I insulated my enclosures by making the ceiling and 3 walls out of an inner and outer layer of 6mm marine ply with a 6mm layer of polystyrene sandwiched between. My lightfittings are fully enclosed in a compartment above the ceiling to trap the heat that would otherwise be wasted. The compartment is divided into 2 seperate compartments, one for the lightfitting and the other is an upstairs hide for the occupant .
 
27-9-20-005.jpg


27-9-20-010.jpg


Ended up 900 x 500 x 400 h Should be OK for Antaresia.

Now to go see a fella about glass etc. Father in Law got me onto a good thing.
Go pick a tile colour with the Mrs..
Do those things while the silicone cures.

The Mrs. and I are talking about divider/fake rock wall ideas....

I insulated my enclosures

I'm gathering up all these ideas for my next go.
[doublepost=1601193682,1601193362][/doublepost]What the snake sees.

27-9-20-008.jpg

[doublepost=1601417791][/doublepost]I tried to Rit-Dye the Cowdroy white glass tracks black. Total fail. In the past I have dyed nylon composite plastics with rit dye, heat, salt and vinegar (the salt and vinegar are meant to help the process in some way - I cannot remember how, plus it's tasty.) plenty over the years and honestly just hoped it would work, I knew before I tried, not all plastics take the dye on, eg the dye won't permeate pvc - or cowdroy runners apparently.

The distance between the glass panels with a sashless track is too much. also fail.

I could hunt for alu. track or extrusion to encase the plastic track to hide some white, but ultimately I couldn't be fussed, so white tracks at this stage, not the plan, but it looks passable I guess.

I'm learning plenty building this, and I think I'll build another one day.
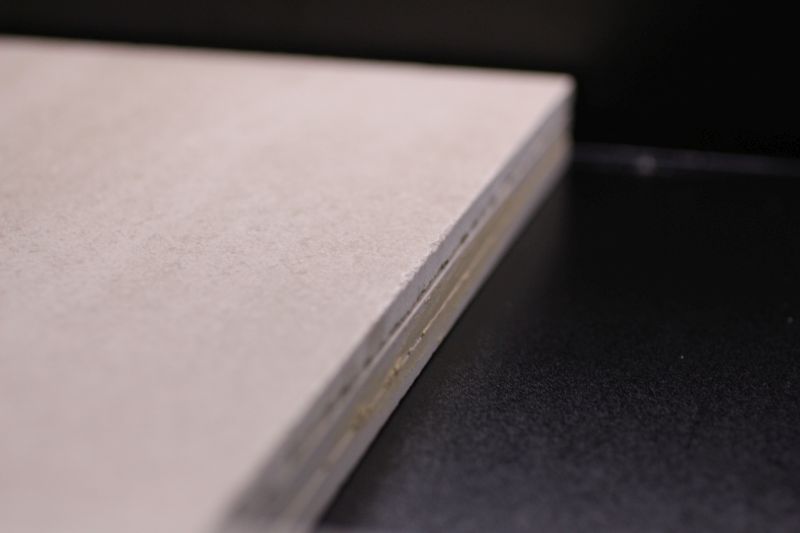
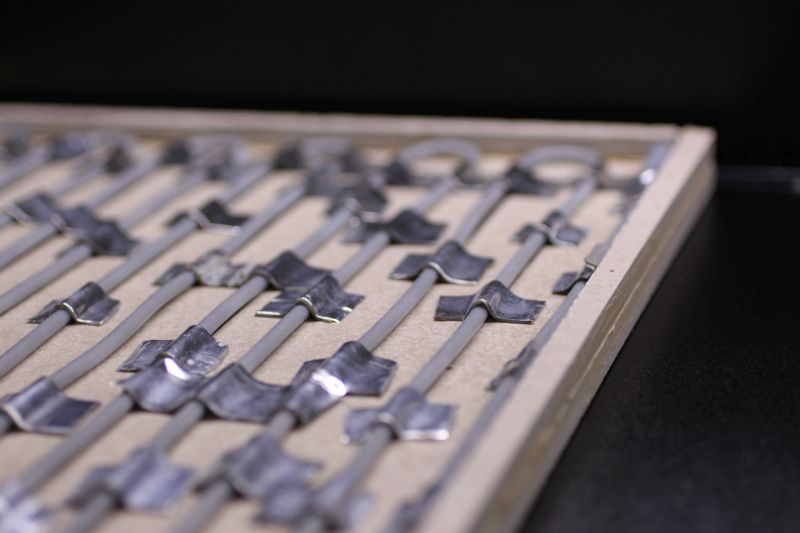
[doublepost=1601783073][/doublepost]I have done the tile. 450x300. I cut down a 600sq and then cut the off cuts into 10mm strips to make a cavity for heat chord. 6m, 60w chord was spot on for length - 7.5m overall length. I will add pics soon - busy/lazy, the tile is 3 tiles thick - top slab, bottom slab and cavity for chord. I used heat tape from bunnings to secure the chord.
The temps in the enclosure seem ok, 31-32 on tile, 33 in warm hide, 24 at cool end today,low 60's humidity, or in the high 50's. We threw together some stuff so the spotted could go in today, he's in blue so won't see him for a few days, but he doesn't seem stressed, but keeping an eye on it all for a few weeks to be sure. Pics coming. Still daydreaming about divider/backwall ideas.
[doublepost=1601803414][/doublepost]
4-10-048.jpg


4-10-026.jpg


I forgot to photo the tile :rolleyes: will do over next few days.
[doublepost=1603096069][/doublepost]
046.jpg


I cut 1cm strips of tile.

045.jpg


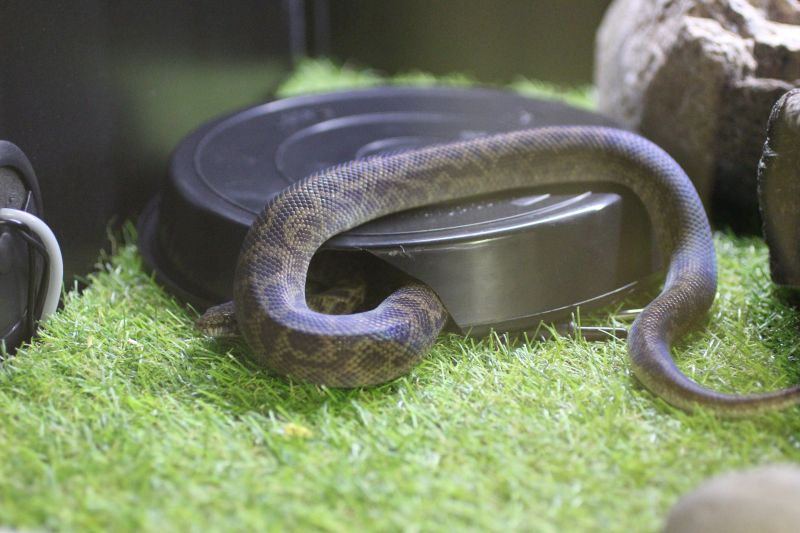
My mate, great pet.

016.jpg


042.jpg

[automerge]1614171153[/automerge]
172.jpg206.jpg

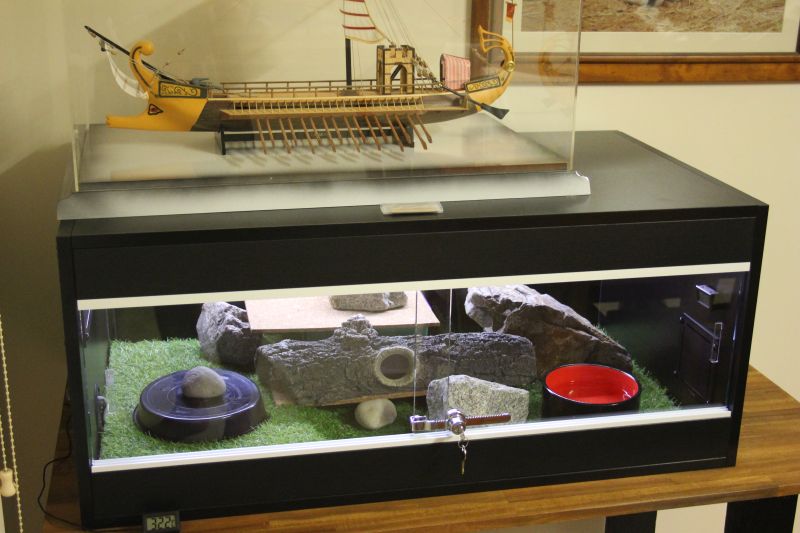
I never ended up doing a divider - I went over the top instead, I enjoy aquascaping my fishtank, and playing around with the snake's enclosure, it turns out, is even better fun.
I am making one or two upgrades. Moving the LED to the front, and shortening it to 1/3 - 1/2 the tanks length. Adding a basking globe also. Maybe a computer fan one day too.
[automerge]1618307253[/automerge]
My DIY globe cage thingy:

I found some baking stuff (rated to 230 deg c.) and cut it all to size. I cut 2 round trays, one for the inside and one for out.

1.jpg2.jpg

Center punch and drill holes for bolts to hold it together. I marked the holes on each for reference for assembly later.

3.jpg

I bent the cooling rack to face upwards, so its safe. I also cut the round trays not the same depth to fit it in nicely.

5.jpg

I made sure the lot is just a smidge under 16mm thick on the inside, nice and snug.

7.jpg

Heat tape. safe as. Screws upside down, ie nuts on the outside.

8.jpg

Cut a big hole, just right (Phew!), the rack was tight as but bowed out slightly to get in with pliers, but it doesn't budge, even before I screwed it in, and the slight concave looks good.

12.jpg

inside

13.jpg

15.jpg
11.jpg

I also did move the LED strip to the front, so I don't have to see it (or get the light in my eyes) and cut it down to 1/3 the tank length. It's at the warm end with the spot light or halogen.

The tank has plenty of variance in light and temp. now. The snake stopped exploring the new layout after his weekly clean to bask pretty quickly, so it might be a win, will see.
 
Last edited:
I am currently using a 70w halogen running at 100% for 10hr. days. The temps are right in the range I want them. I also use the heat tile, but it drops from 32 surface down to 27 at about midnight till sun up.

He has 5 hides, including a humid hide with sphagnum moss.

The enclosure humidity is 45% today, which is typical, about 10 points ish above ambient inside my house. I like to use pretty big water bowls, he's using a 4l. ice-cream container cut down, so approx. 1l. of water. I don't recon I need a fan now, the light cage allows for ample air flow now it seems, I'll probably think about it next summer, if it gets really hot. I found some house/wardrobe passive and filtered air flow designs that I might put in an ultimate build one day.

I have been cutting 2 or 3 sprigs of bottle brush for smell, texture and aesthetic looks for me. It doesn't seem to bother him, but he's not as interested as my stimmy is in his.
if u lived local i would 100% pay for you to make me enclosures lol, gonna be redoing my whole rack setup O>O
 
if u lived local i would 100% pay for you to make me enclosures lol, gonna be redoing my whole rack setup
That's really nice of you to say mate, thanks for the compliment ?. I'd 100% help if I still lived up there.

I have 3 snakes, so have plans for more builds. One day I am going to build the ultimate mega twin stack enclosure for 2 big snakes.... :cool:

Good luck with your new setup, I hope you are as happy with it as I am this one ?.
Hey Harpo, love the build. Just curious about how you are doing the heat gradient, are you only using that heat lamp, or is there a heat mat as well? If there's a heat matt is it under the synthetic grass? I've been looking into getting a spotted, but I can't quite wrap my head around how to do the heating.

Cheers
 

Latest posts

Back
Top