Sofoula88
Well-Known Member
Ok before I start let me just say this is gonna be one looonngg a** thread.. And also I apologise in advance for all the links...
Ok.. So basically I was browsing through some diy threads of projects..some good..some not so much lol.. But I got inspired so thought I'd make one big thread and show off all my projects that I have made so far.. I've made threads in the past in some of the single projects but this one is the mother.. So strap in..it's gonna be a long ride.. Enjoy =]
ok.. So let's start with the first thing I ever made.. : The Hide
now I'm not going to go into detail on how I made these projects..mainly just pics on before and after..and a little in between =].. (there's a vid on YouTube if you want to see the whole process from start to end..jst let me know and I'll give you the link =])
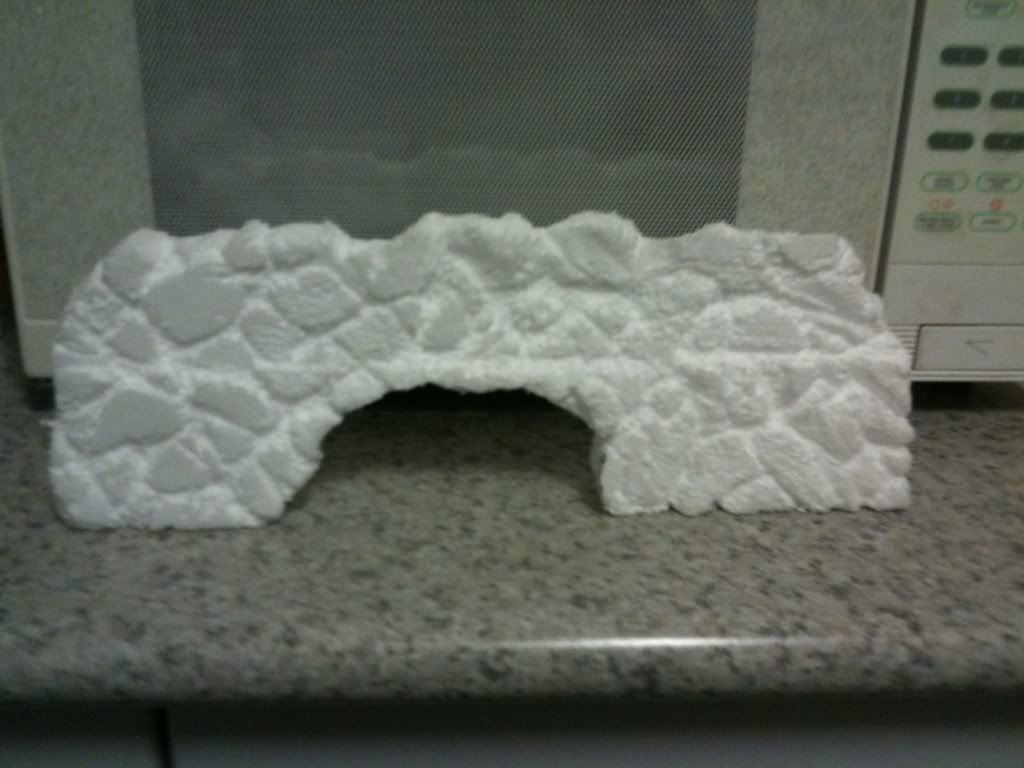
So first I started with a basic piece of foam and carved shapes out.. here is the process from foam nothingness.. To cool reptile hide..
First piece I carved with the front hide..
http://i820.photobucket.com/albums/zz121/sofoula88/1230dd99.jpg
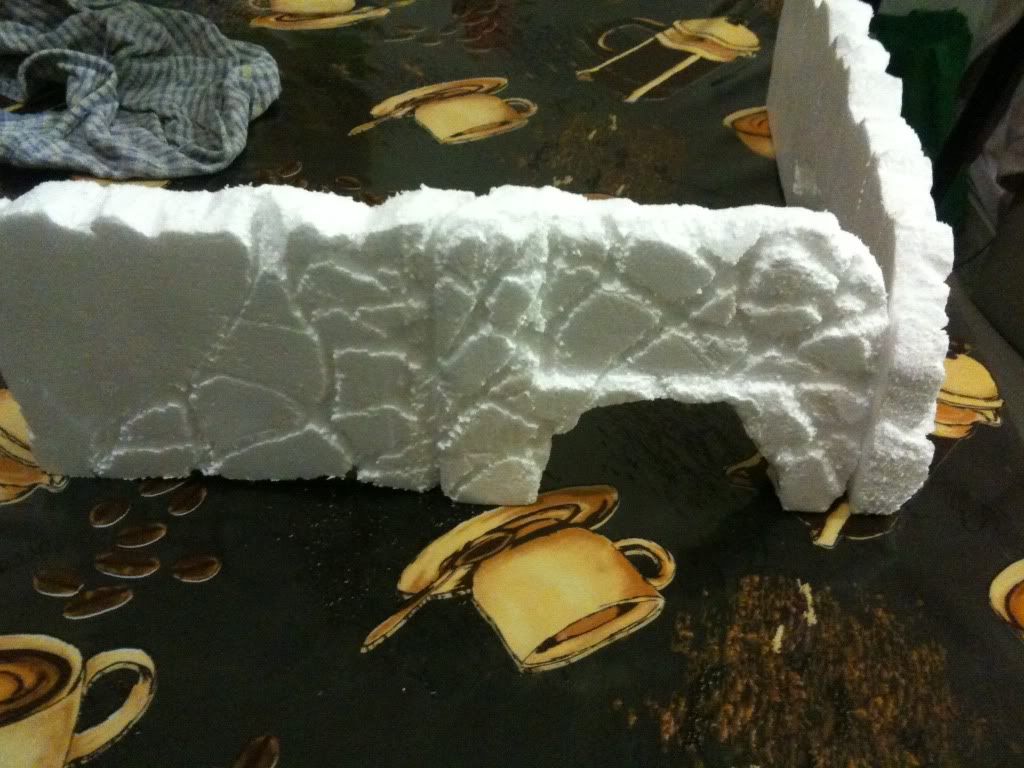
side piece and hide:
http://i820.photobucket.com/albums/zz121/sofoula88/b2cae683.jpg
end result of the side hide.. My beardy could never figure out he needed to go to the front to get in so this is why I created the side hide..worked out pretty well =]
http://i820.photobucket.com/albums/zz121/sofoula88/55bb2978.jpg
as I have Pygmy bearded dragons..I tried many times to make adjustments..to keep it short and small yet have enough room.. Still a little hard to climb.. So I added "steps" to aid in climbing.. Tried to make them looks as natural as possible so they actually look like rocks and part of the hide rather than steps..
http://i820.photobucket.com/albums/zz121/sofoula88/05e7cf00.jpg
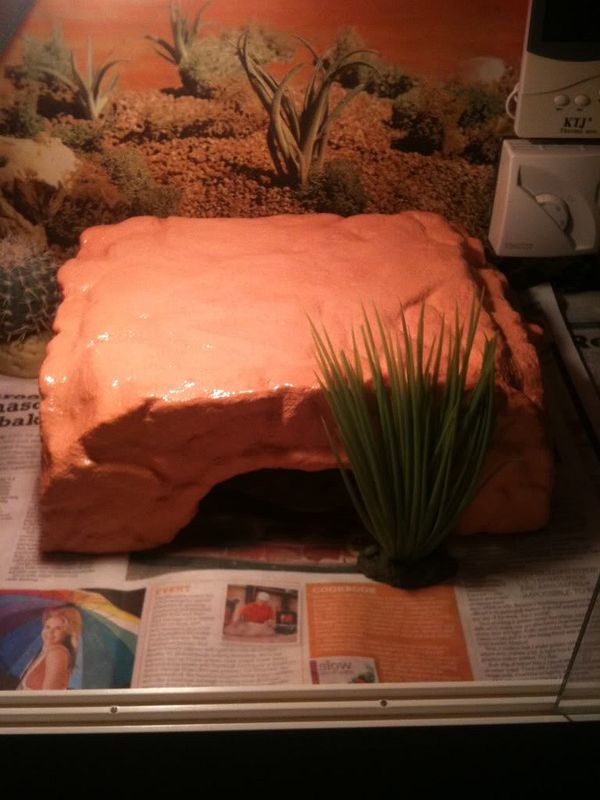
The finished product!
http://i820.photobucket.com/albums/zz121/sofoula88/0c2e57d4.jpg
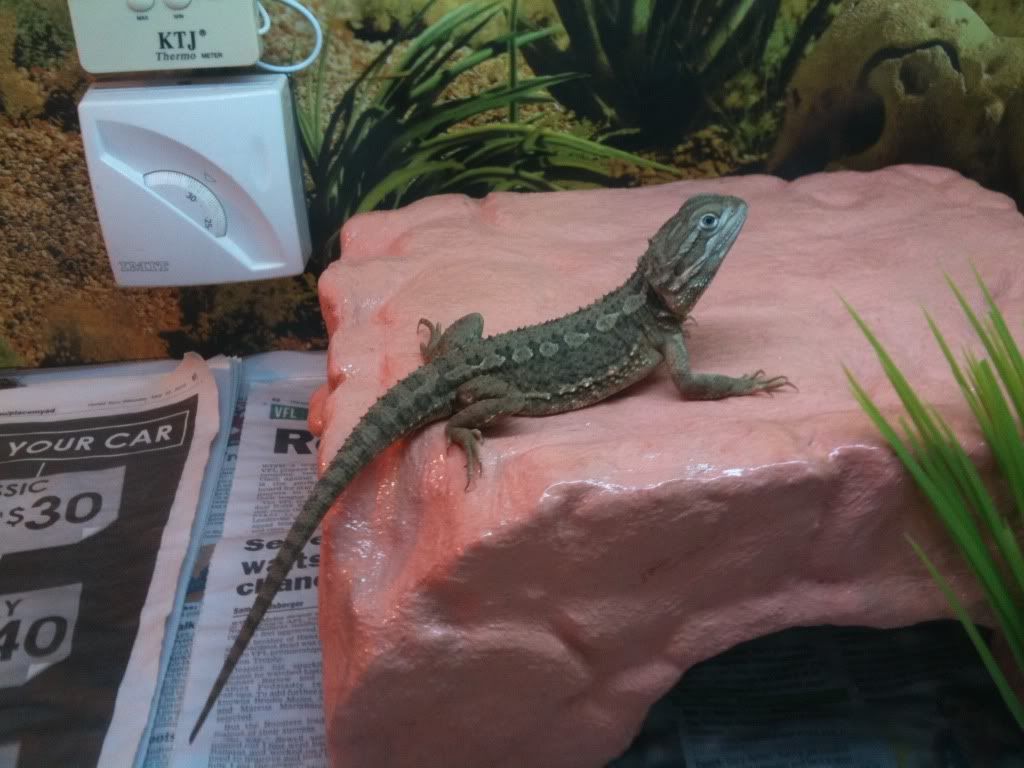
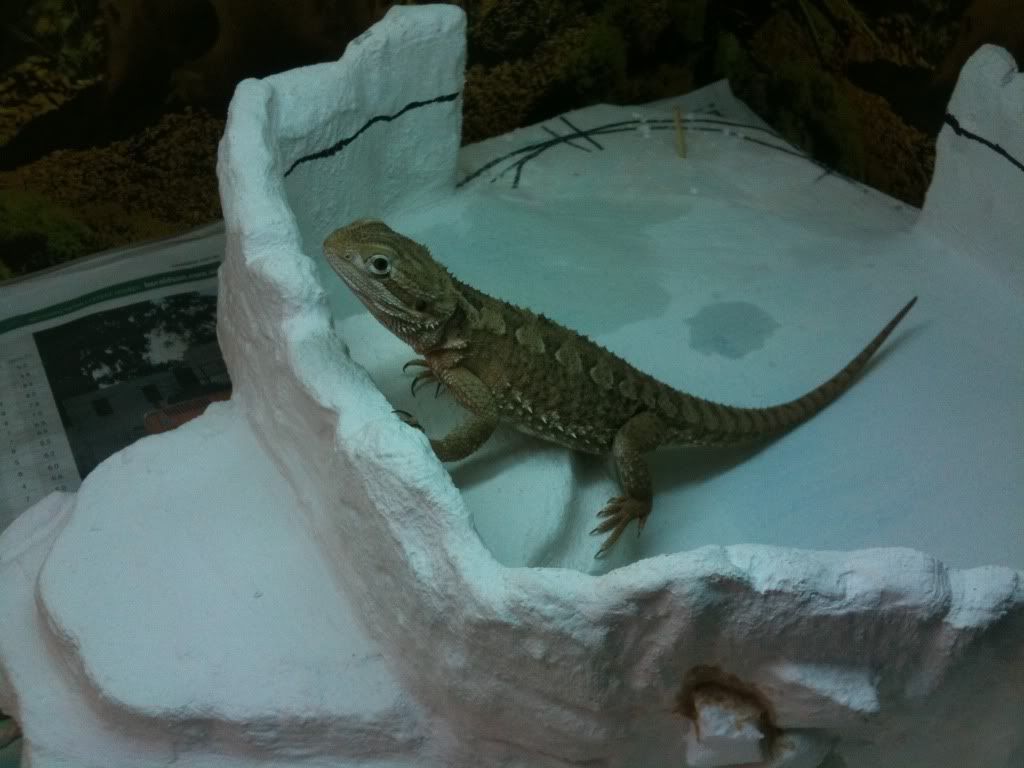
Fred chillin on the hide
http://i820.photobucket.com/albums/zz121/sofoula88/a95fd2ad.jpg
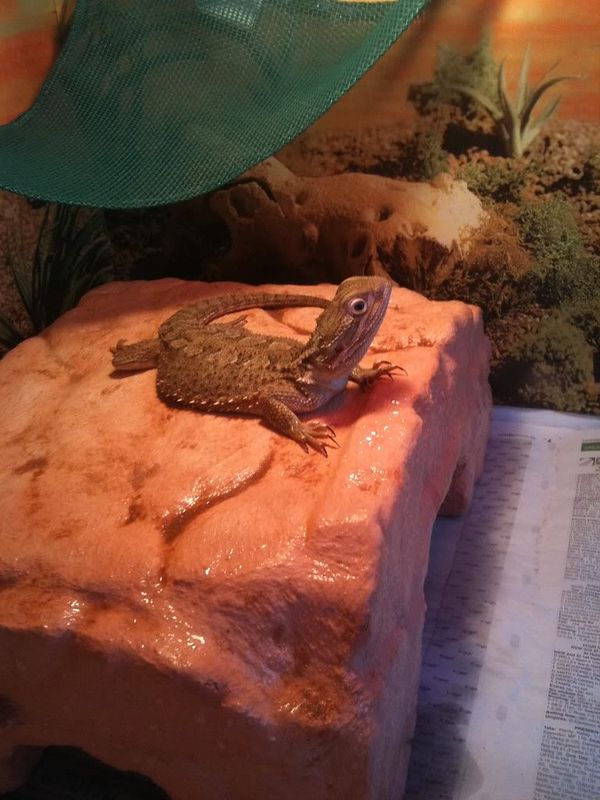
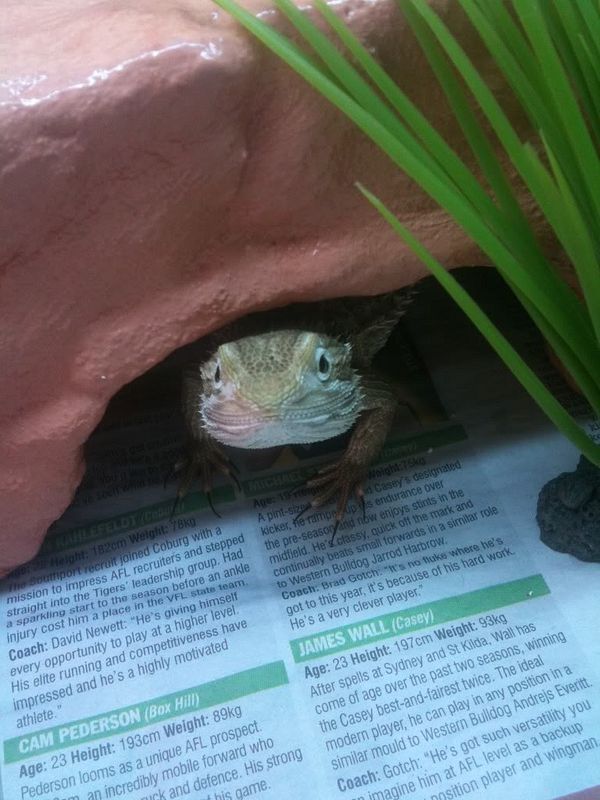
Lola basking and popping out to say hii! =]
http://i820.photobucket.com/albums/zz121/sofoula88/da019bf4.jpg
http://i820.photobucket.com/albums/zz121/sofoula88/3fad8d12.jpg
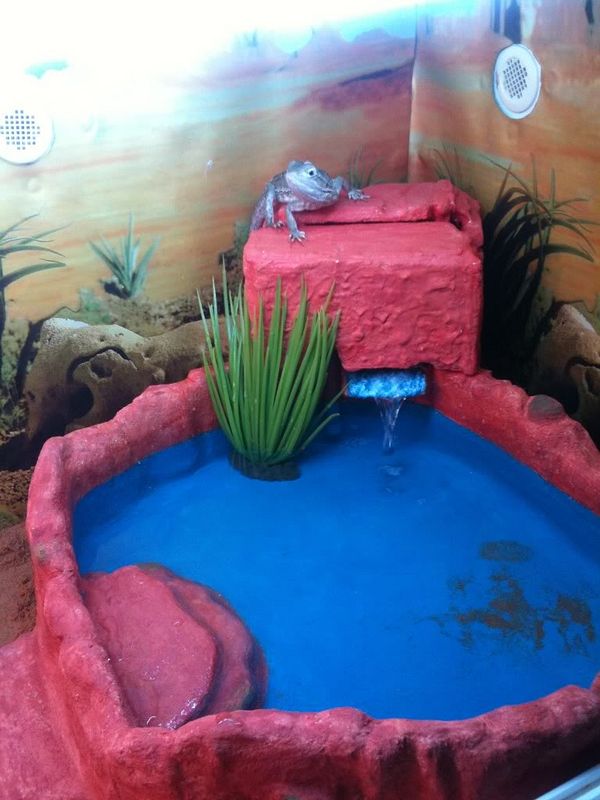
Ok.. Moving on to project number 2.. Which initially was my pond..however by the time I actually got around to finishing it I think it was actually project number 3 or 4.. Regardless let's go with the pond as number 2...Ok warning..this is the big one! Probably my most advanced project I would say..took forever but also the one I'm most proud of..soo there are ALOT of pics.. So if u cbf clicking on a gazillion links scroll down to the next project..will have alot less pics lol..
Project number 2: Diy Pond with waterfall
now first let me say yes alot of people will say you should stay away from ponds esp for bearded dragons..it can raise the humidity too high and there is a risk of drowning.. Both very true..however Fred thinks he's a fish and has showed me his impressie fish-like skills so drowning.. I dnt think so,still working on the humidity lol.. Also it will only be in freds tank so there's no risk or Lola accidentally holding him
under water or anything.. Please make sure u guys do proper research before making something like this..u need to know the requirements and needs and preferences of your specific pet.. You may want to make something like this for them and think your doing something good when you could in fact be creating a safety hazard..so do your research first.... Ok here are the building stages of the pond....
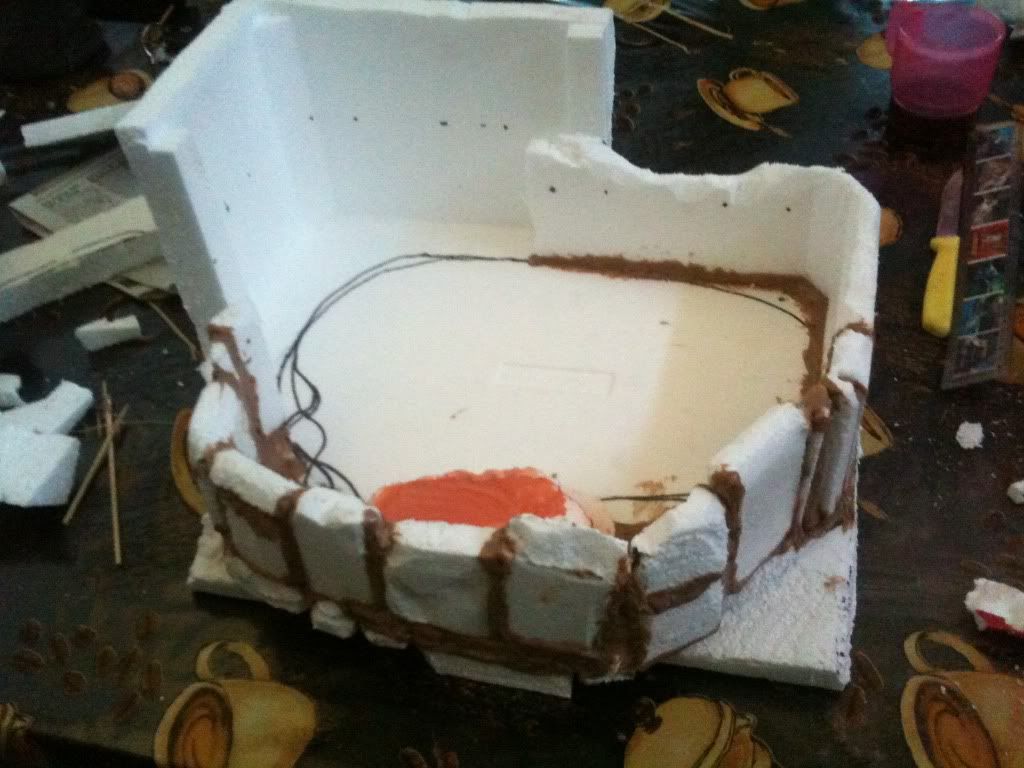
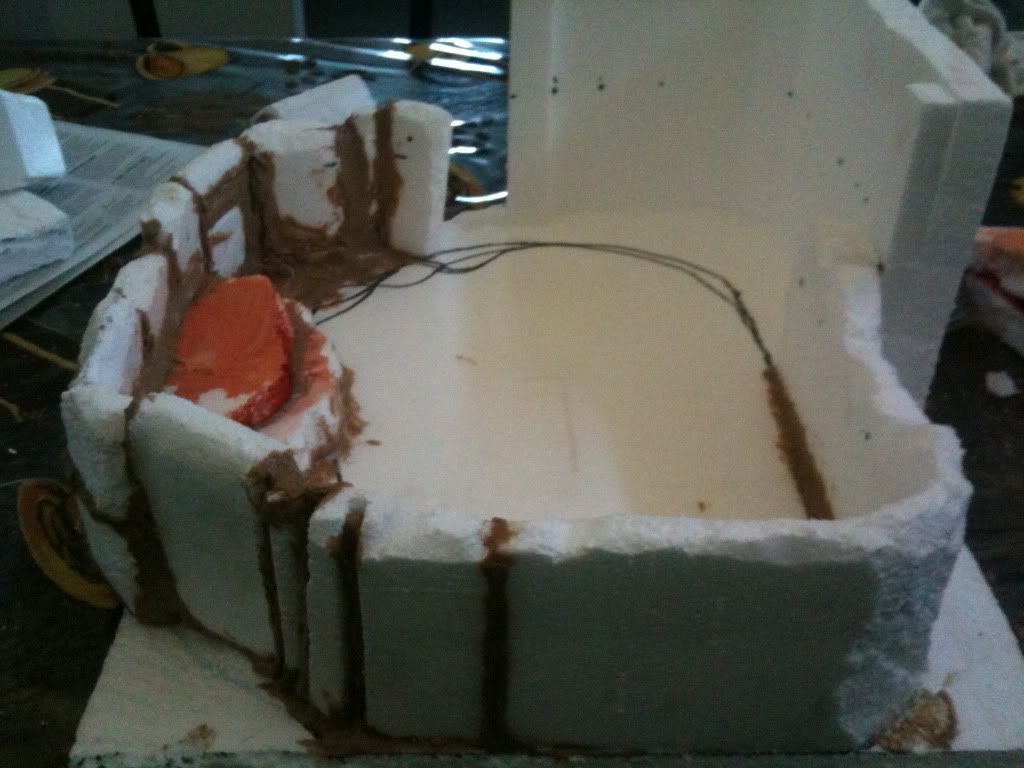
This is the stage I like to call.. Liquid nails everywhere! Lol..
http://i820.photobucket.com/albums/zz121/sofoula88/89225aeb.jpg
http://i820.photobucket.com/albums/zz121/sofoula88/c406e6d9.jpg
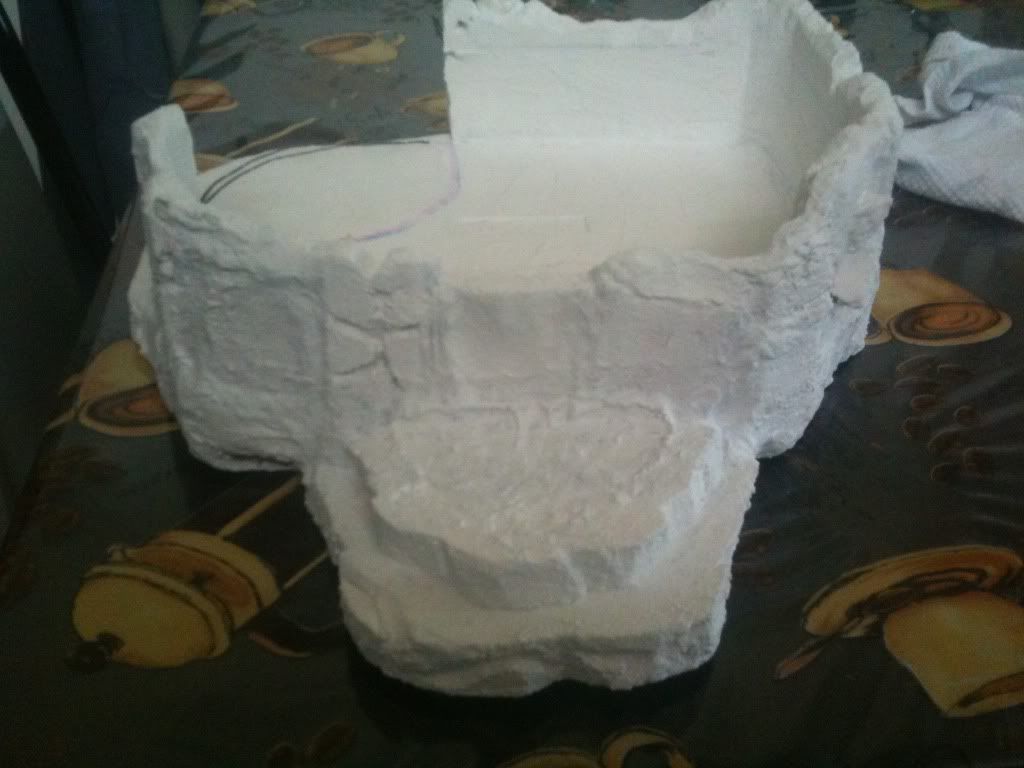
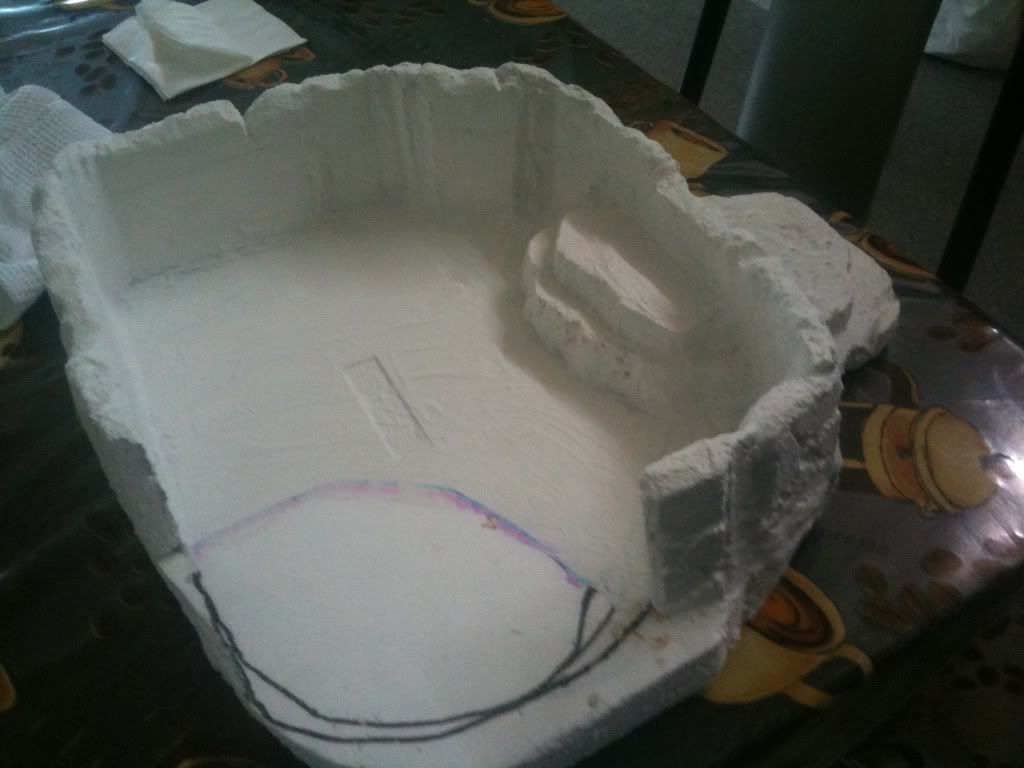
First layers of grout: as you can see I have cut the top half and left out an area for the filter..
http://i820.photobucket.com/albums/zz121/sofoula88/9f3f9fff.jpg
http://i820.photobucket.com/albums/zz121/sofoula88/2f6dc570.jpg
Err.. No Lola.. It's not ready yet! Lol
http://i820.photobucket.com/albums/zz121/sofoula88/c4308b36.jpg
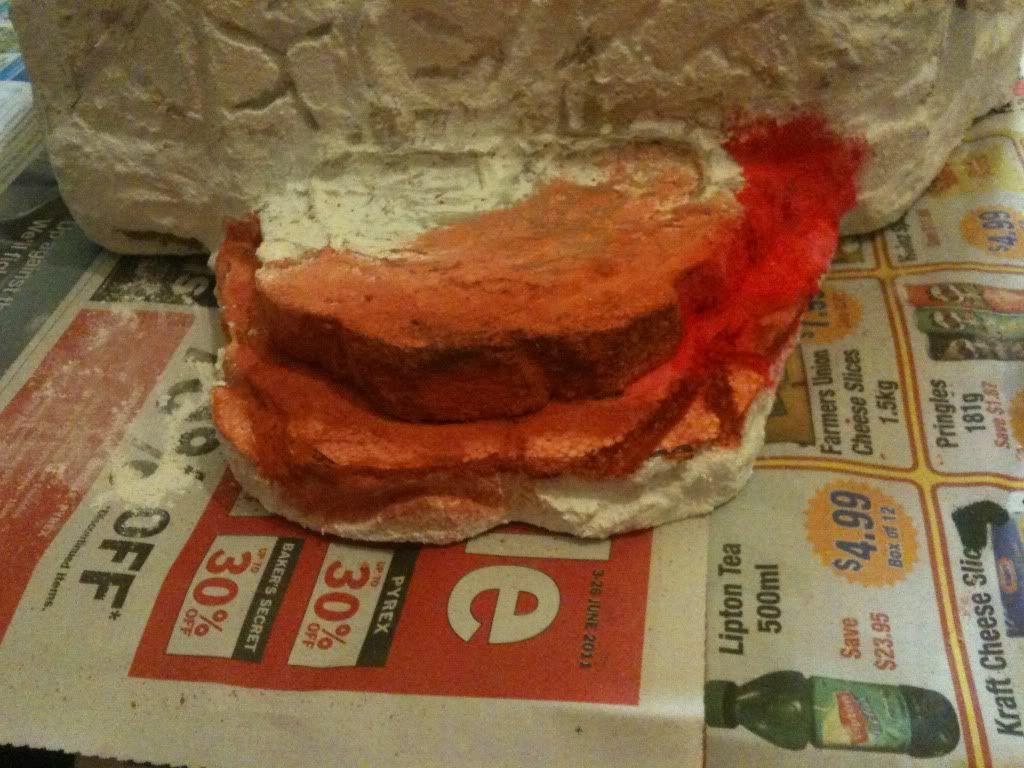
Testing out the paint and colours
http://i820.photobucket.com/albums/zz121/sofoula88/ff232023.jpg
Filter and "Fall"..if you can call it that lol.. Ok so the filter section did not turn out as camouflaged as I'd like it to..but nothing a few fake vines and leaves can't cover up =D
http://i820.photobucket.com/albums/zz121/sofoula88/2d07071a.jpg
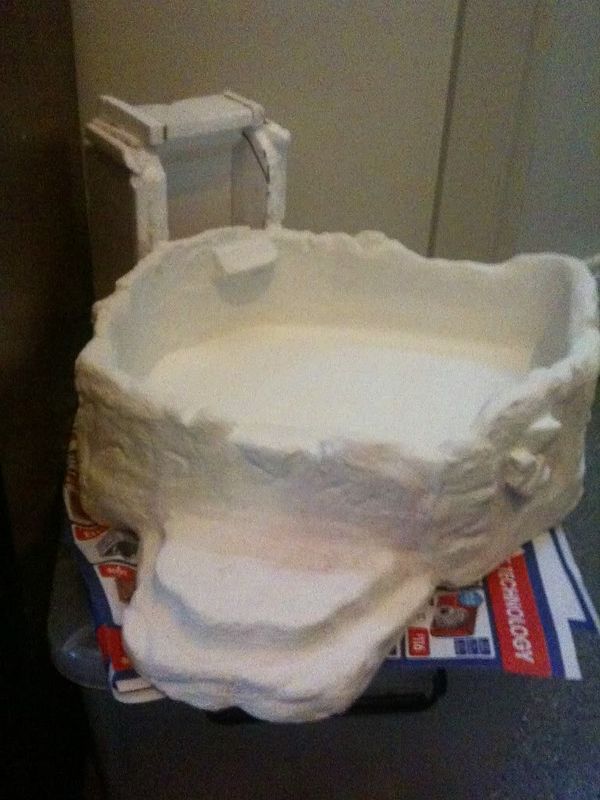
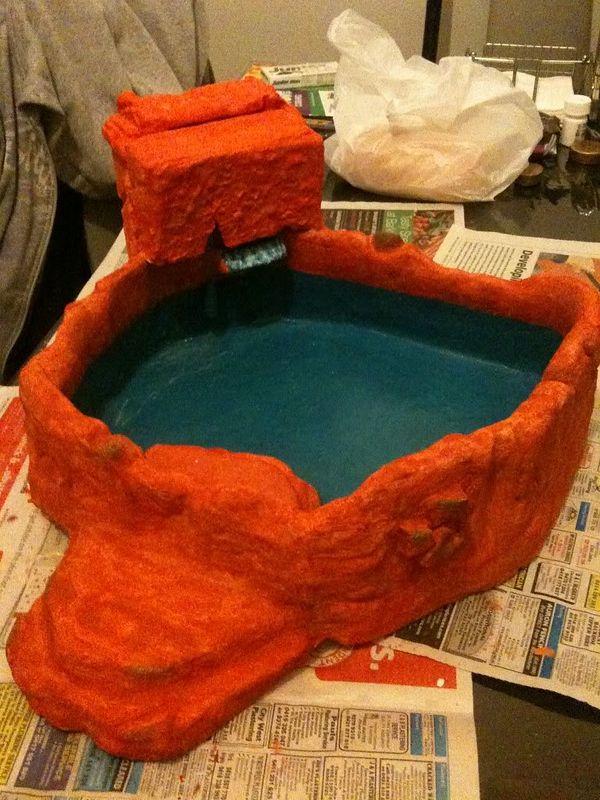
Ok.. So I skipped a few pictures..there are too many pictures! Lol.. So here's the after shot..finished product before I sealed it
http://i820.photobucket.com/albums/zz121/sofoula88/a2c36067.jpg
Fredski ready for a swim (this is as soon as I put it in to test it out)... He was ready to go! Lol
http://i820.photobucket.com/albums/zz121/sofoula88/984e197a.jpg
okkk... Now that that's out of the way.. Only 3 more projects left..yay... (make another cuppa)
ok.. Project number 3: The Couch
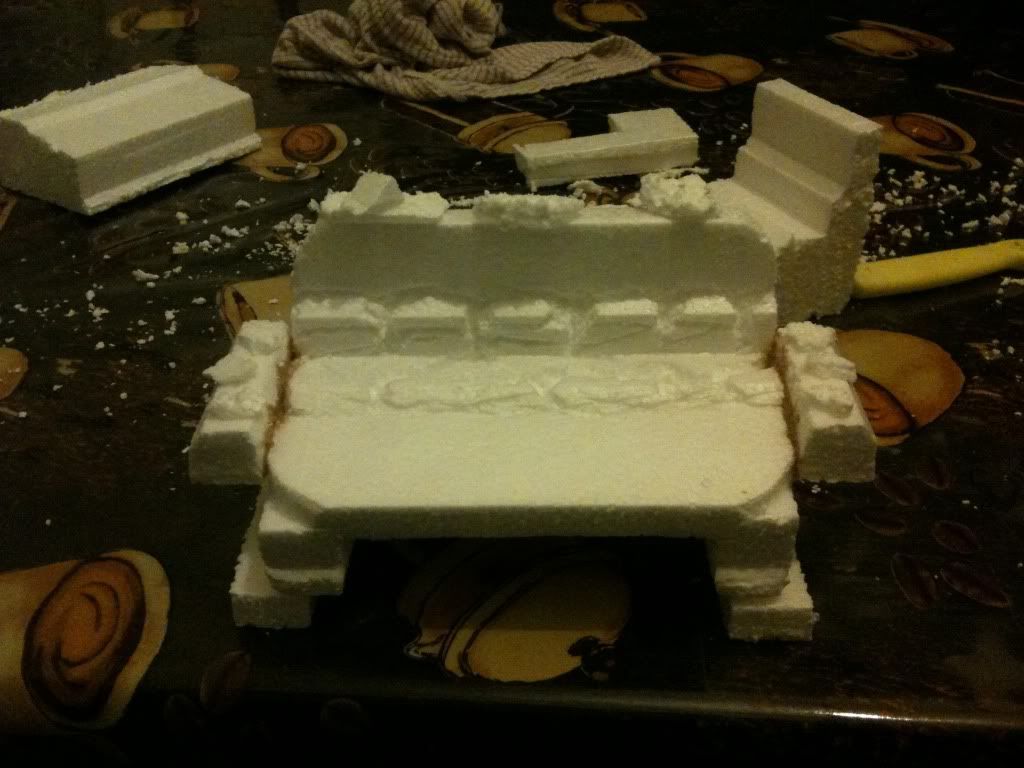
ok I'm even laughing at myself abit with this one..purely because this is the result of boredom, Alot of free foam,and being over tired... So I decided ..hey I'll make some lizard furniture..like In the flinstones.. Lol.. And that's how the couch came about.. I also wanted to make a dining table and tv.. Lol.. I kinda made a "dining table" (The reptile version anyway).. but ull see that later..back to the couch..
This may look pretty basic n simple but it was not as easy as it seems..very time consuming to get all the little details right!
http://i820.photobucket.com/albums/zz121/sofoula88/569c11d7.jpg
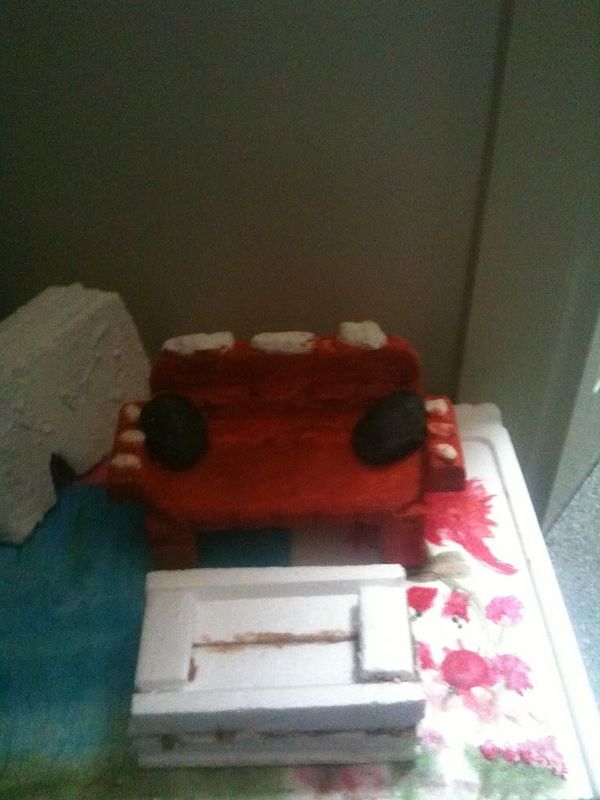
The Couch with Rock "cushions".. Looked pretty cool but as it was soo small I decided to scrap the cushions idea in the end...
http://i820.photobucket.com/albums/zz121/sofoula88/c8a4ea9d.jpg
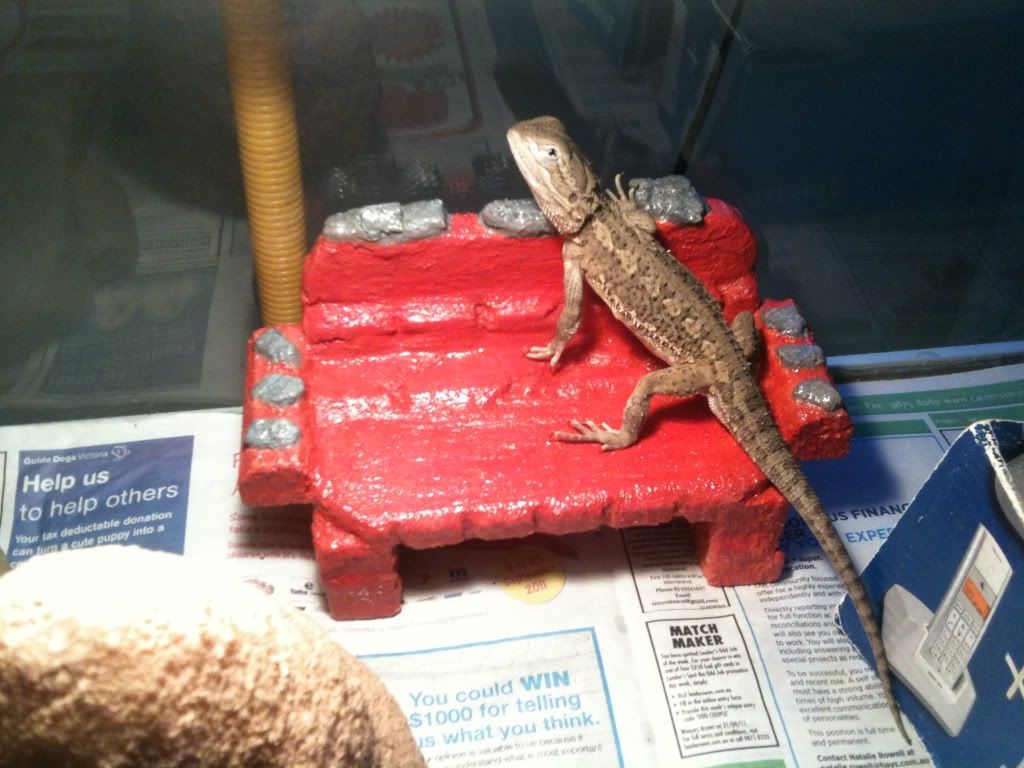
It may look very small from the pic but it was made big enough for Fred to fit under it and use it also as a hide...he loves it =D
http://i820.photobucket.com/albums/zz121/sofoula88/f8fa438c.jpg
Ok!.. Nearly finished.. project number 4: The Rock Pool Water dish and the "Dining table inspired" food dish to go with it..
So I got the idea half wanting to create a dining table..something they could eat off..like a dish.. Which was inspired by LL vid on YouTube..he made a Mayan temple I think and at the top was something similar to this for "Cricket sacrifices" lol.. So I wanted something like that minus the whole temple thing.. So I came up with the idea to make a dish that resembled that..then it almost turned into a water dish.. But I decided to scrap that mistake and keep it as a feed dish and make a new water dish.. Thus the rock pool water dish... Here they are:
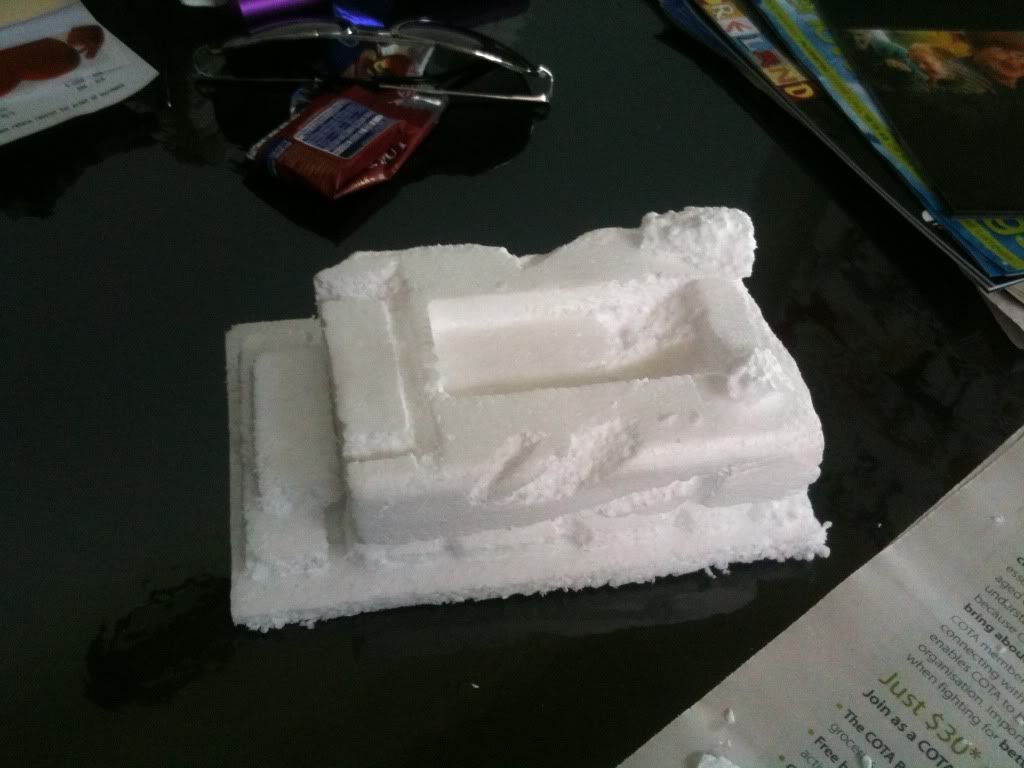
Another boring piece of foam to begin the foundation and design process
http://i820.photobucket.com/albums/zz121/sofoula88/771162a9.jpg
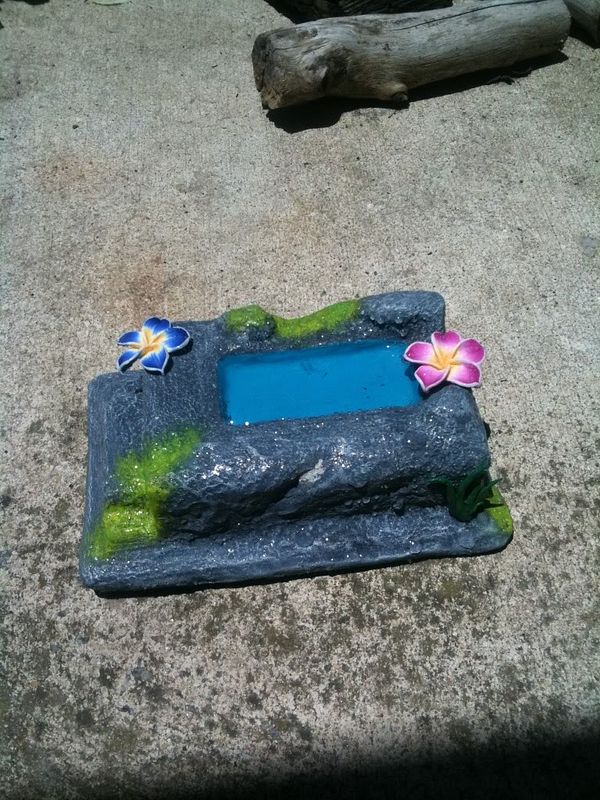
Transformed! Ta da!
http://i820.photobucket.com/albums/zz121/sofoula88/69cda754.jpg
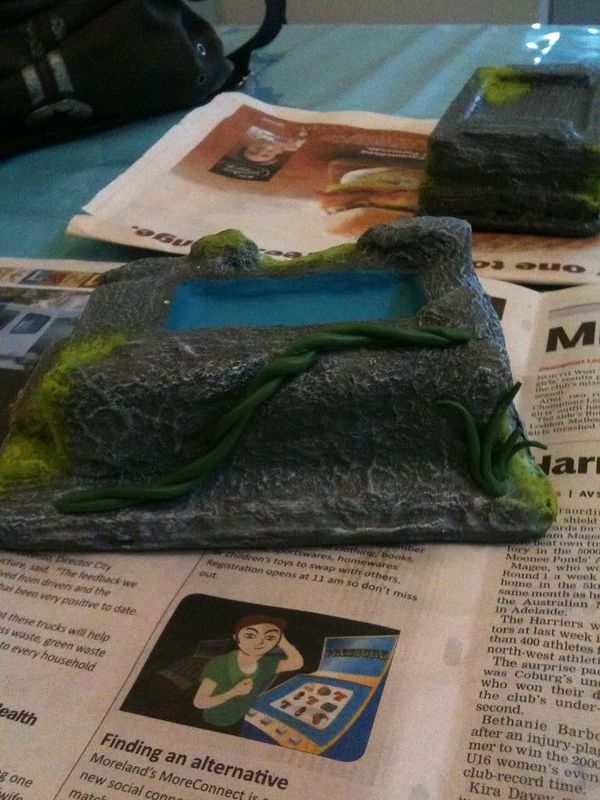
Vine and grass
http://i820.photobucket.com/albums/zz121/sofoula88/2e62d38b.jpg
The Rock Pool Water Dish(left) and the "Dining table"(right) lol.. Food dish matching set
http://i820.photobucket.com/albums/zz121/sofoula88/91e36aed.jpg
Finally!!!.. Last but not least
Project number 5: Basking platform and hide in one
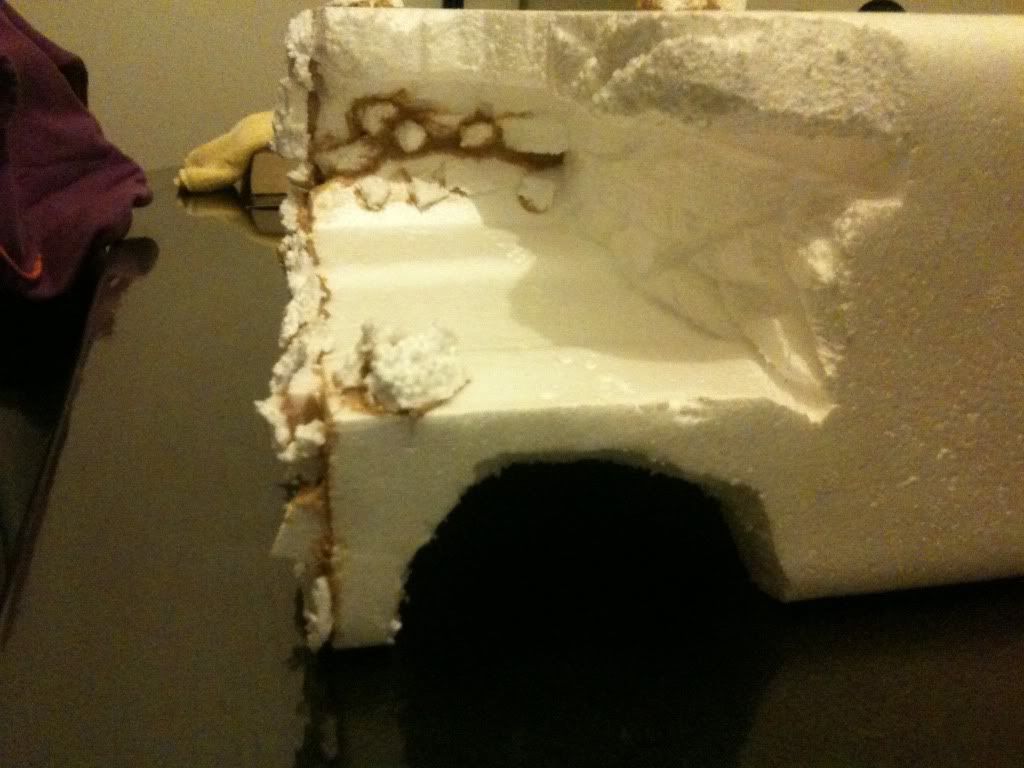
so I've made two of these..they were initially intended for my hatchies but by time I finished them.. So one is with Lola and the other is still outside waiting on minor adjustments lol.. I think I also have a few pieces of this foam I anyone wants to try and make one of these.. I wish I could show u what it looked like even before this stage..basically a piece of poly used to hold a flatscreen.. But ha the perfect shape for something like this.. So here's what I made out of that boring piece of foam...
http://i820.photobucket.com/albums/zz121/sofoula88/246fd4b5.jpg
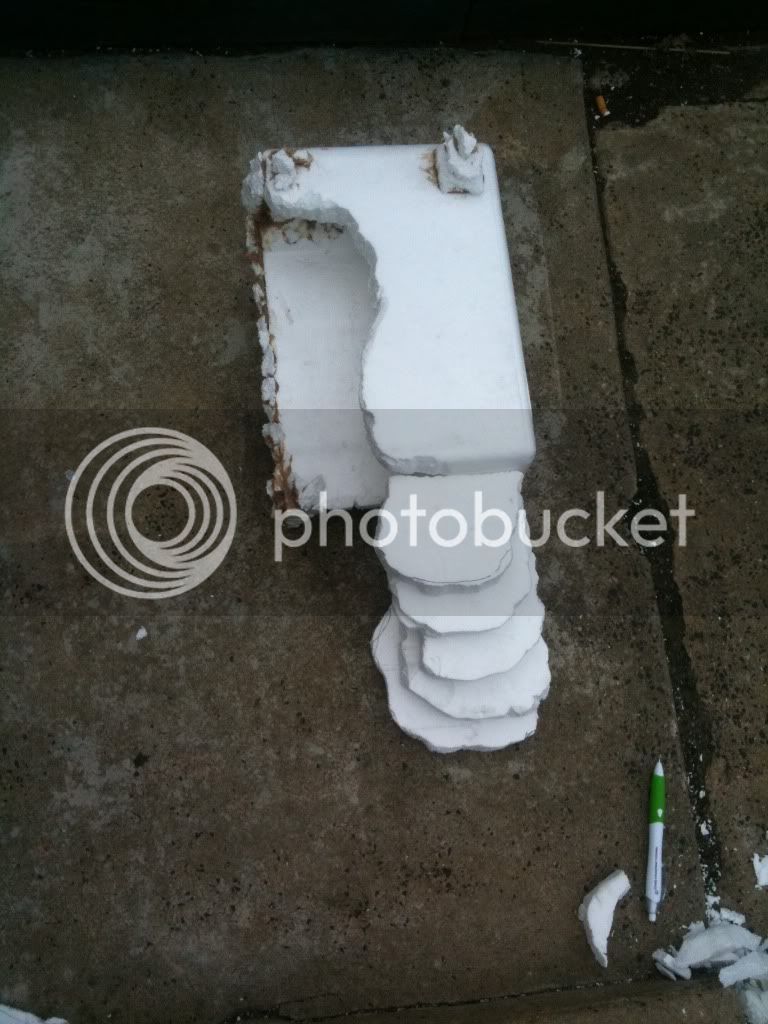
Again side hide..
http://i820.photobucket.com/albums/zz121/sofoula88/7190dcde.jpg
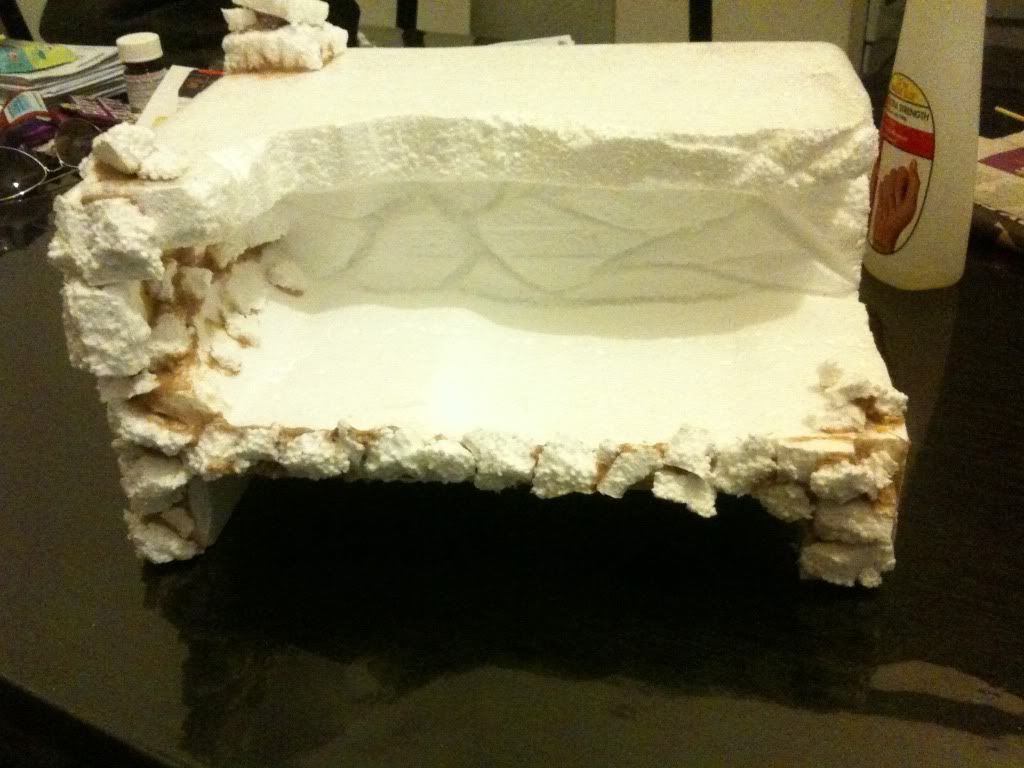
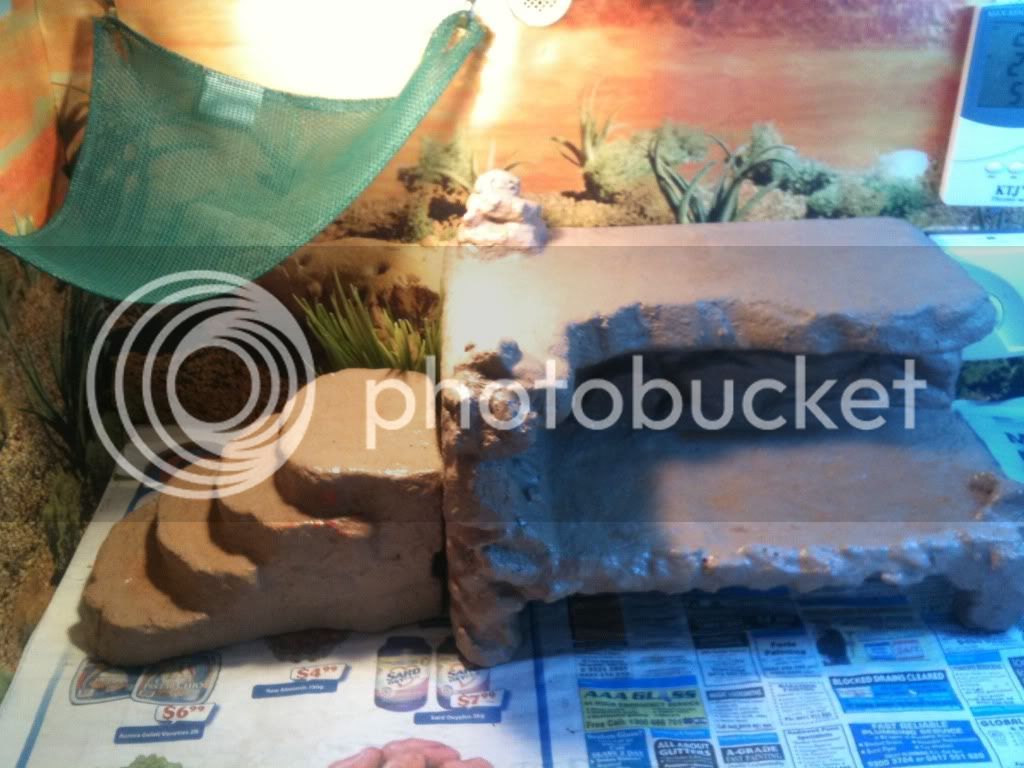
Steps Test.. So it's basically a three level platform/rock/hide.. The bottom hide level, with the large front hide,and side hide..plenty of room.. Then there's the middle level.. So if they want to get some hear but not too much and wanna cool abit or chill under the "shade" of the platform..and thenthen top level which is purely basking and getting heat..
Soo time consuming getting these stairs right...and in the end I scrapped this design -_-
http://i820.photobucket.com/albums/zz121/sofoula88/9d8e117a.jpg
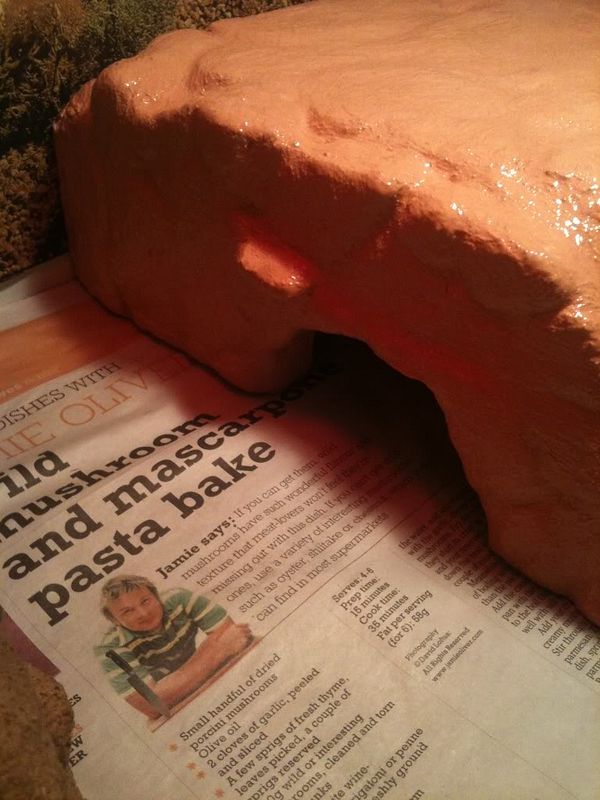
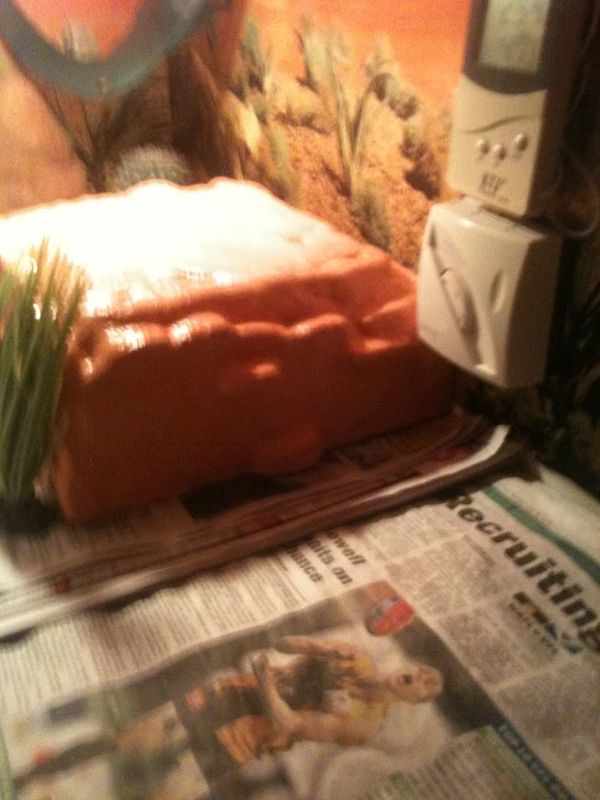
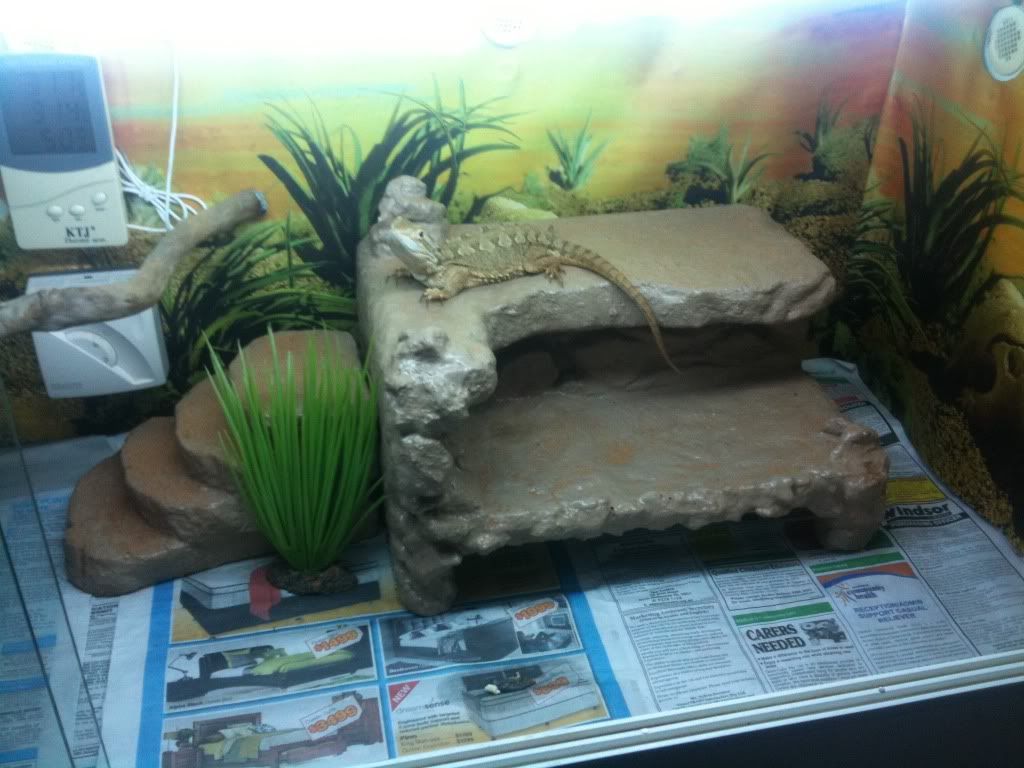
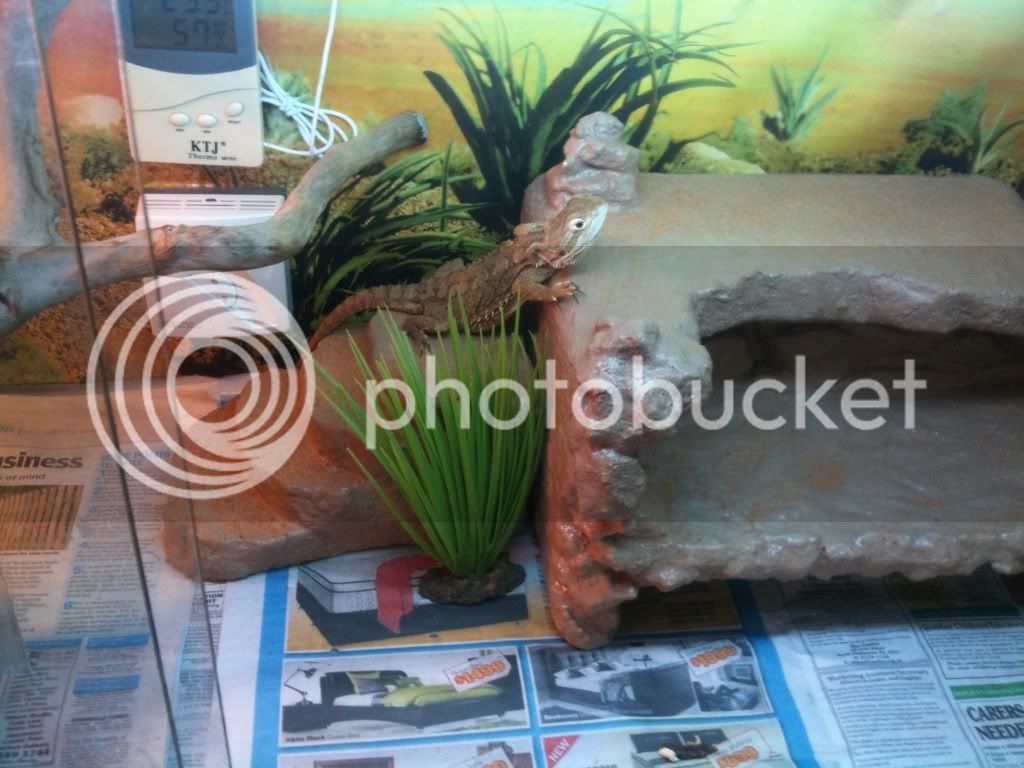
Firstly,yes I know it looks crappy on newspaper, but this is basically the end result..in the end it was too big with the stairs attached and heavy n difficult to move..so I detached the stairs...and made them be able to be used only when I need them
http://i820.photobucket.com/albums/zz121/sofoula88/b0622cfa.jpg
http://i820.photobucket.com/albums/zz121/sofoula88/ce2397aa.jpg
http://i820.photobucket.com/albums/zz121/sofoula88/89c87b91.jpg
well.. There you have it.. Those are all my projects/creations thus far.. I'm sure there will be many more to come in the future.. So hopefully you guys liked them and they weren't too amateur.. I've seen some really cool stuff on here.. But yeh tell me what you guys think.. Thanks for reading the entire thread.. Or scrolling down and even looking through a few pics lol.. So until ny next "collections" thread.. That's all folks!
Last edited:


