'fake rock' DIY thread- wall, hide and platform

Aussie Pythons & Snakes Forum

Help Support Aussie Pythons & Snakes Forum:

This site may earn a commission from merchant affiliate links, including eBay, Amazon, and others.
Status
Not open for further replies.

Kitah

Very Well-Known Member
Joined
Mar 27, 2007
Messages
2,284
Reaction score
0
Location
SEQ
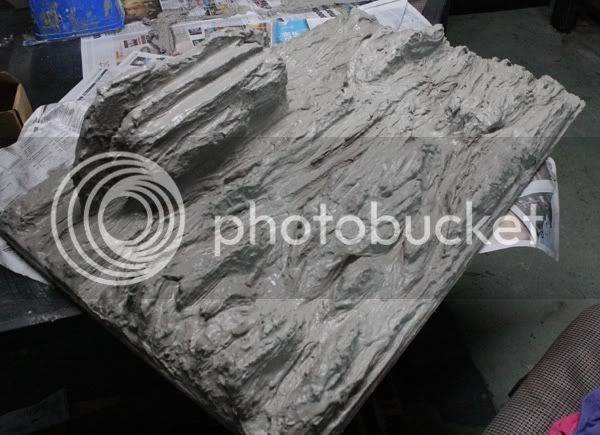
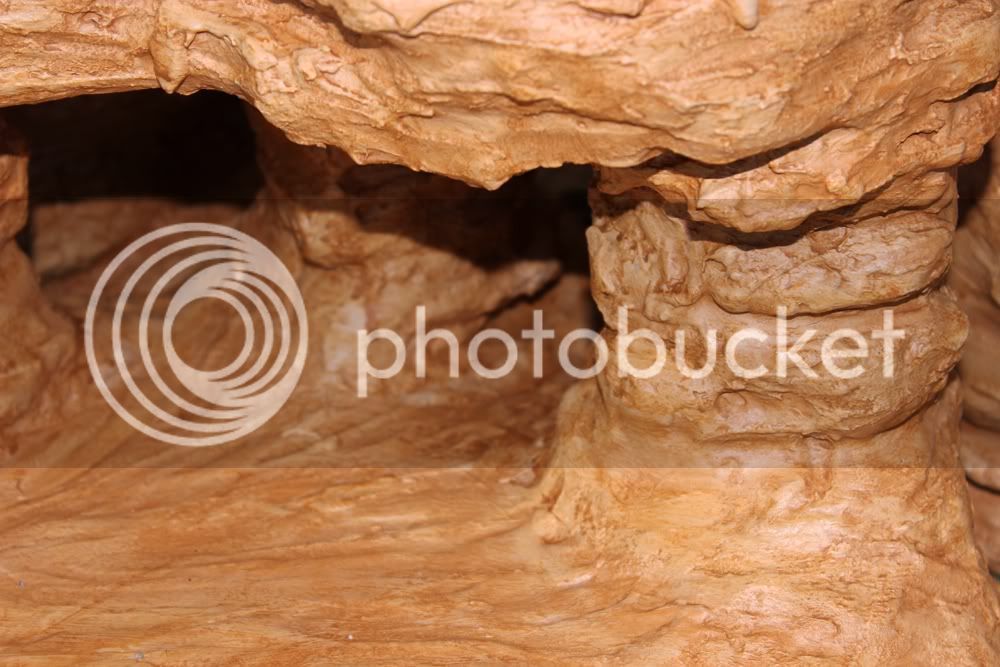
This is my third attempt at making fake 'rocks.' these are for a 3ft long x 2ft deep x 2ft high enclosure, which will eventually hold a windorah stimmy.

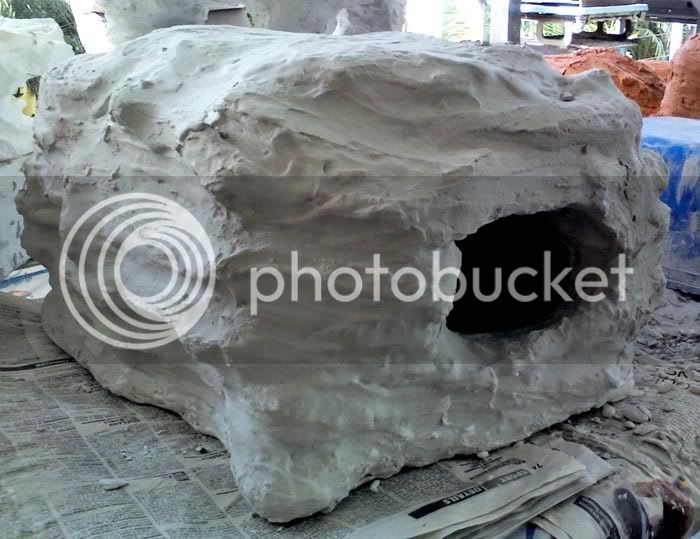
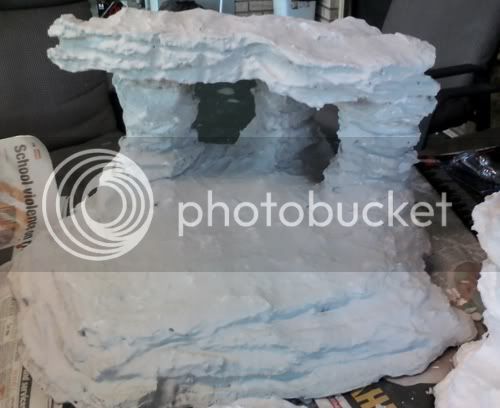
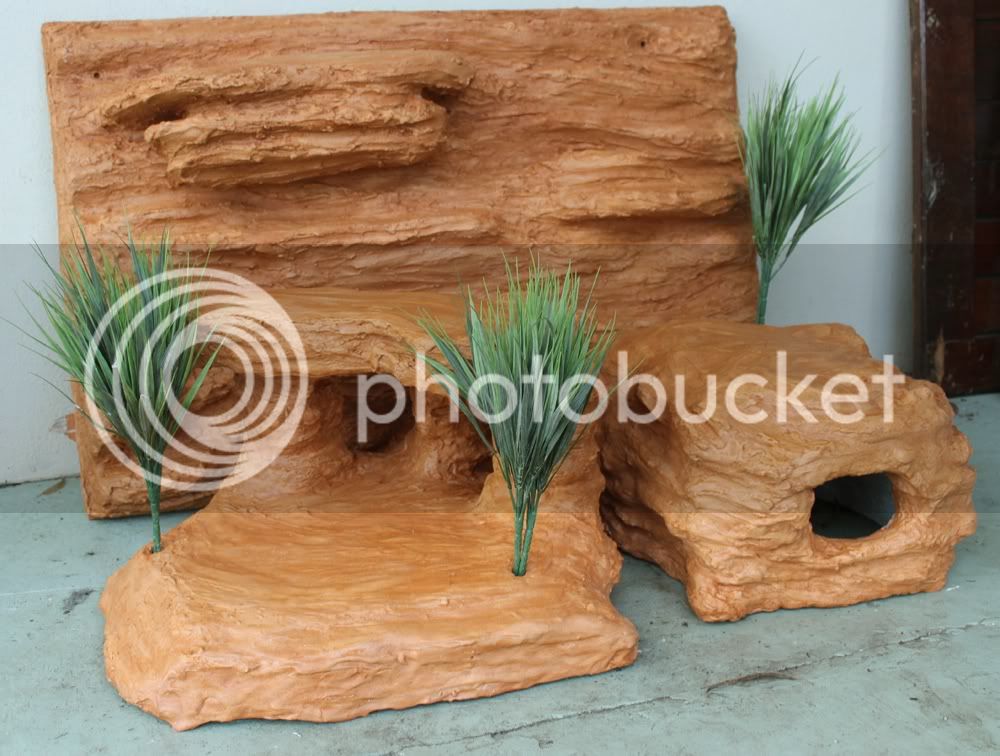
Its a three piece 'set' - rock wall, a hide, and a platform that I may use for feeding etc. To fill the gaps on the floor I'm planning to use Kritters Krumble.

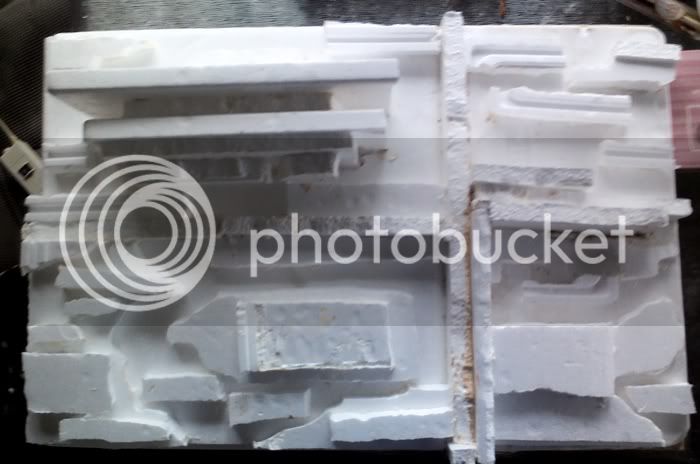
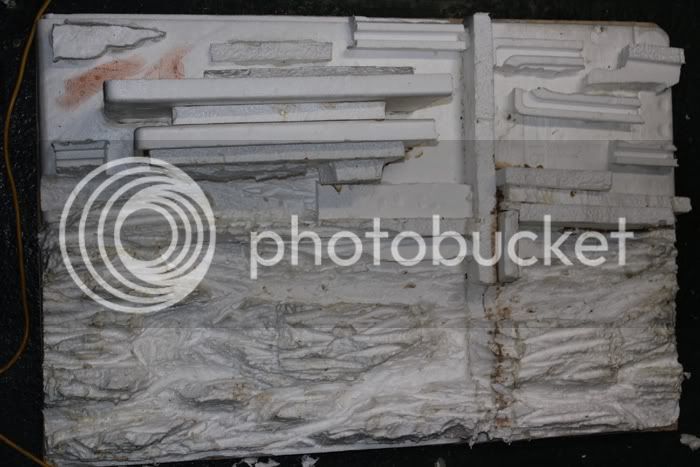
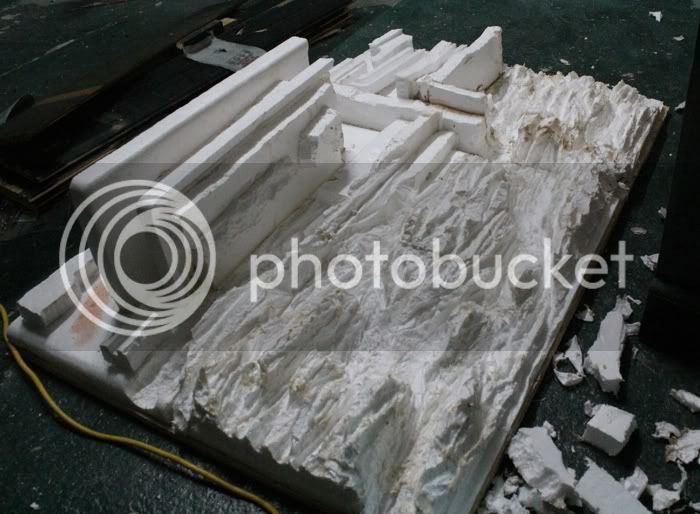
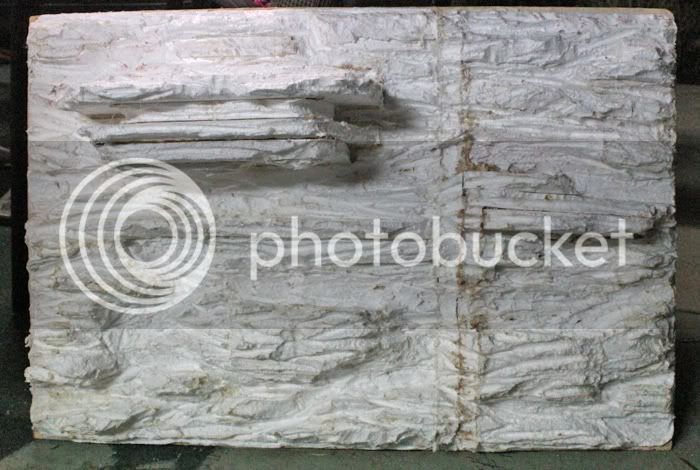
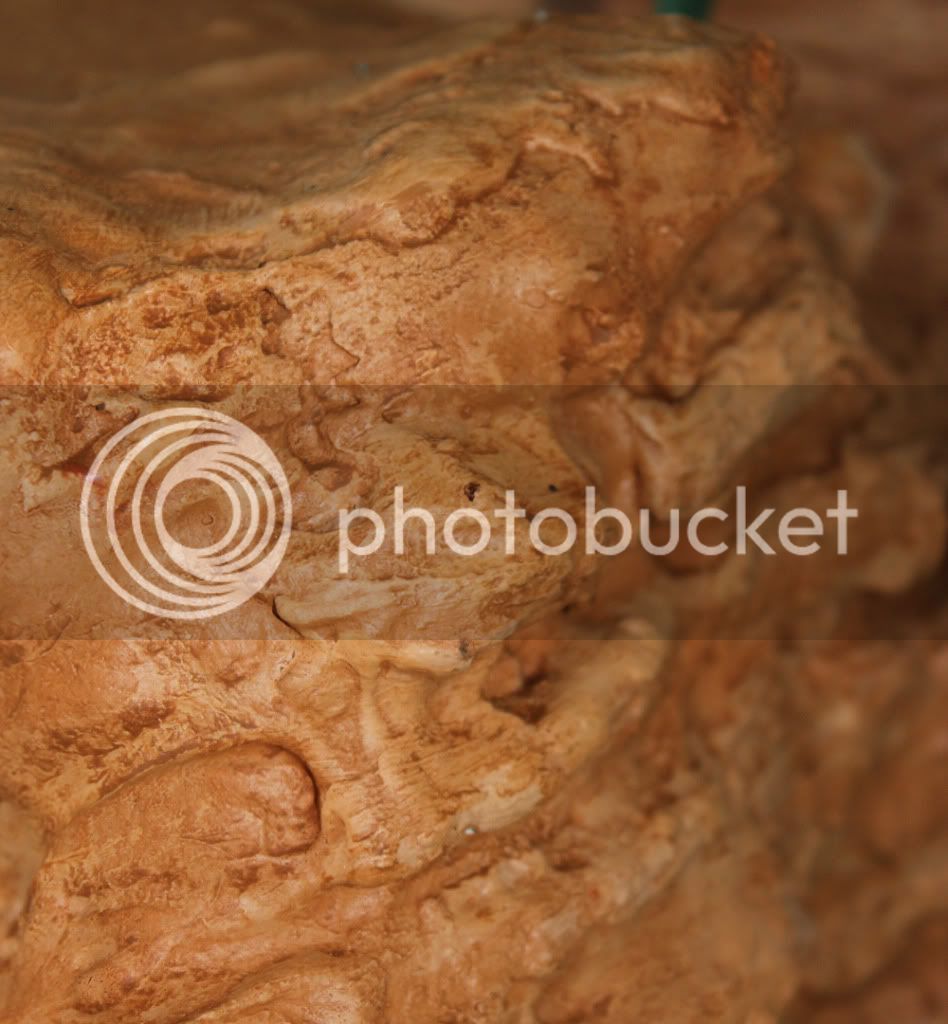
The rocky structures are made from styrofoam shaped with liquid nails and a soldering iron, covered in grout (fair few layers), painted and sealed.

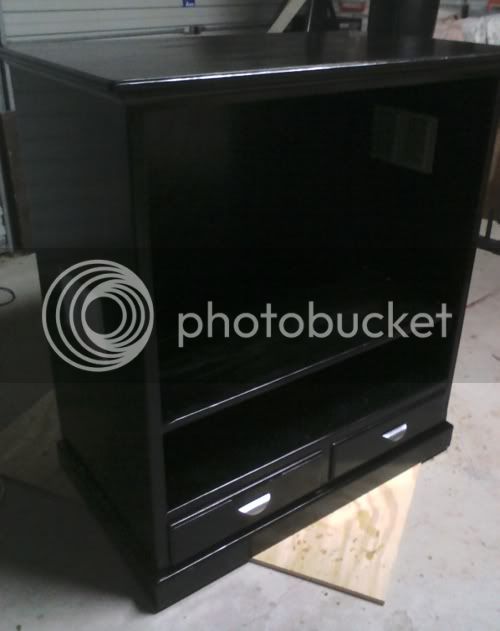
The cabinet I converted, it was originally stained green and bought from the local tip/recycling center. sanded, stained black and multiple coats of varnish, added glass tracks and glass. (tracks and glass not in this shot).
IMG257-1.jpg


Making the rock wall, various stages
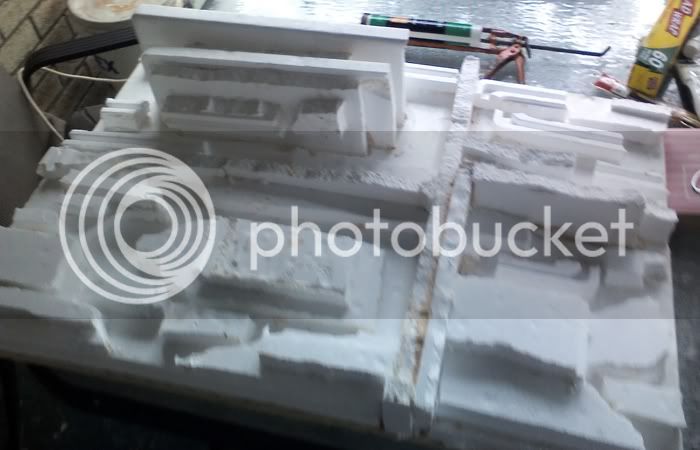
IMG223.jpg

IMG224.jpg

IMG_2958.jpg

IMG_2961.jpg

IMG_2968.jpg

IMG_2972.jpg


Grouted hide
IMG343.jpg


Grouted platform
IMG316-1.jpg


The lot together- NOTE the grasses in this will be shortened and I'll probably get some different types/colours of grasses, but this is just an example for the photos
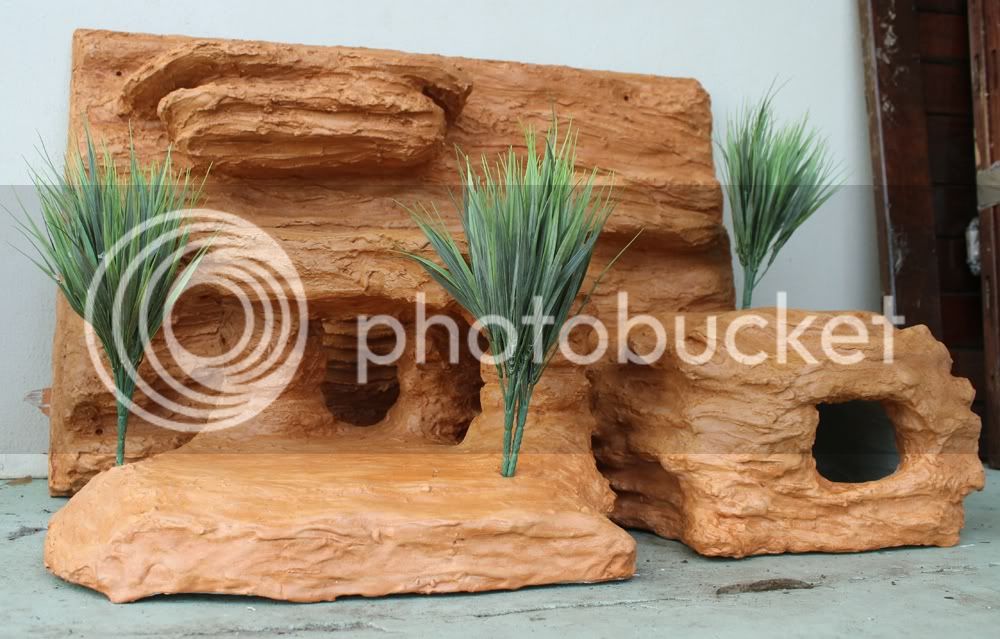
IMG_3429.jpg

IMG_3433.jpg


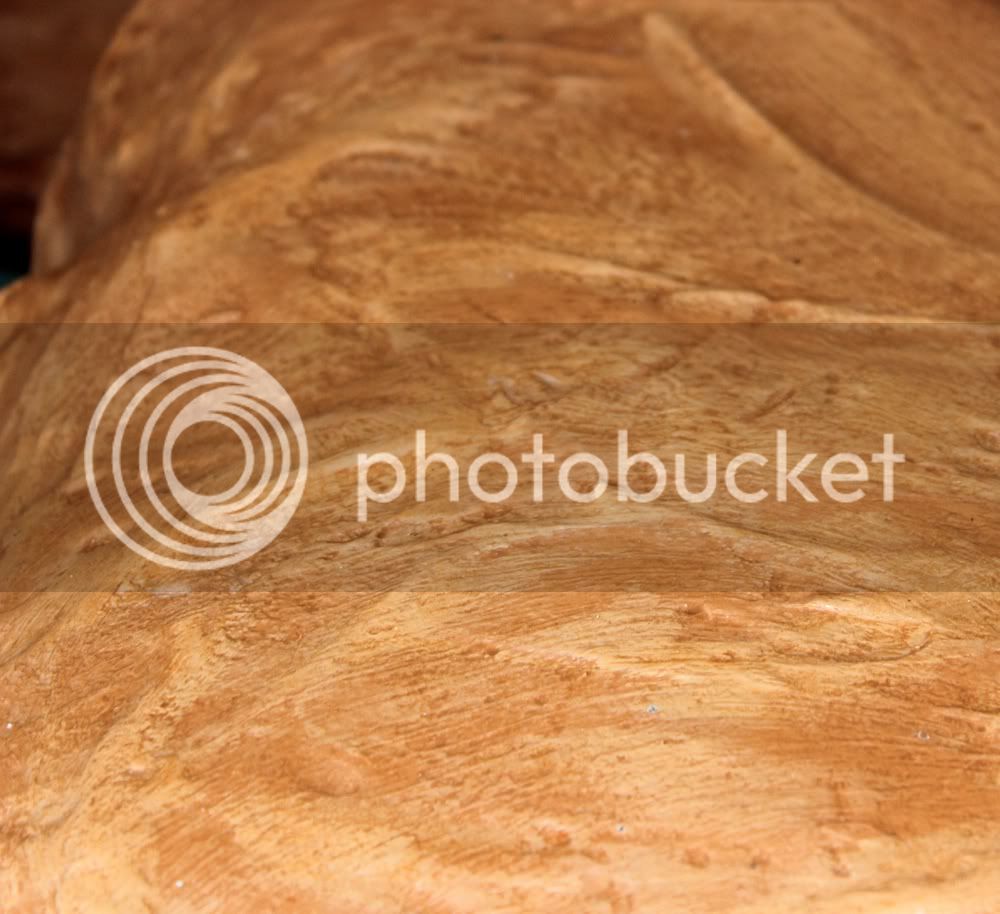
Texture and paint detail
IMG_3441.jpg

IMG_3437.jpg

IMG_3434.jpg


Sorry, I dont have progress photos of each stage of the hide and platform.. but.. just thought I'd share what I have :)

I now have two other stim hatchos as well so will do a similar thing for each of their enclosures.
 
That's a great idea. Hadn't even thought about doing set pieces like that. They look fantastic! Thanks for sharing with us. :D
 
Looks really good.

With a bit of experimentation its not that hard to create some really good pieces.

Well done
 
very nice mate is the hide just made out of foam to and what brand paint and seal did you use and where did you purchase it from as I'm thinking of making some things myself looks great.

Cheer Caleb.
 
Seeing how so many of you do so well in making your own fake walls and such,i must try this myself. I can already see myself screaming at all the foam cut offs and having to vacuum so many times haha,but even still,having made something like that is an achievement.
Nice work.
 
Thanks guys :) Now I just need to make some more, for two more stimmo enclosures hehe...

If you want an idea of how much grout has been used- about 15-20kg of grout is on that back wall, alone- I had bought a brand new 20kg bag of grout, used a tiny bit for a few small hides I made, and the rest is on this wall.. Its a little heavy :) There are actually spots I've allowed in the wall so I can screw it onto the back of the enclosure wall, but it can still be removed if I need to thoroughly clean it, if I move etc.


Hey Caleb- each of the pieces is made the same way- styrofoam shaped with a soldering iron (it doesnt send tiny bits of styrofoam everywhere to be blown away by the wind, is easier to control and much neater), covered in a few layers of grout, and painted- you can use any old acrylic or water based paint. I was buying them 5 100mL tubes for $10 at the local discount stores (I've used a LOT of paint.. lol!) and the sealer is called PondTite- its about $25-30 for a 1L tub but it goes a LONG way.

very nice mate is the hide just made out of foam to and what brand paint and seal did you use and where did you purchase it from as I'm thinking of making some things myself looks great.

Cheer Caleb.
 
20kg grout on the back wall.... I thought it was housing a stimmy not a lace monitor? The closeups don't look too bad... looking forward to seeing future rock walls.
 
Lol.. well what can I say, I like to make sure the jobs done properly! it was probably actually about 15-17kg of grout in reality. Though its only 3ft x 2ft, because of all the ledges jutting out it increased the surface area quite a lot.

This 'set' does look significantly nicer in person- the details don't come out too well when I'm trying to fit the whole lot in one shot.

Also.. the inside of the hide is now actually painted ;) It wasn't in the photos- was still grey.. hehe. Just got to seal this lot now.
 
Last edited:
Nice work.
The dark red version of those grasses would go well with the colour of the background.
 
very nice mate what kind if grout did you use, love the colour and texture of the finished product. was it worth putting so much detail into carving the foam, because i know from past experiances the grout just seemed to fill up alot of the smaller carved areas and also whats the weight of the finished product like
great job mate i know the effort thats goes into it (pain stakeing)

did you use timber stain to colour it
 
For the wall I bought a 20kg bag of floor grout from a tile store- because thats what they recommended. I did find it slightly coarser than what I wanted so when I needed more I bought 20kg of floor grout and 20kg wall grout and mixed them together 50/50 which gave a real nice 'grade' for what I wanted.

With carving the foam- it doesn't take too long to carve it really, and I find it does help significantly. There is no point really putting in fine little details because as you said they'll be covered, but I find it still keeps the basic shape of what I want, then I can add extra grout in spots to make the features more pronounced. On the hide and feed platform because the shaping/detail was significantly larger for a layered type rock effect, it worked perfectly- just over exaggerated what I originally wanted to allow for the grout.

I didn't use timber stain to colour the fake rock- that was used to stain the cabinet black. I used a few layers of paint to get the colours/'texture' I wanted :) painting, dry brushing and wash techniques were used :)
 
Thanks heaps Kitah really appreciate it just one more question tho how much foam did you have to use for the hide was it like bits glued on to a foam box or something because that's one of the main things i want to make for my snakes hides once again looks really good.

Cheers Caleb.
 
I came across some maybe 15cm wide x 10cm deep x 1.2m long styrofoam 'blocks' that I saw in the rubbish pile outside a bunnings store that was being renovated. Checked they didn't need them, and took a heap. I then stuck them together with liquid nails. If you cant get blocks like that what you can do is go to pet stores/fish stores for example and collect the styrofoam boxes the fish are delivered in. Separate the walls of the box and glue them together/stacked on top of each other to make one big block that you can then shape.. if that makes sense.
 
Status
Not open for further replies.
Back
Top