Aussie Pythons & Snakes Forum

Help Support Aussie Pythons & Snakes Forum:

This site may earn a commission from merchant affiliate links, including eBay, Amazon, and others.
Status
Not open for further replies.
what about just using the same method as the rockwall to make bases that match the wall ? so a foam base like youve done then just rendered , painted and sealed
 
I thought about it Thomassss but... I don't want to. :lol:

I wanted something a little different. I am thinking of filling the gaps with the same colours as the background but without the render. I still want to use the stone/gravel, it's just an image I have in my head and can't quite let go of.
 
Go wit mums advice gruni I got this selleys all clear from bunnings to seal my enclosure its waterproof and works on almost any surface and you can also paint it so you can mix paint in it and dip it in just a thought I think I can see wat your trying to do I reckon you should mix some wit a little bit of black and roll it in ya pebbles
 
Check the silicon section at the hardware shop, you'll be amazed at the range of colours.
I use black and brown quite often
 
Silicon could be a great solution, if you have some. They also come in lots of different colours. If you wanted a quick, cheap fix, add corn flour or custard powder (which contain corn flour) and water to the PVA. It will thicken it up a bit into a thin paste and the starch in it makes a decent glue itself. Then when you are finished sticking the rocks and pebbles on give it a quick coat of pond sealer (assuming you still have some left).
 
I have at least 1/2 a bucket/tub of the sealer still left so that isn't an issue. I'll have a look at that idea tonight if I get a chance Red otherwise I'll drop down and see what sort of silcon I can get. The problem with the silcon is, I would expect, that it would eat at any exposed foam as they are solvent based and not water.
 
i use the selleys coloured silicon with no sign of the foam deteriorating, okay, apparantly its technically 'no more gaps' and not silicone :lol:

No-More-Gaps-Coloured-Caulk-Black_large.jpg
 
Last edited:
Thanks for that Jax, it's been much too long a day for me to be stuffed trying it today but on the way home I picked up a tube of No More Gaps: Rich Earth. It's a reddish brown again so it should tie in a bit with the existing background and if I still have gaps I'll paint them with the coulours I used on the background.
 
LOL, I glad I'm not the only one suffering "brain fade"
What you have planned is exactly what I would do :)
 
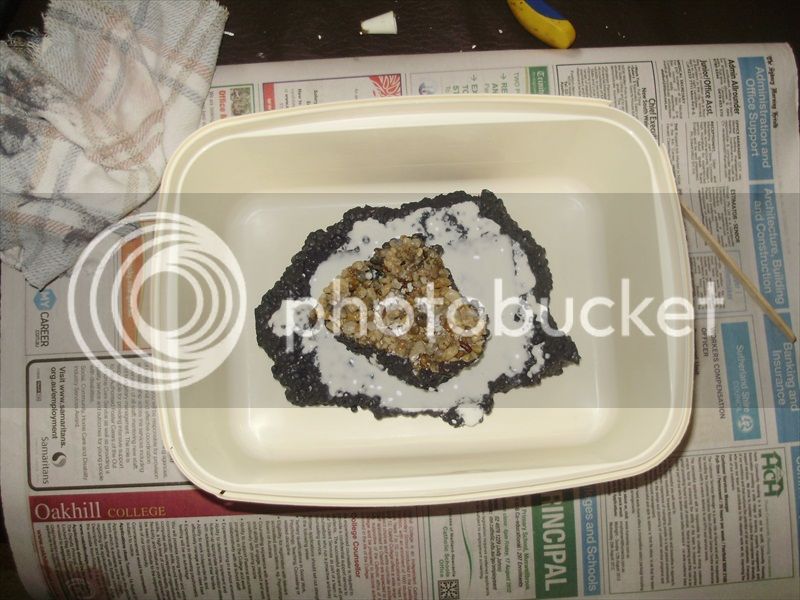
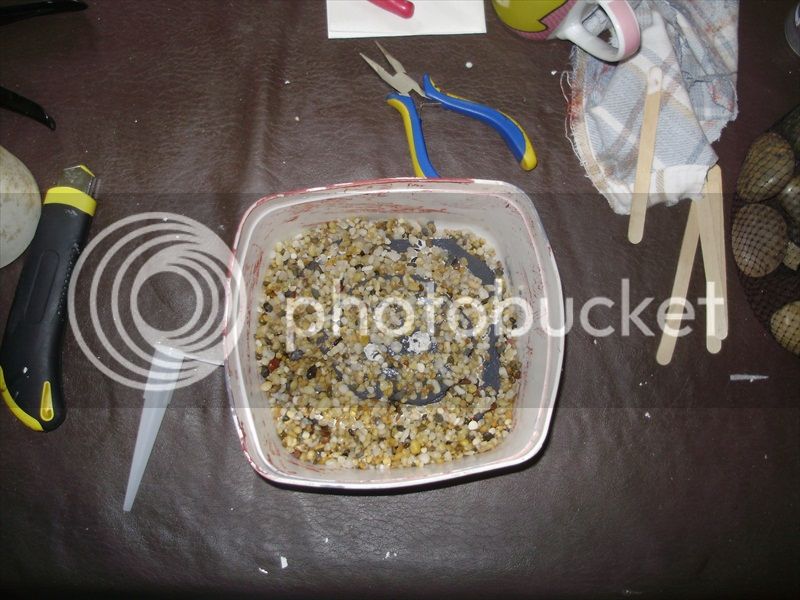
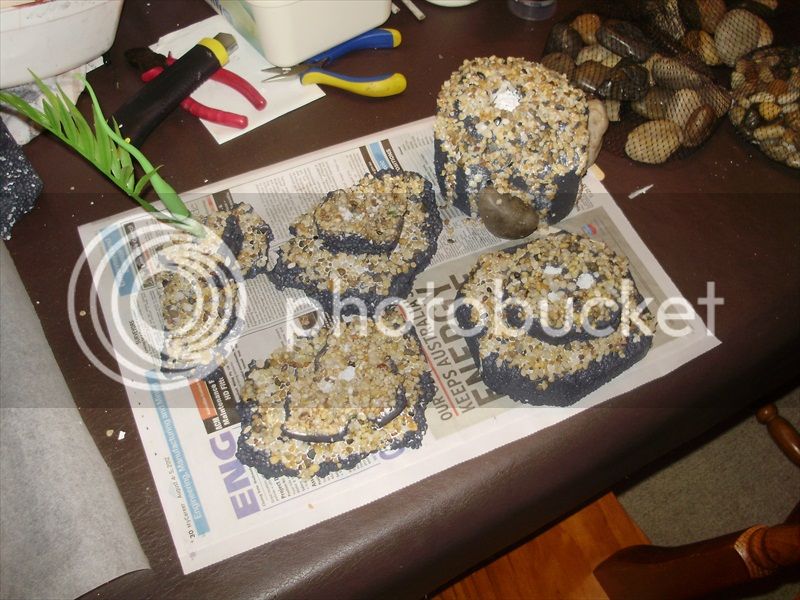
I beat the brain fade this afternoon. Plan C came to me as I was about to cut the top off the tube of No More Gaps... I thought there has to be an easier way to attach the gravel to the bases and save the tube for the bigger stones and it dawned on me. I smeared some older pva I had in the shed over the flatter surfaces of the bases and then sat them in icecream containers. Then I poured the gravel over the top and let the baases sit deep in the gravel for an hour or two before shaking off the bulk of the loose stuff. I'll let that dry over night and then the Rich Earth coloured goo will close the gaps a bit with the small and medium sized stones.

P1210002_zpsa34bb728.jpg


P1210001_zps859a5e33.jpg


P1210003_zps83dbbf83.jpg
 
Gruni I also placed my plants in a piece of nice shaped wood by drilling holes then glueing them in place.
 
I might do that with a future build Gonemad, but for this one I'm just determined to get it finished as I want Skittles moved in on the weekend.

When I thought of it, I though 'Duh!' why didn't I think of it before??? :facepalm:

The build is so close to done I can small it and it's frustrating that PVA takes so long to dry... On an up side, I got word from Egernia that my new Jet005 thermostat will be on the way tomorrow so I may even have it in for Saturday yet. The halogen gets the enclosure up to a cosy 29* without any great issue and I currently have it on a timer where it's on for 1 1/2hrs and off for 1hr.
 
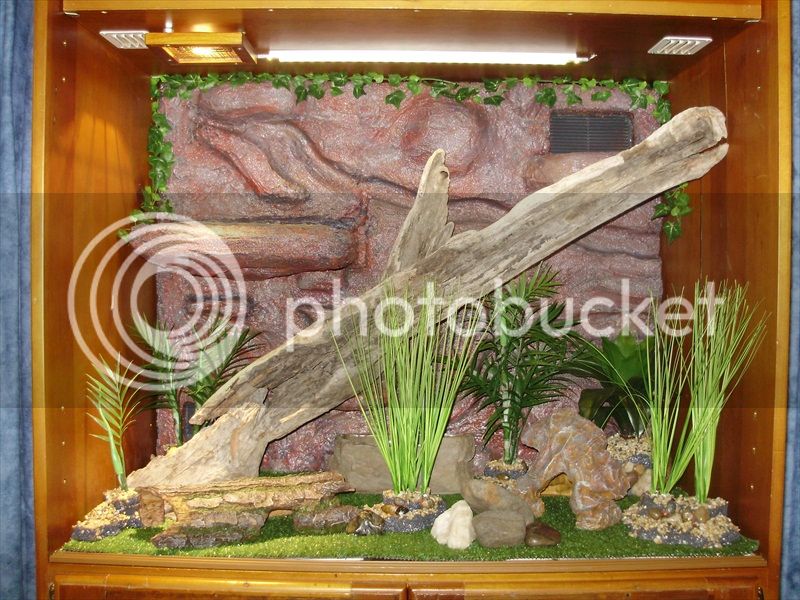
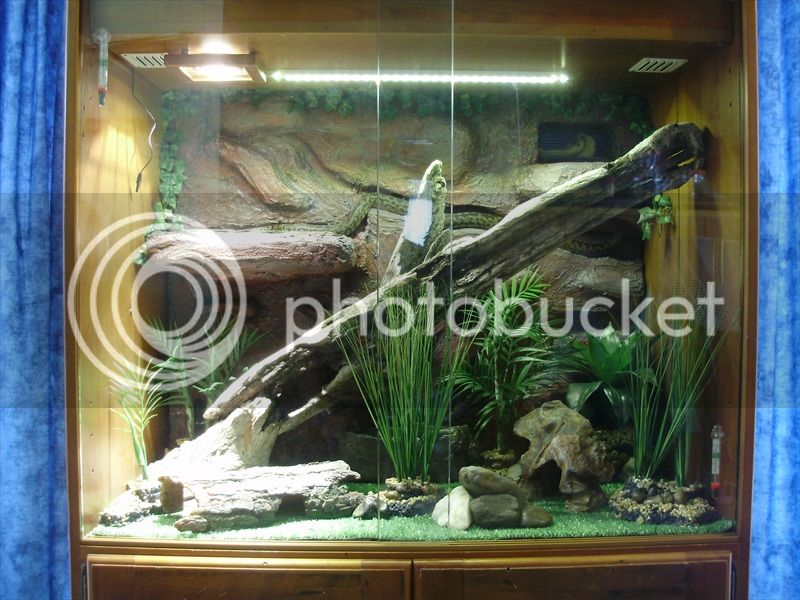
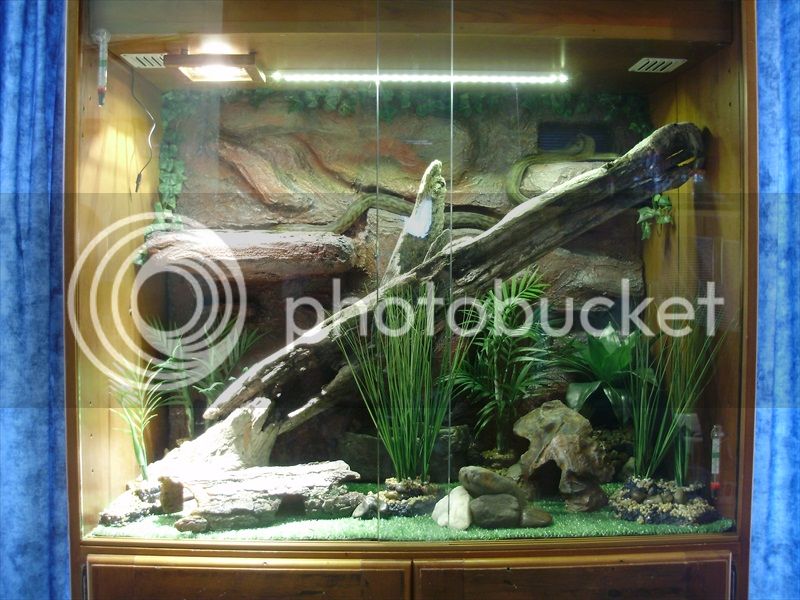
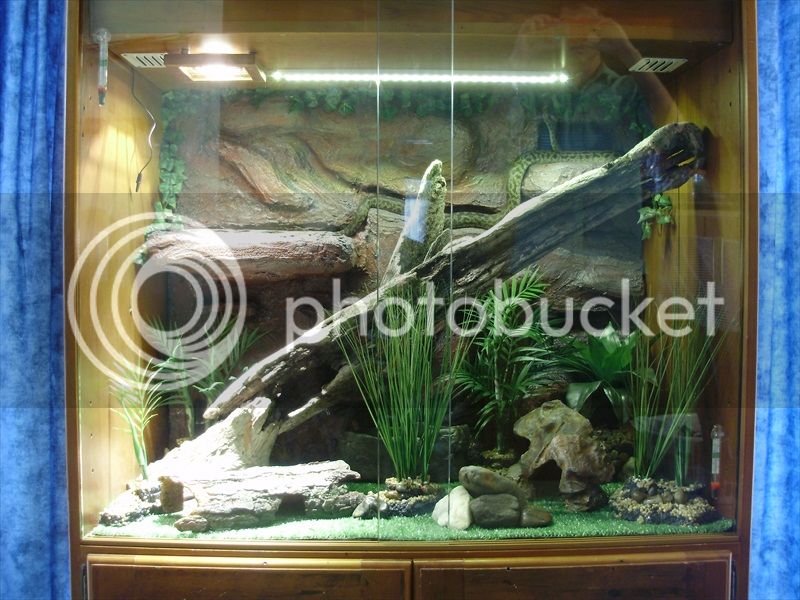
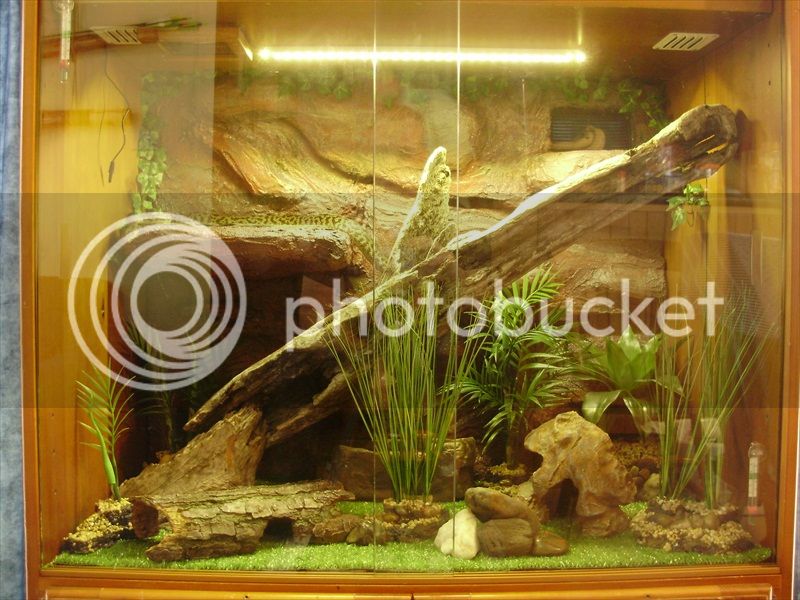
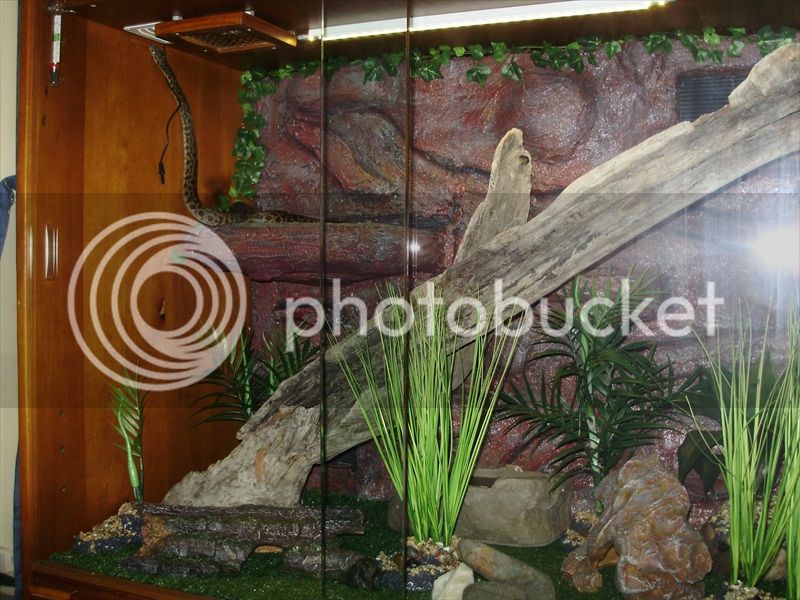
Well this is more or less my last post for this thread except to answer any last questions you guys have so I warn you I am so damn proud of this build that this post will be chronically PIC HEAVY! I may add one or two pics later as Skittles hasn't modeled the log or bottom half of the enclosure but we'll see. The one addition I have to do is I have to get some more ivy as I want to hide the white thermo probe a bit and add some to the top of the log too.

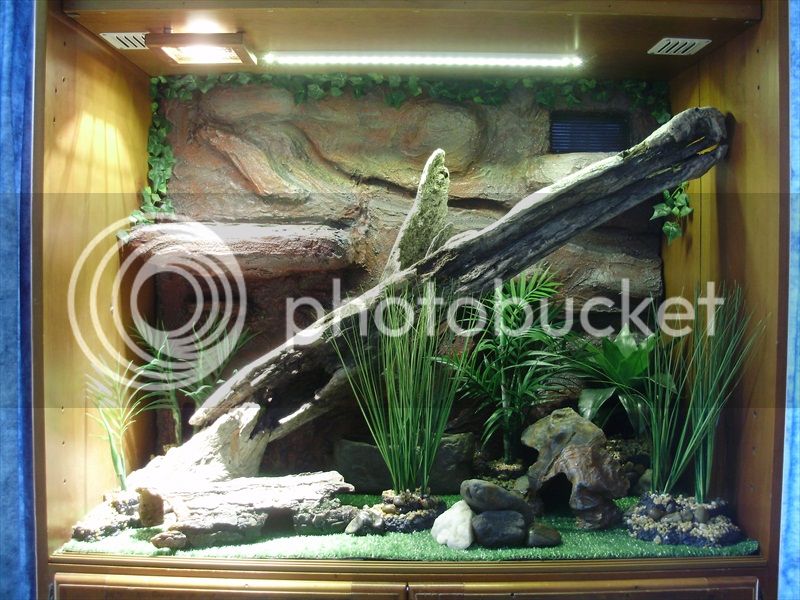
No glass with flash...
P1240007_zps19aa816a.jpg


No glass without flash...
P1240008_zps7c2161a1.jpg


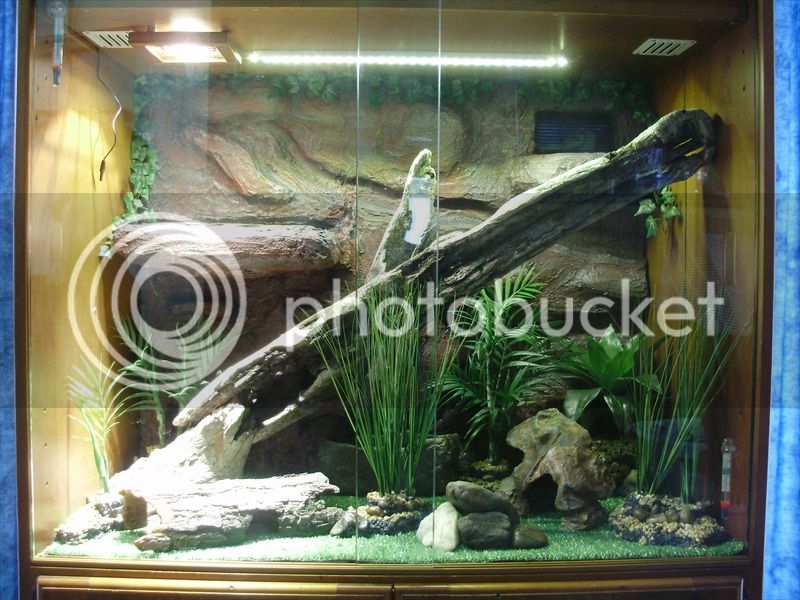
With glass and no flash...
P1240010_zpsf949f942.jpg


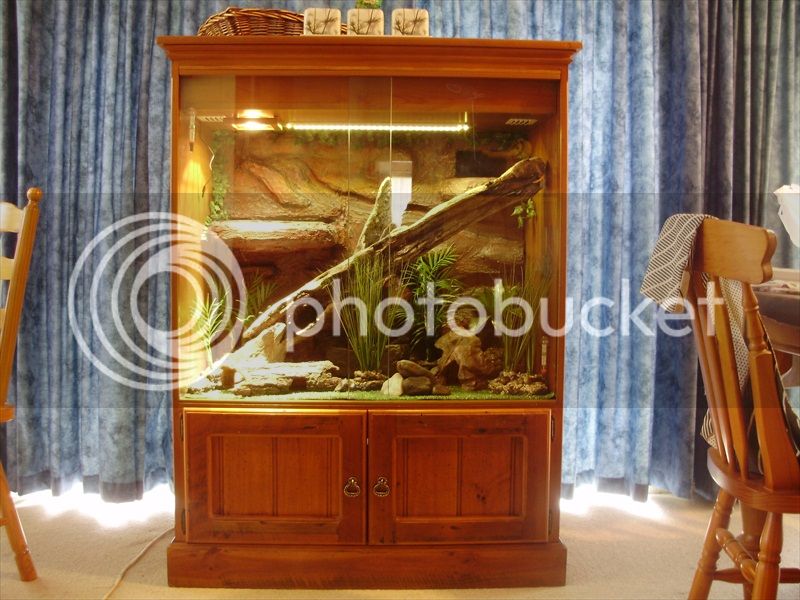
Package deal without flash...
P1240011_zps802dd47d.jpg


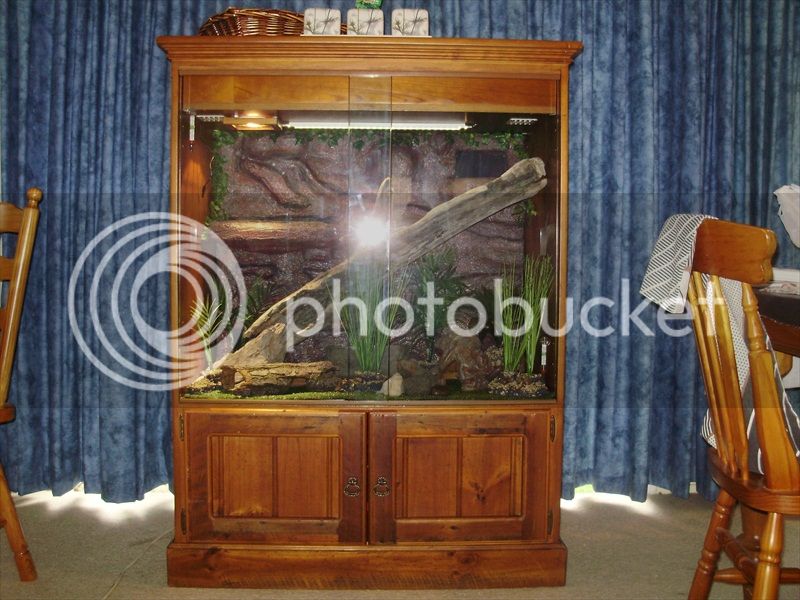
Package deal with flash...
P1240012_zpsc0aa5fc9.jpg


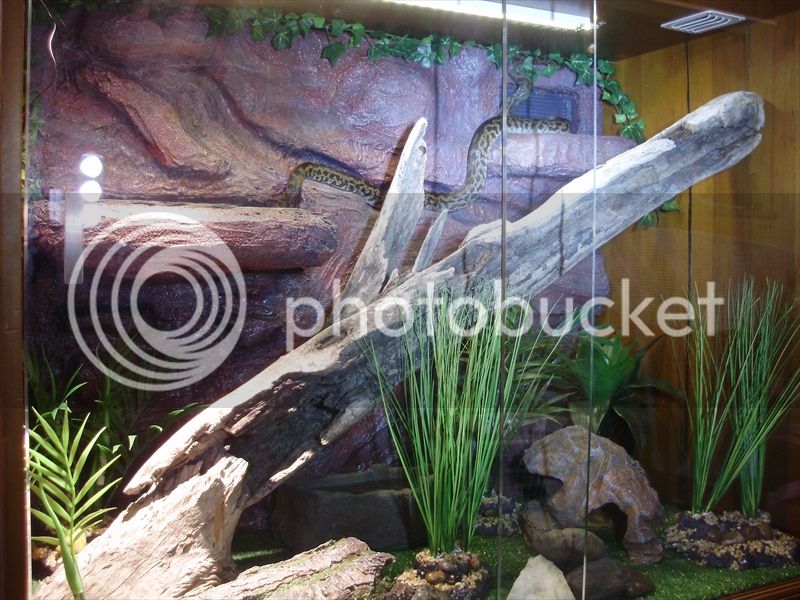
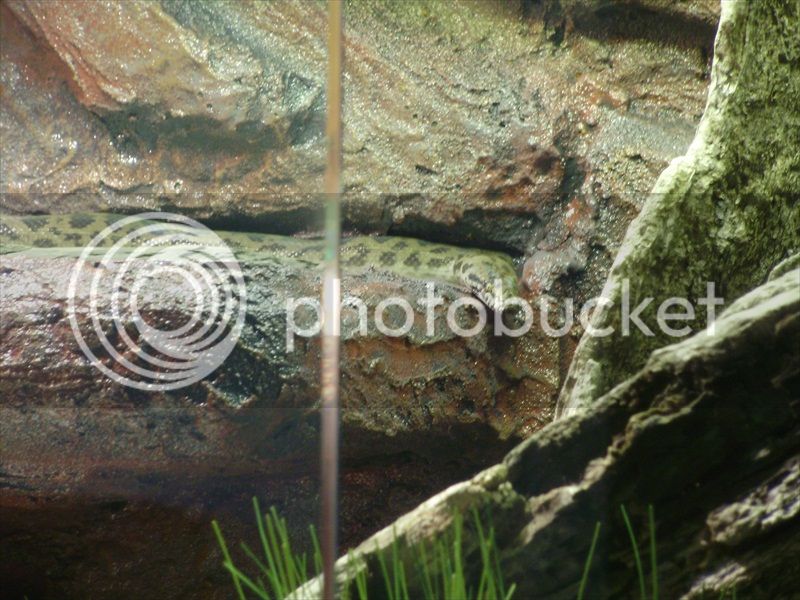
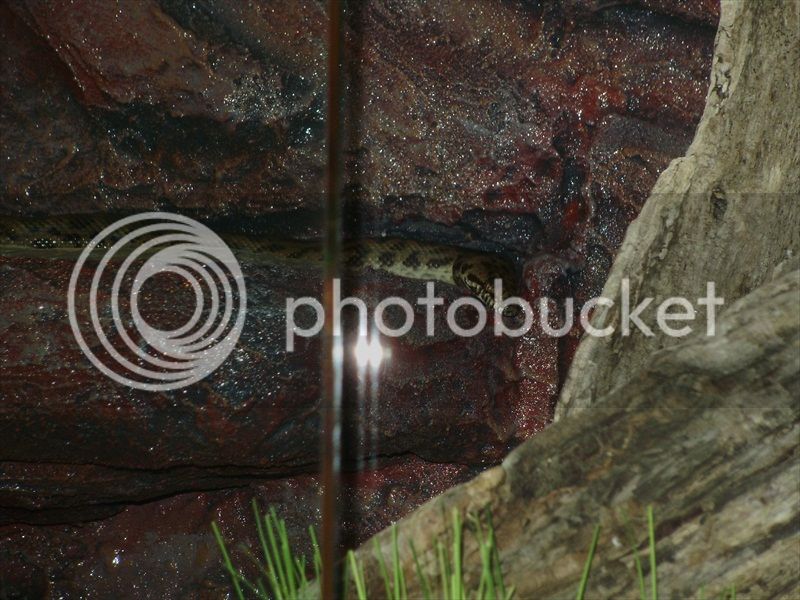
Now all the pics of Skittles exploring. I put her on the heat ledge and she went straight into the crevice and up onto the edge where she could sense the fresh air at the vent.
P1240013_zpse005d2b0.jpg


P1240014_zps226a76d7.jpg


P1240015_zpsa4bf268b.jpg


P1240016_zps243ac4d4.jpg


P1240019_zps57b7ba9c.jpg


P1240021_zps4669e5c5.jpg


P1240022_zps280ad581.jpg


P1240023_zps692d47b6.jpg


Since I took the pics she has just curled up contently on the heat ledge. Hopefully later I'll get to watch her cruise around and really check out all the nooks and crannies.

Thanks for all the support, advice and compliments guys, it's been a great experience and I'll definitely do another build for my next snake when the time comes but this is it for now. I hope you are all as impressed with the final product as I am. Oh, and a special thanks to Jax for all your help in and out of the thread.
 
Looks awersome gruni super stoked for ya must feel really gratifying that something u make turned out so well
 
AWESOME job Gruni, you are justifiably proud of you accomplishment :)

We have all helped you in your journey (not just me) and sometime a well timed "good job" from some random stranger is enough to keep us enthused.

So I have a question for you .....


What's next ROFL :)
 
Ahhh Gruni, wow! It came out uh-maze-ing! You must be so proud :D
I'm possibly a little jealous.. lol

x
 
Like I said Jax, I appreciate al the posts from other people as the project went along, but most of all I appreciate your work reinserting the pics, without which this thread would be UTERLY useless.

As for what's next... down the track I am hoping to add a Diamond (possibly a northern intergrade) to the family, as it out grows the 2ft tank Skittles has lived in I will need to consider a 4x2x4ft modification for the top of a buffet I have or possibly, if we have a new house by then and I have more room it may be a converted wardrobe... but that is a ways off and not even thinking about it right now. Now is for enjoying what has been completed! 8)
 
Status
Not open for further replies.

Latest posts

Back
Top